[The following introduction is an excerpt from our second book, “Grow More Food: A Vegetable Gardener’s Guide to The Biggest Harvest Possible”]
If you have an existing garden that hasn’t been managed with an eye towards ongoing soil management, you likely have depleted some (or most) of the essential nutrients. You may also have an overly acidic or basic pH. Plants absorb significant quantities of nutrients from the soil each year, and unless you are actively replacing these nutrients, plant vigor and yield will decrease over time. Fortunately, it’s never too late to begin rebuilding garden soil and significant improvements can be made relatively quickly.
Soil Fertility
Many gardeners maintain reasonably good soil fertility simply by adding compost, using organic fertilizers, and ensuring that their soil pH is in a reasonable range (between 6 and 7 for most plants). However, if your goal is to maximize your yields using organic methods, a professional soil test will help make sure your nutrient and pH levels are optimum, and will help you identify any trouble spots before they become a problem.
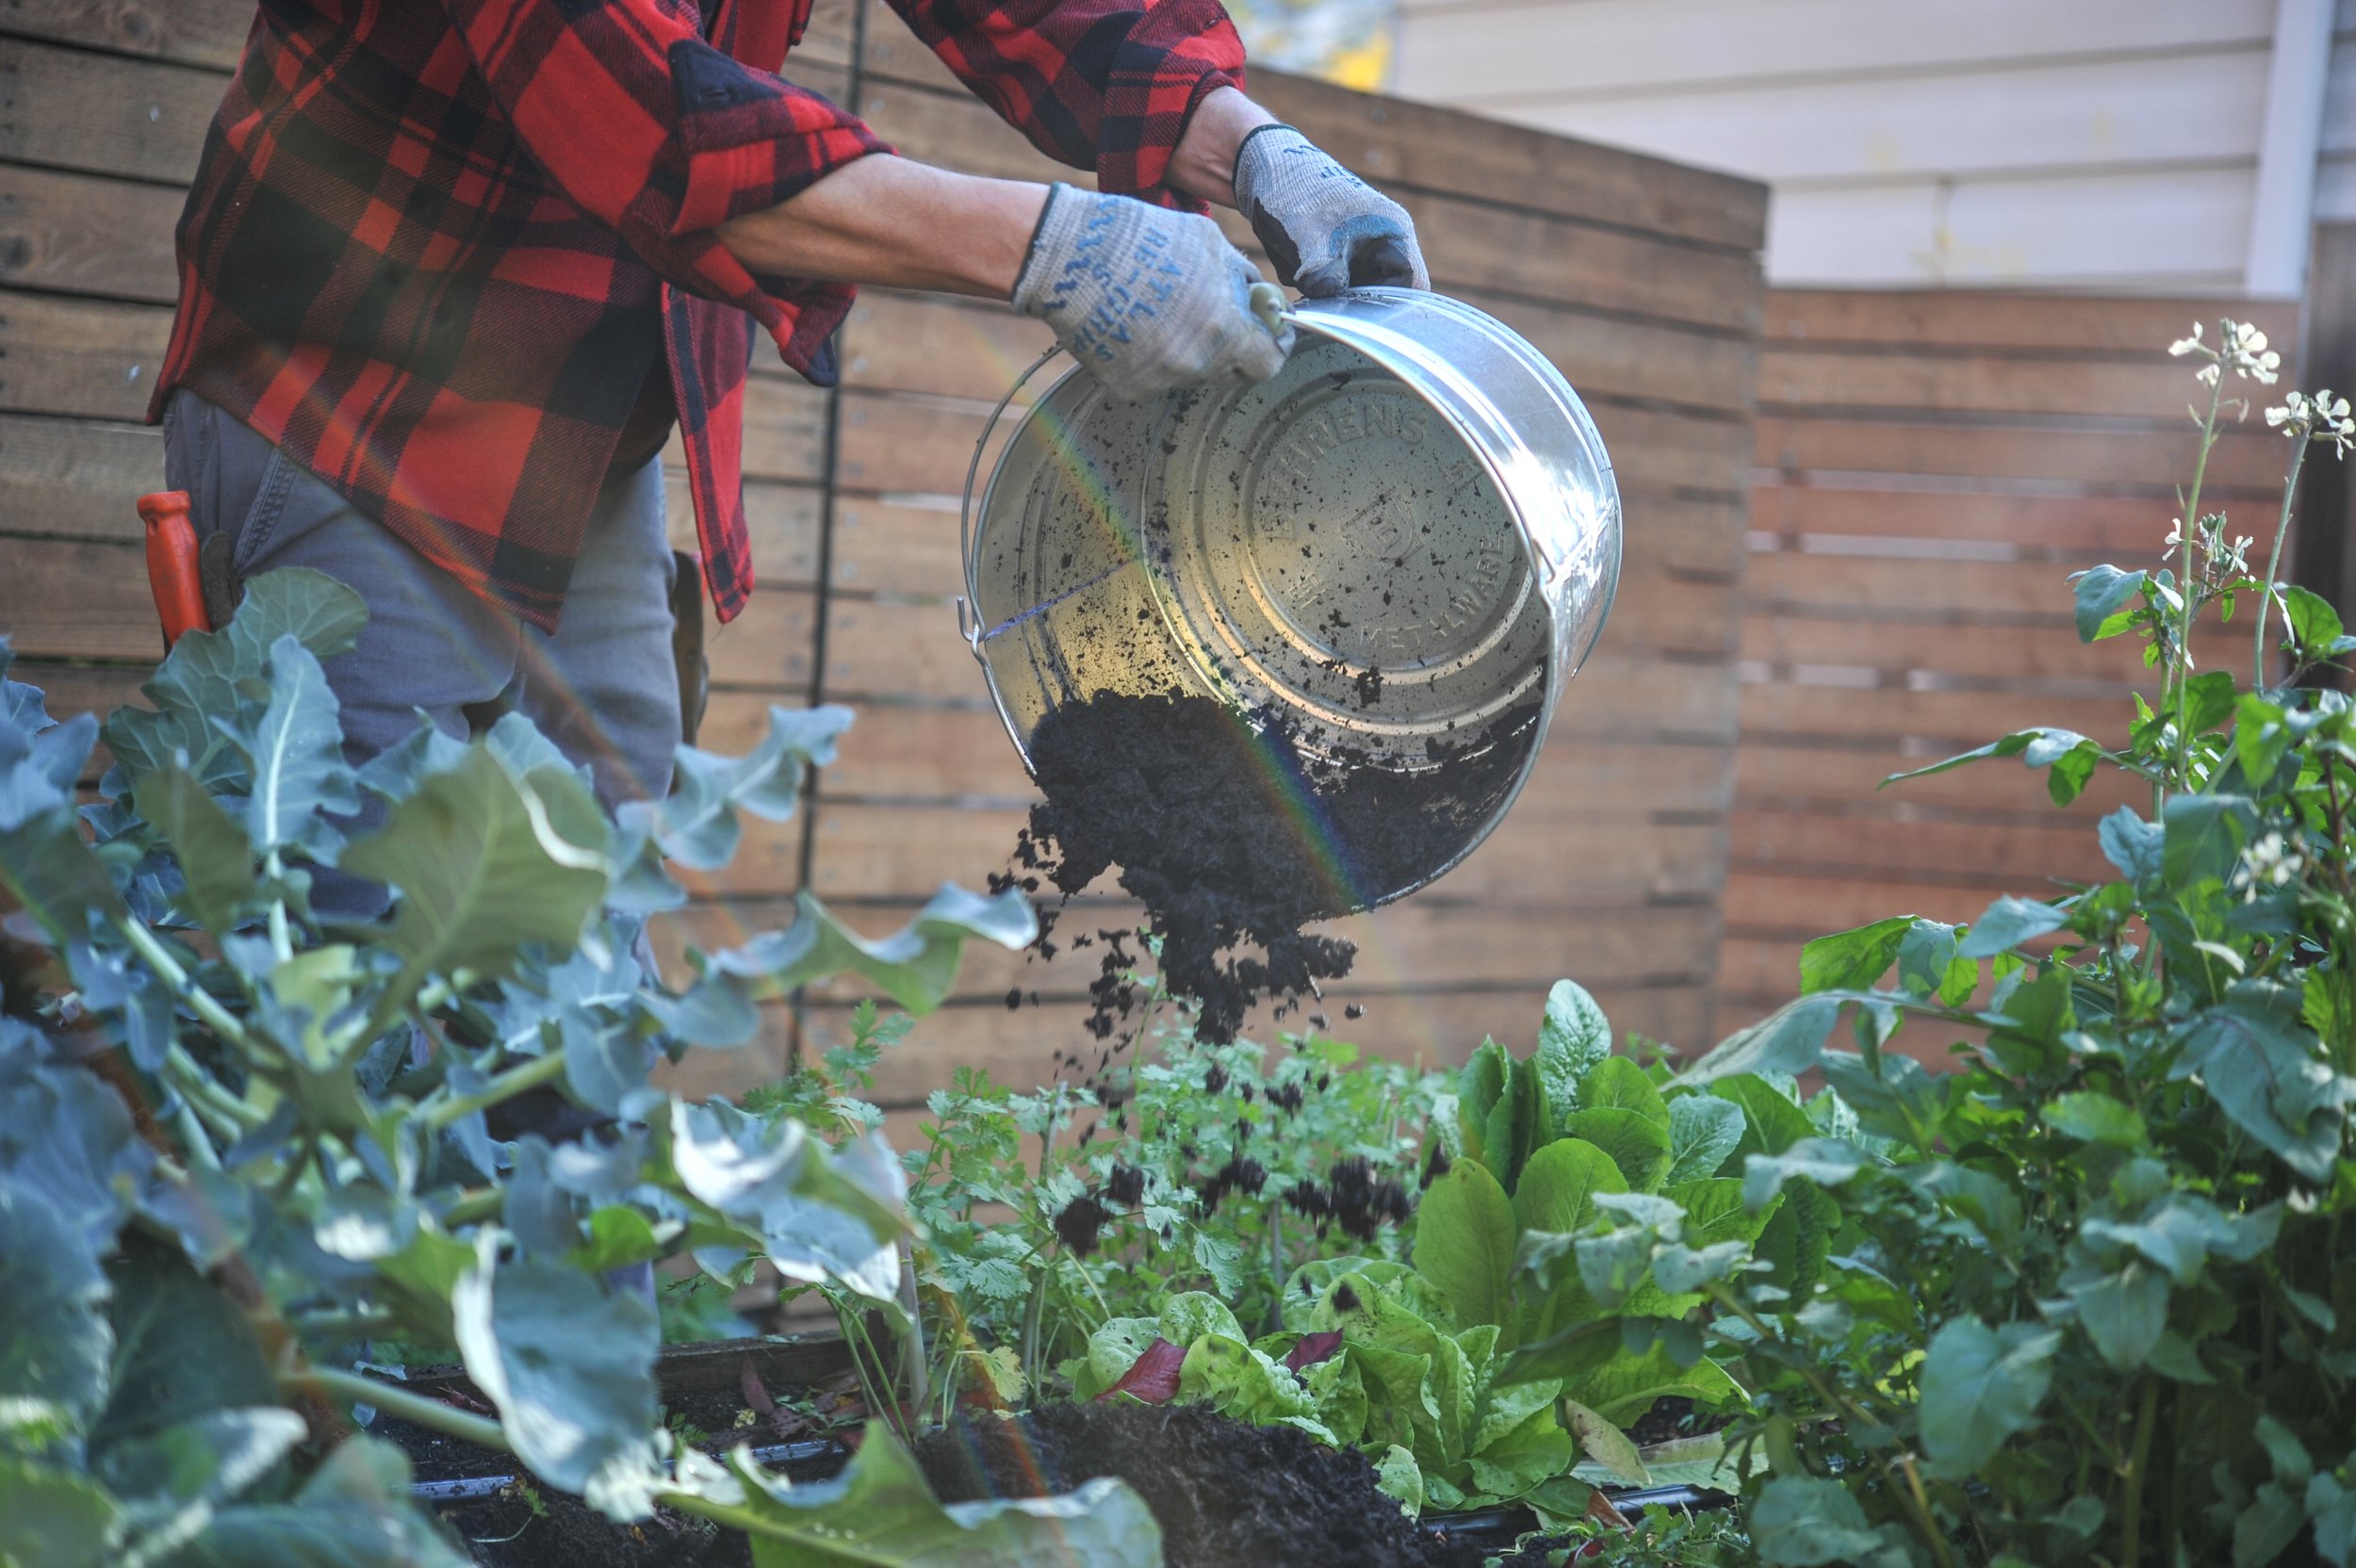
If compost is the only soil amendment you use, your crop productivity and nutrient density is heavily dependent on the quality of the compost. In our experience, the quality of compost (both professional and home-made) varies widely. Without testing, there’s no way to know if your soil and compost contain the full complement of minerals and nutrients necessary to grow quality crops. We have seen many gardeners and farmers get good results for a few years simply by adding compost and organic fertilizer, only to be plagued by poor production as time goes on and specific nutrient deficiencies become more pronounced.
In addition, different soils can have incredibly different latent nutrient bases and the lack of a single micro or macronutrient can dramatically affect the productivity of your garden. Plants do show visible signs of nutrient stress, but these deficiencies can be difficult to correctly identify, especially when you are dealing with micronutrient issues. Identifying your specific soil nutrient levels is a critical first step towards efficiently remineralizing your soil to improve crop yield and nutrient density. And for you single gardeners out there, discussing your soil’s cation exchange capacity is a great way to pick up a date at the next potluck dinner.
Fall is a perfect time to spend a few minutes preparing the vegetable garden for next spring. One of the most important, but often overlooked aspects of soil care is pH management. Although it may sound complicated, monitoring and adjusting your pH is one of the least expensive, easiest, and most impactful ways to improve plant health and crop productivity.
What is pH?
pH is a measurement that indicates the acidity or basicity of a solution. pH is expressed on a scale from 0 to 14, where lower numbers indicate an acidic substance and higher numbers indicate a basic substance. A pH of 3 is very acidic and a pH of 12 is very basic.
More scientifically, pH is a measure of the amount of free hydrogen and free hydroxyl ions in water. Water that has more free hydrogen ions is acidic, whereas water that has more free hydroxyl ions is basic. Distilled water, without hydrogen or hydroxyl ions has a neutral pH of 7.
The pH scale is logarithmic. This means that each number represents a 10-fold change in the acidity or basicity of the solution. For example, water with a pH of 5 is ten times more acidic than water with a pH of 6.
pH changes when minerals become dissolved in water. The pH of soil is largely dependent on the makeup of parent soil in your yard or the soil mix that you purchased for your beds. However, it is also largely impacted by the pH of rainwater. Rainwater is nearly always acidic, because it has naturally occurring minerals dissolved in it. A normal pH for rainfall is 5 or 6.
Why does soil pH matter?
The pH of your soil affects the availability of nutrients to your plants. Even if you add compost and fertilizer, if your pH is too high or too low, your plants may not be able to absorb and use the nutrients you provided.
Nutrients become more available or less available according to the soil’s pH level. The availability range of each nutrient is slightly different, but most essential plant nutrients are maximally available to vegetable crops at a slightly acidic pH, between 6.0 and 6.9.
As an example, an iron deficiency in a crop is indicated by yellowing between the veins of its leaves. However, this condition might not actually be a result of a lack of iron in the soil, but from soil that is too basic for the crop to effectively absorb the iron that is present.
Alternatively, elements in the soil can become toxically available in very high or very low pH ranges. For example, an extremely acidic pH can make manganese available at levels that are actually damaging to your crops; or even allow plants to absorb aluminum from the soil.
How do you test soil pH?
Fortunately, testing your pH is pretty simple. You have three basic options. You can use a pH testing kit that uses litmus paper; you can use an electronic pH tester; or you can send a soil sample into a lab.
For the average home gardener, I usually recommend using a litmus paper kit and sending in a soil sample to a lab. Electronic testers are also great, but in order to get one that is really accurate, you may have to spend quite a bit of money. A soil testing lab will provide a very accurate reading and a litmus paper kit can be used for readings between soil tests.
The cool thing about getting a soil test from a lab is that you also get a lot of other useful information. A good soil lab will not only tell you the pH, it will also give specific recommendations about what to add to your soil to adjust the pH into the proper range.
Once you get your results, you’ll add lime (to raise pH) or elemental sulfur (to lower pH). Keep in mind that these additions will not change your soil overnight. Typically 3-4 months are needed in order for the amendment to take effect. This is why the end of the season is a great time to adjust your pH. With a fall application, your soil should be at the right level by the beginning of next season.
Liming Your Soil
In most yards, soil pH is acidic and lime is the most common amendment to help make it more basic. Lime is “basically” what it sounds like, pulverized limestone rock, also known as calcium carbonate.
There are two main types of lime available: Calcitic and Dolomitic. Calcitic lime is straight calcium carbonate; Whereas Dolomitic lime also has magnesium carbonate mixed in. The advantage of Dolomitic lime is that it also provides magnesium and calcium to your soil, both essential plant nutrients. However, too much Dolomitic lime can throw your calcium-magnesium balance out of whack, which can lead to all sorts of plant health issues. A good soil test result will tell you which one to use, and when in doubt, choose Calcitic lime because there are fewer risks from over-application.
If your soil happens to be basic, you can add elemental sulfur, an organic amendment, to make the soil more acidic.
The Lazy Approach: * Please note that I don’t officially condone this approach, but have seen it performed with good results.
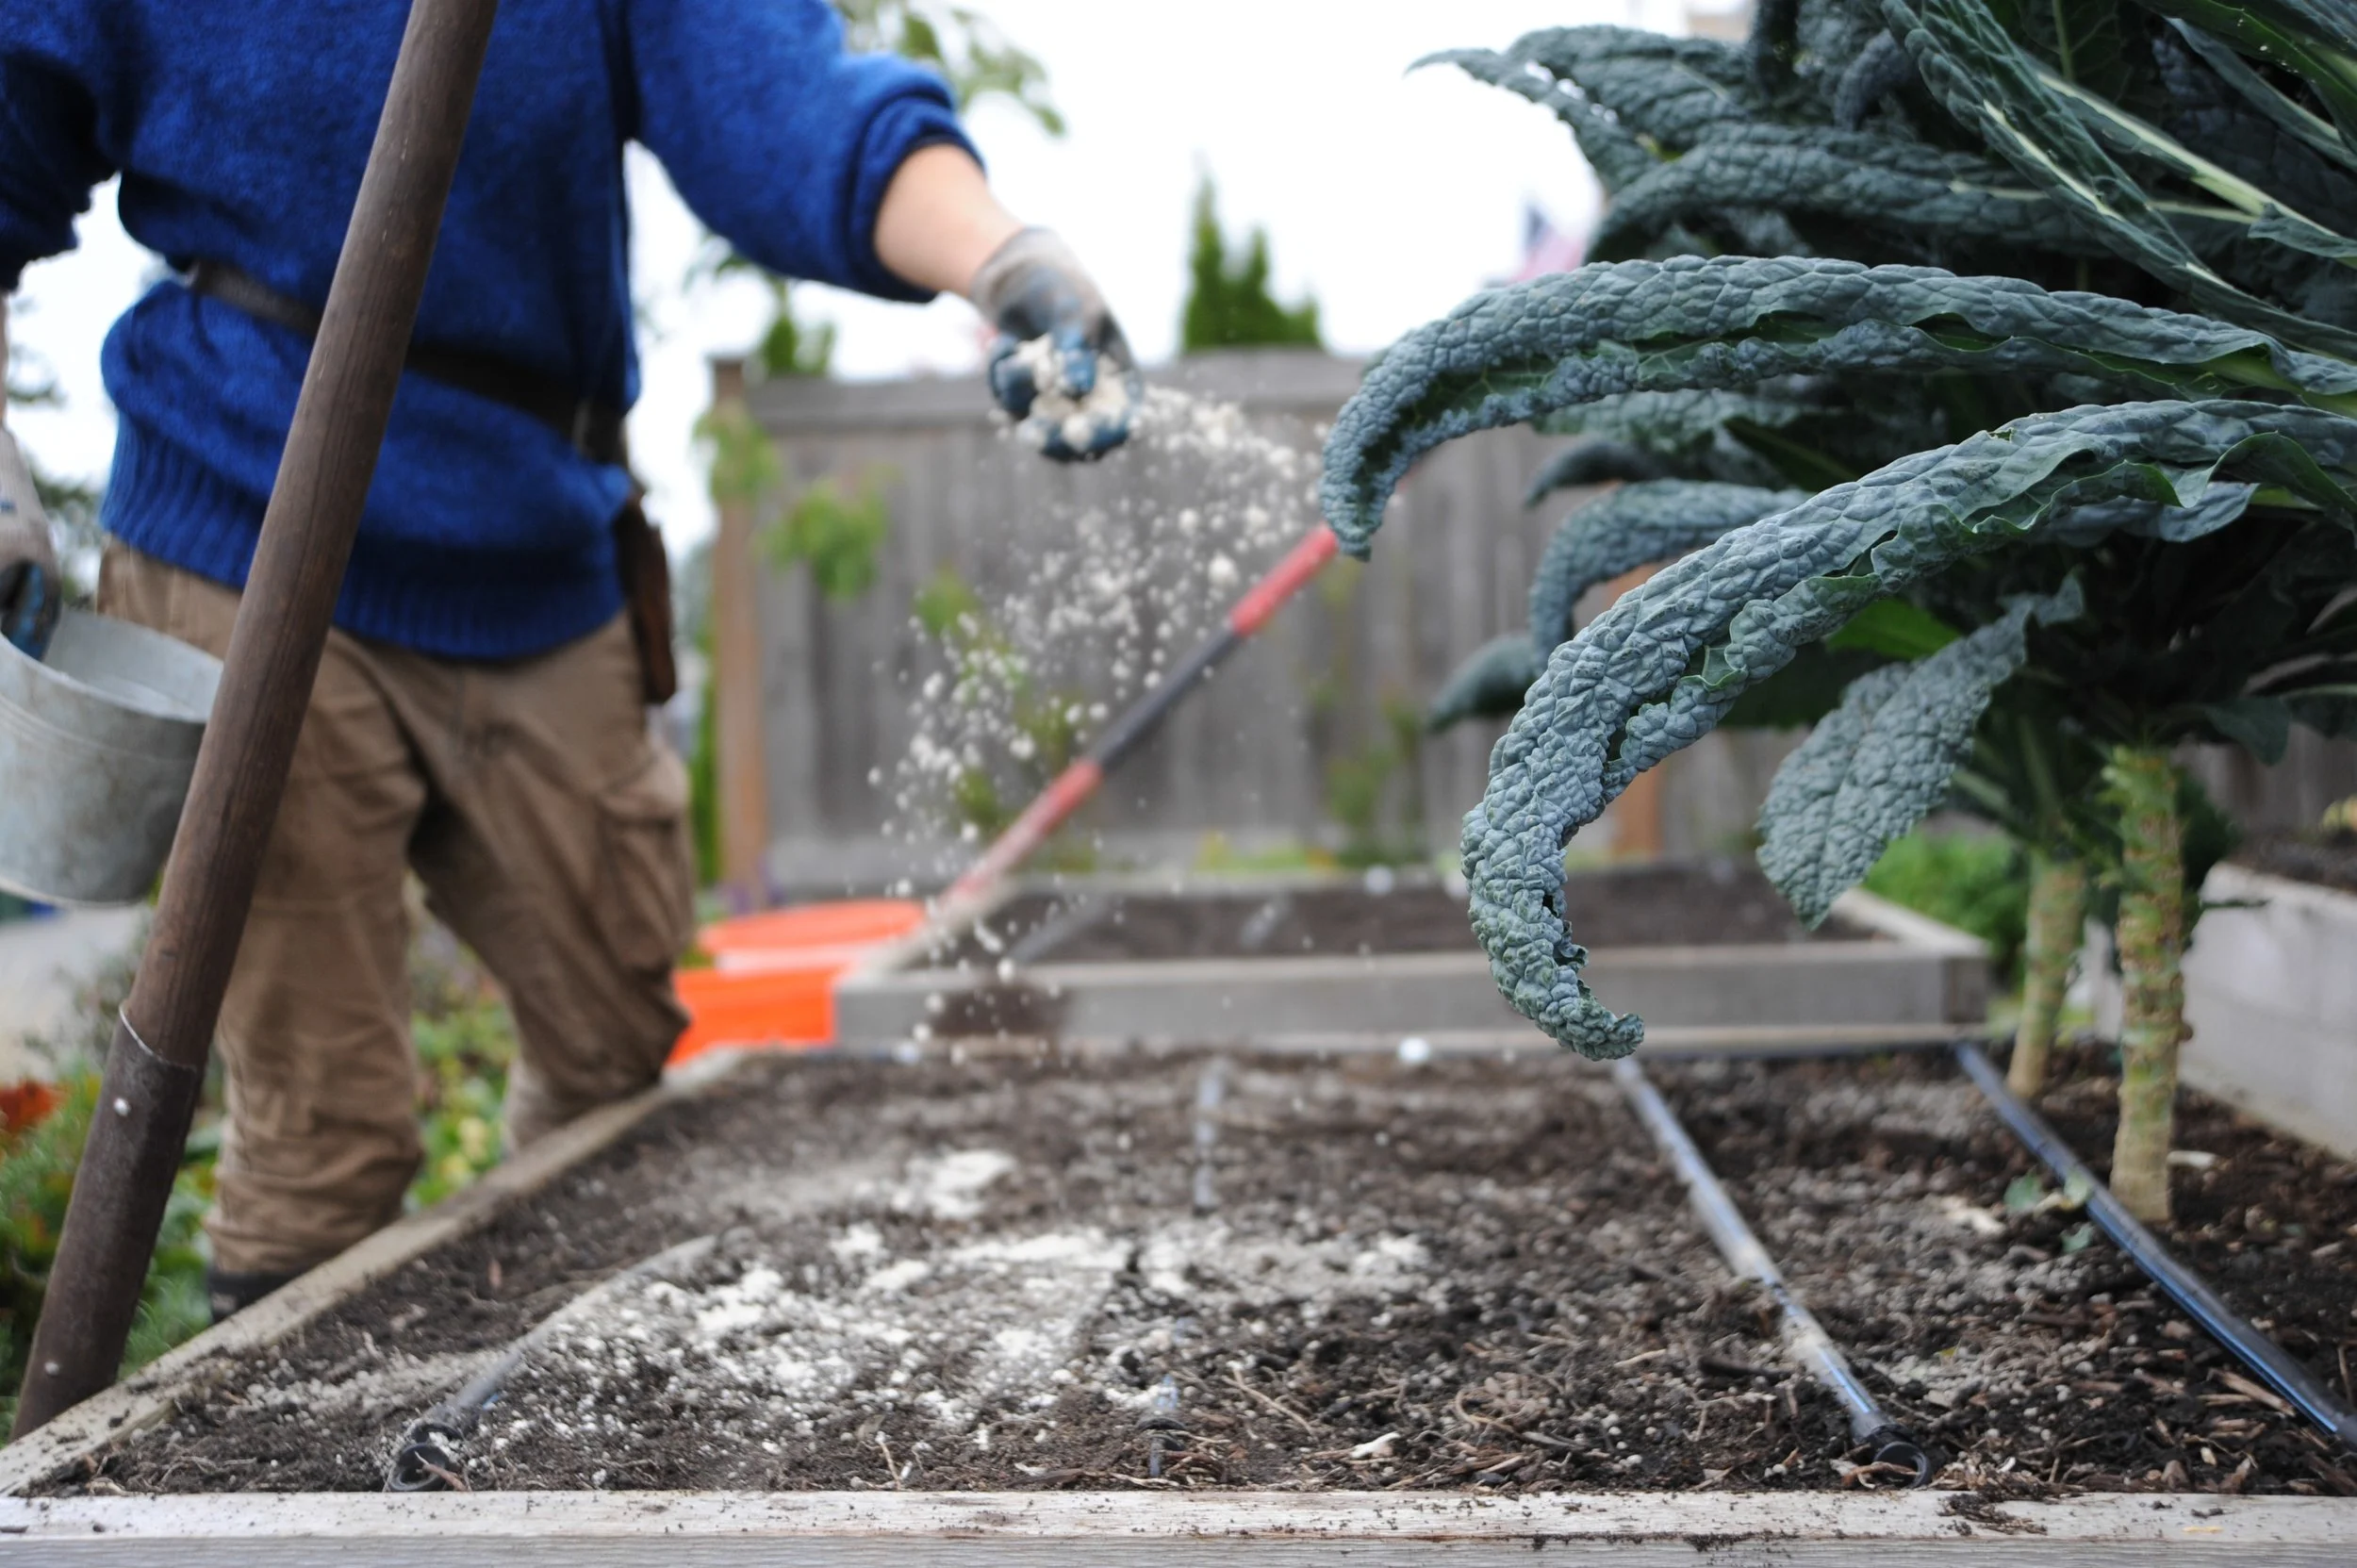
If you aren’t planning to take a soil test, it’s usually safe in our region to add Calcitic lime to your vegetable garden beds once per year. Just pick up a few bags of lime and spread it on top of the beds. Any product should have a recommended application rate listed in pounds or cups to apply per square foot. A typical application might be 1 pound per 25 square feet; one pound of lime is approximately 2 cups.
As a very rough benchmark, a standard lime application may be 3-4 cups of lime per 4’x8’ raised bed. For reference, a standard yogurt container is 4 cups, so applying a yogurt cup of lime to each of your raised beds would be a common yearly liming procedure.
Of course, the best practice is to check your soil pH at least once a year, and add amendments as needed. I think you’ll be amazed at what a little bit of lime can do.


Colin McCrate has been growing food organically for over 20 years. He worked on a variety of small farms in the Midwest before moving to the west coast in 2003 to teach garden-based environmental education. He founded the Seattle Urban Farm Company in 2007 with the goal of applying years of horticultural and agricultural expertise to help aspiring growers get projects off the ground or more accurately; in the ground.
He has helped guide hundreds of urban farmers through the design, construction and management of their own edible landscape. Colin is the author of three books; Food Grown Right, In Your Backyard (Mountaineers Books, 2012) and Grow More Food (Storey Publishing, 2022); and is a garden writer for the Seattle Times.