Spring has really kicked in across the country, and as a result, we're covering a lot of specific growing questions today. Stay tuned for more on slug control, a carrot seeding experiment, supplemental feeding, as well as lots of details around spring planting.
HOW TO LISTEN:
Listen right now in your browser by clicking above.
Subscribe in iTunes (or your favorite podcast player) to have our podcasts sent directly to your device.
SHOW NOTES:
In this episode, we discuss:
Slug control
Carrot seeding techniques
Supplemental feeding for Brassicas
Potassium salt build-up in transplants
Yellowing leaves on garlic
Beet thinning
Important Take-aways:
Slug control
Iron phosphate slug control products are safe for humans and pets- Sluggo is a great organic brand of iron phosphate and is what we use in our gardens!
Even if you’re using iron phosphate, removing the slugs from your garden is very beneficial. You can easily round up a bunch of slugs by placing a few wooden boards on your garden pathways. When the sun comes up, slugs will retreat to these dark wet spots, so you can simply flip the board over and collect a bunch of slugs at once that would otherwise have dispersed widely around the garden.
Diatomaceous Earth is an organic product that is made from the pulverized fossils of ancient organisms known as diatoms which also helps keeps slugs and other soft-bodied creatures out of your garden. Be sure to surround your plants with Diatomaceous Earth because it's effective as a physical barrier between your plants and pests.
Supplemental feeding for Brassicas
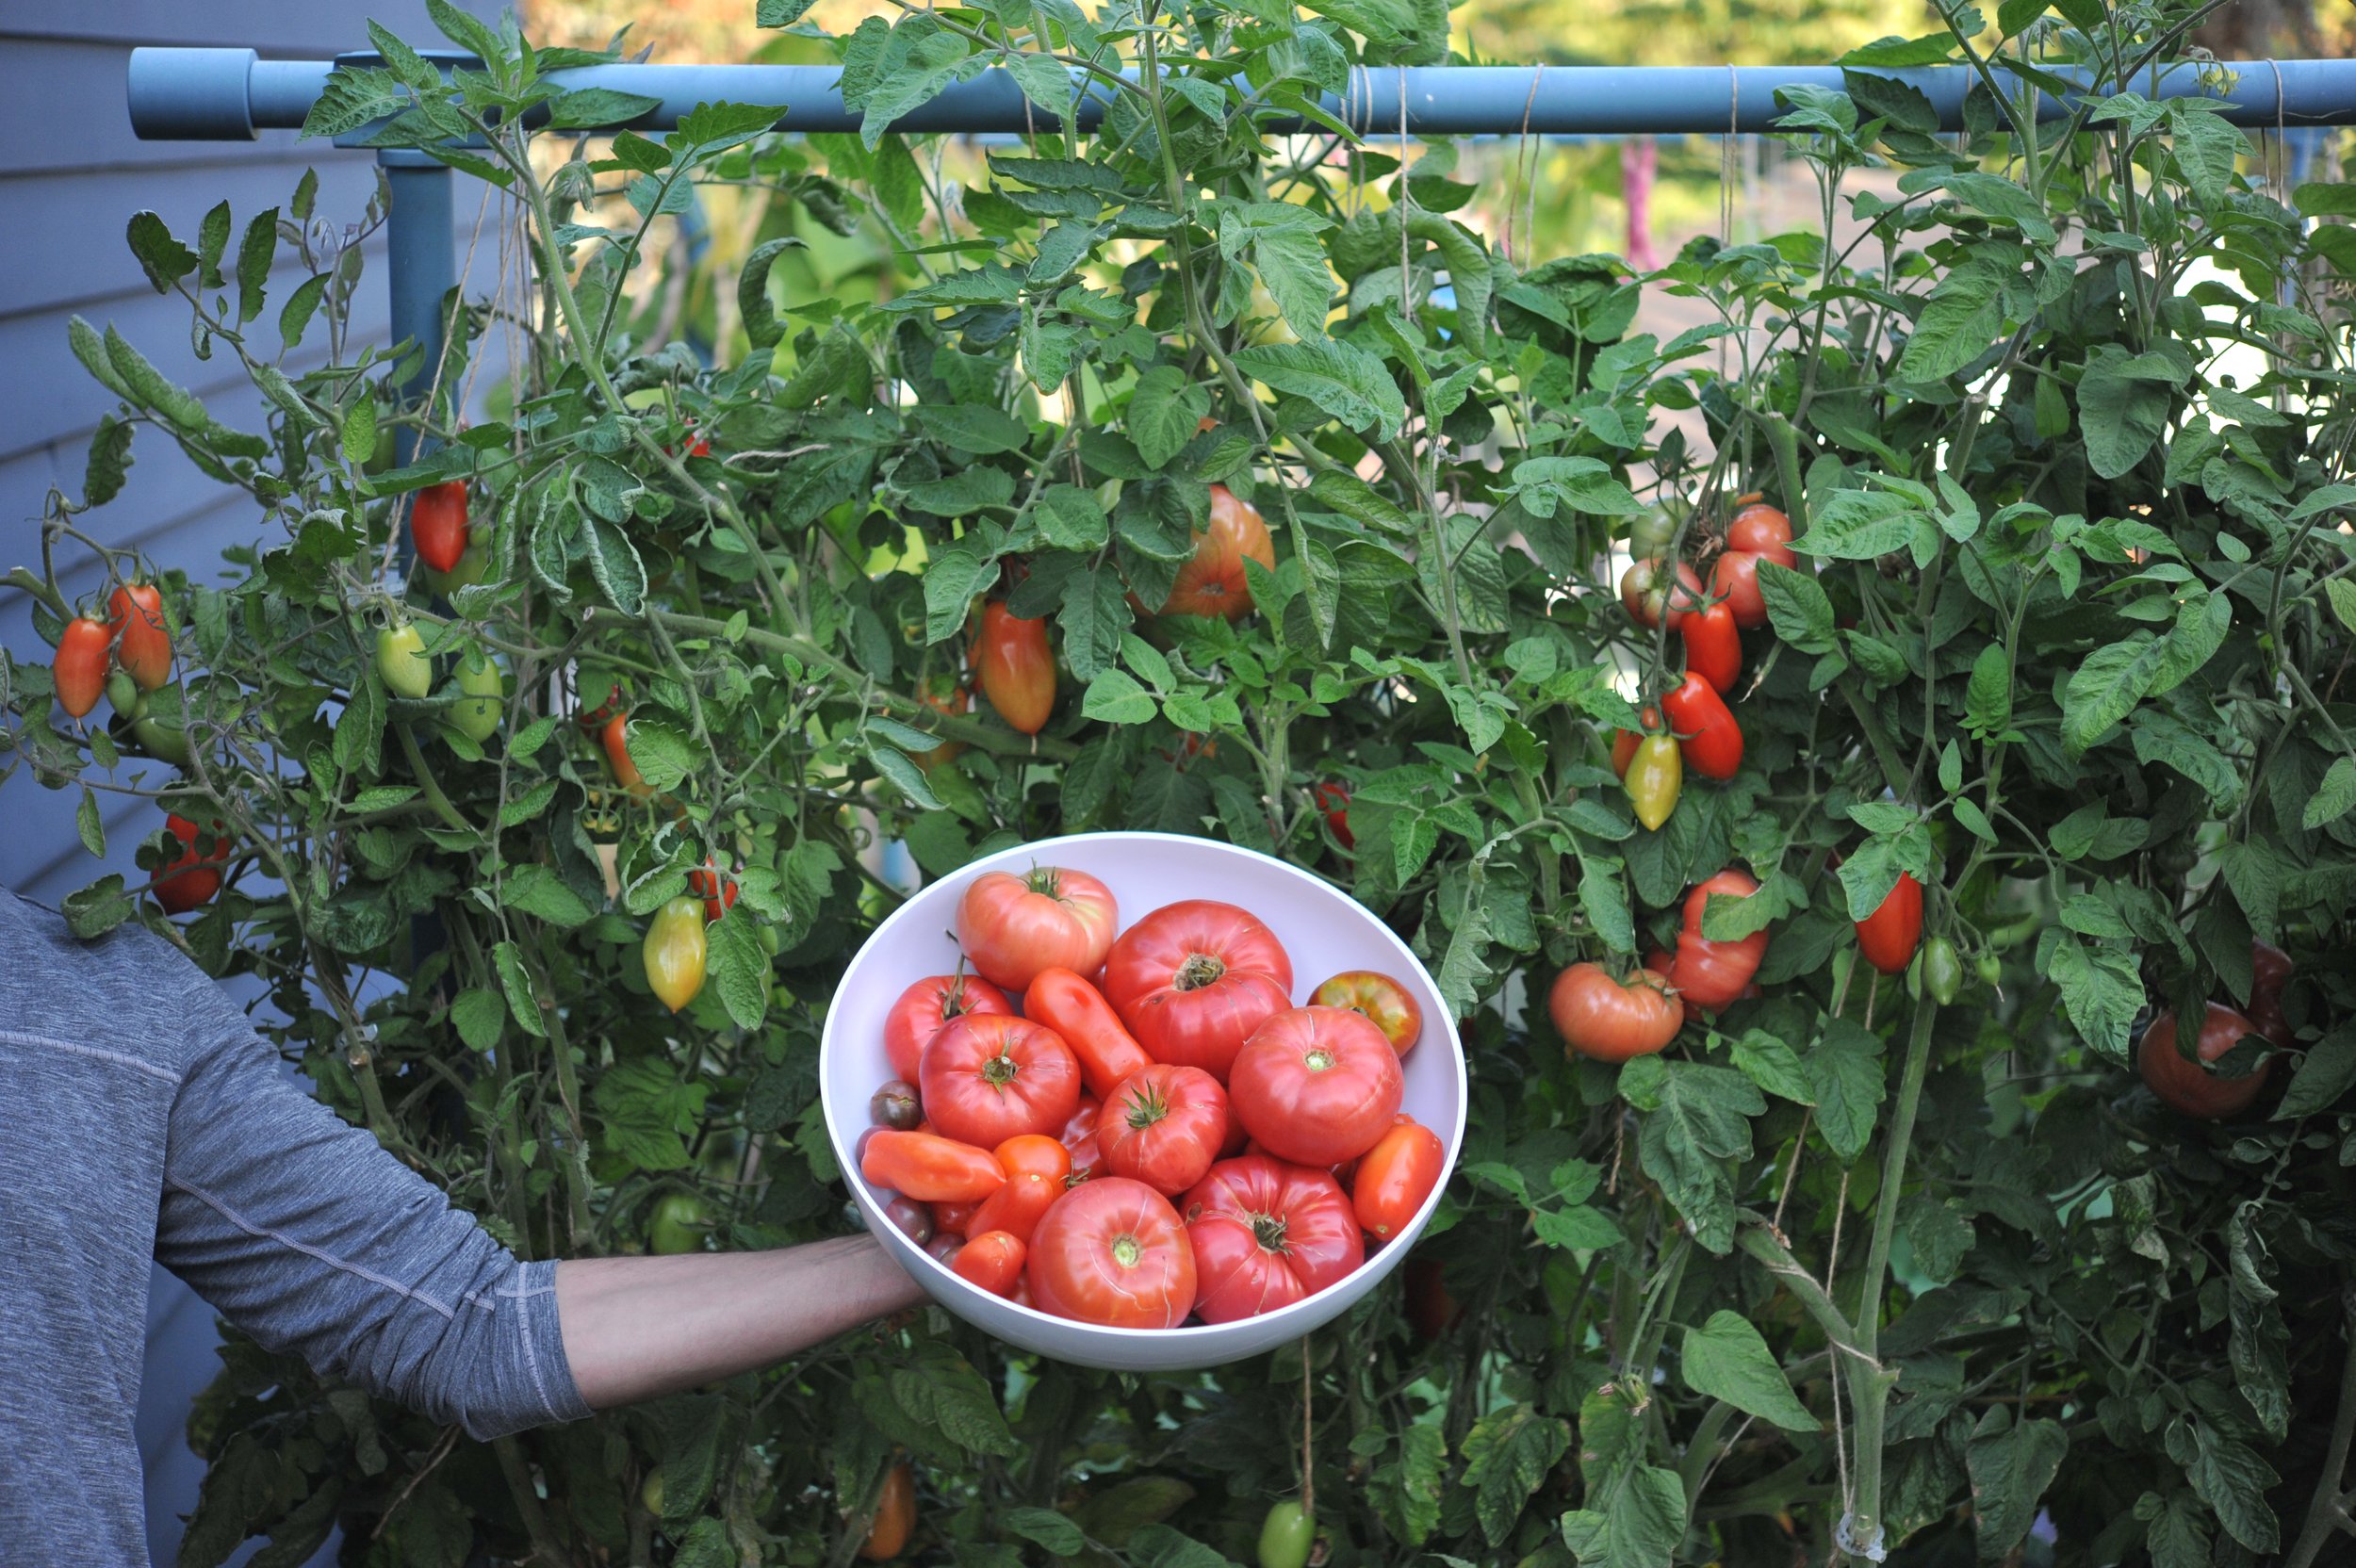
With the exception of Brussels, if my brassicas are looking happy and healthy as they grow, I just stick with a kelp-based liquid fertilizer every other week after the initial dose of balanced granular fert + extra blood meal at planting time. If you didn't get a chance to add extra nitrogen at planting time, I'd side-dress your plants with some now, but then call it good.
Yellowing leaves on garlic
Yellowing leaves on garlic is normal. It’s just a sign that the plant is starting to mature. Once ¾ of the plant has turned brown, it will be ready to harvest.
Beet thinning
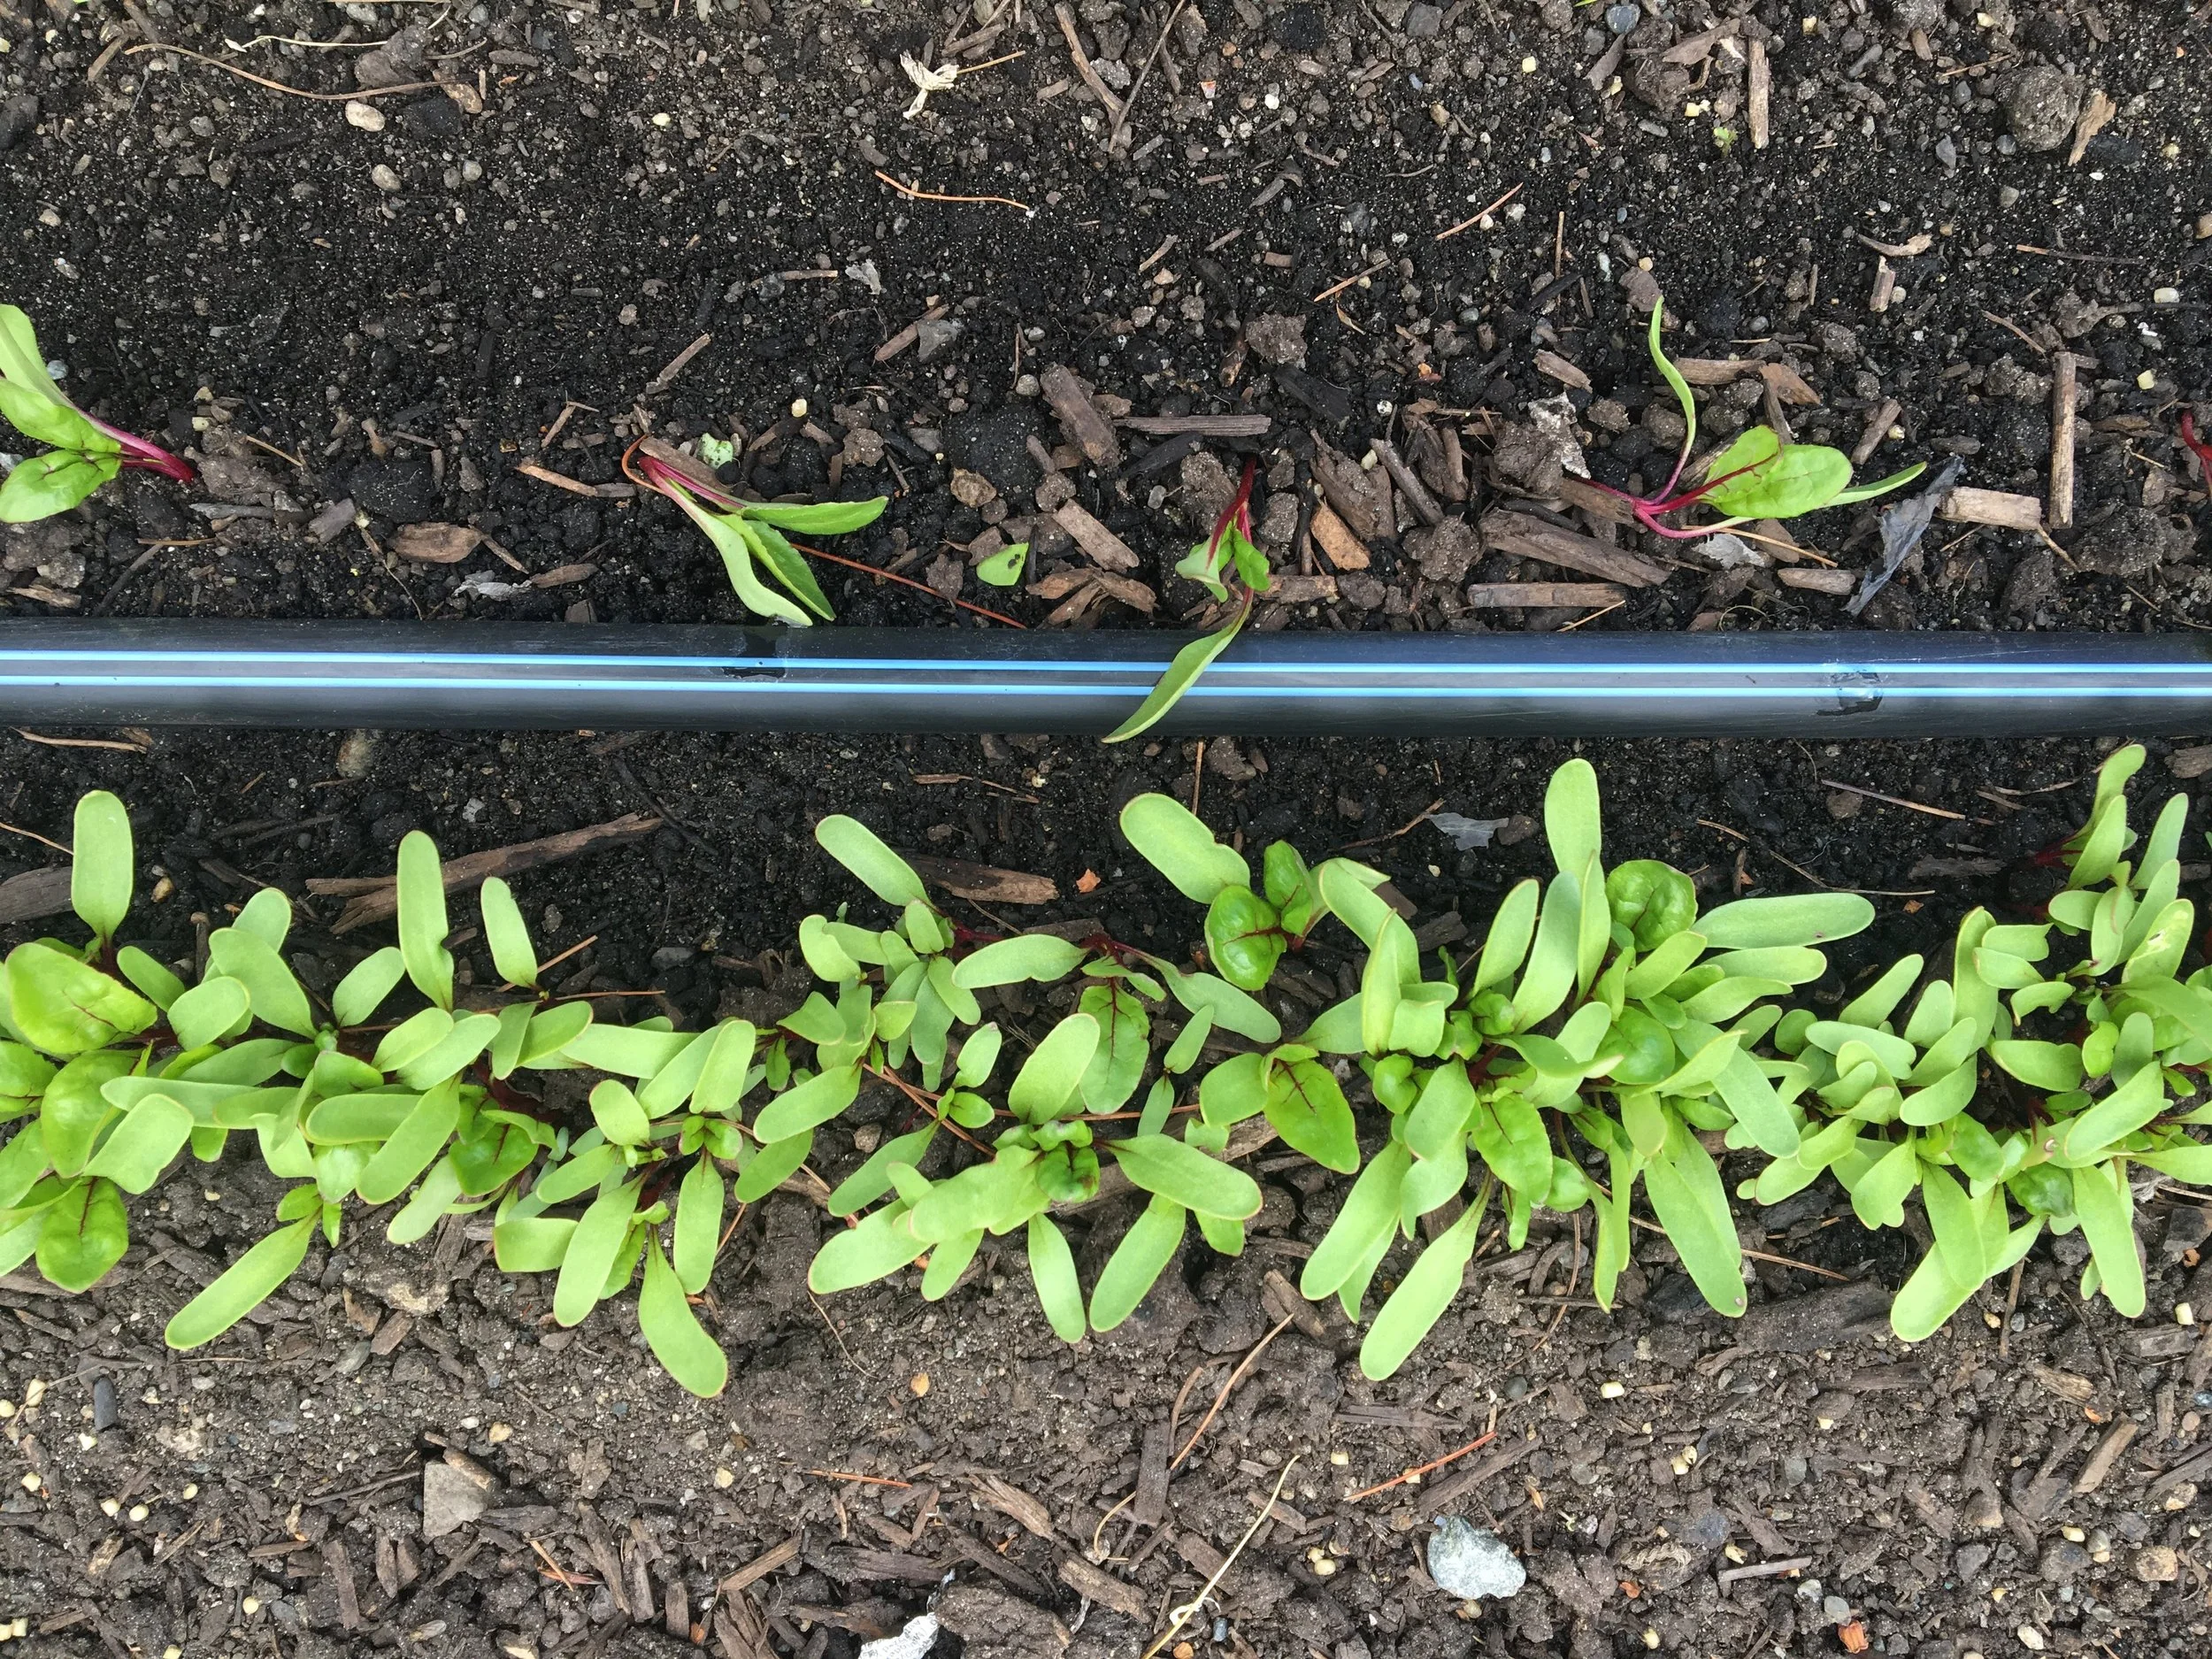
When plants have 1-2 sets of true leaves, thin to 4” spacing
Eat your thinnings, they’re delicious!
If you’re very careful beet thinnings can be transplanted back into your garden. If you're transplanting beet thinnings into another part of your garden, or using them to fill out places where seeds didn't germinate, just be sure to handle to plants really gently and get all of the root. Beets tend to germinate in clusters. If I'm going to transplant my beet thinnings, I would actually use a hand trowel to lift the soil under the plants and pull out the entire cluster (even the one you were planting to leave in that spot), and then gently separate the cluster of plants and replant at your desired spacing.
If you’re growing in an area with a shorter season, you many actually want to grow beets as transplants and plant them in the ground when they're a few inches tall.
Like what you hear? Please share our podcast with a friend. Subscribe on iTunes or your favorite podcast player so you never miss a beat. And we'd really appreciate you showing us some love by leaving a rating and review on iTunes.
Have a topic you'd like see us dig in to? Leave us a note in the comment section below or #EBpodcast on Instagram and Twitter!
