In this episode we're covering Q+A from some of the listeners in the Slack group.
HOW TO LISTEN:
Listen right now in your browser by clicking above.
Subscribe in iTunes (or your favorite podcast player) to have our podcasts sent directly to your device.
SHOW NOTES:
In this episode, we discuss:
What to plant when
Starting seeds at home
Drip irrigation
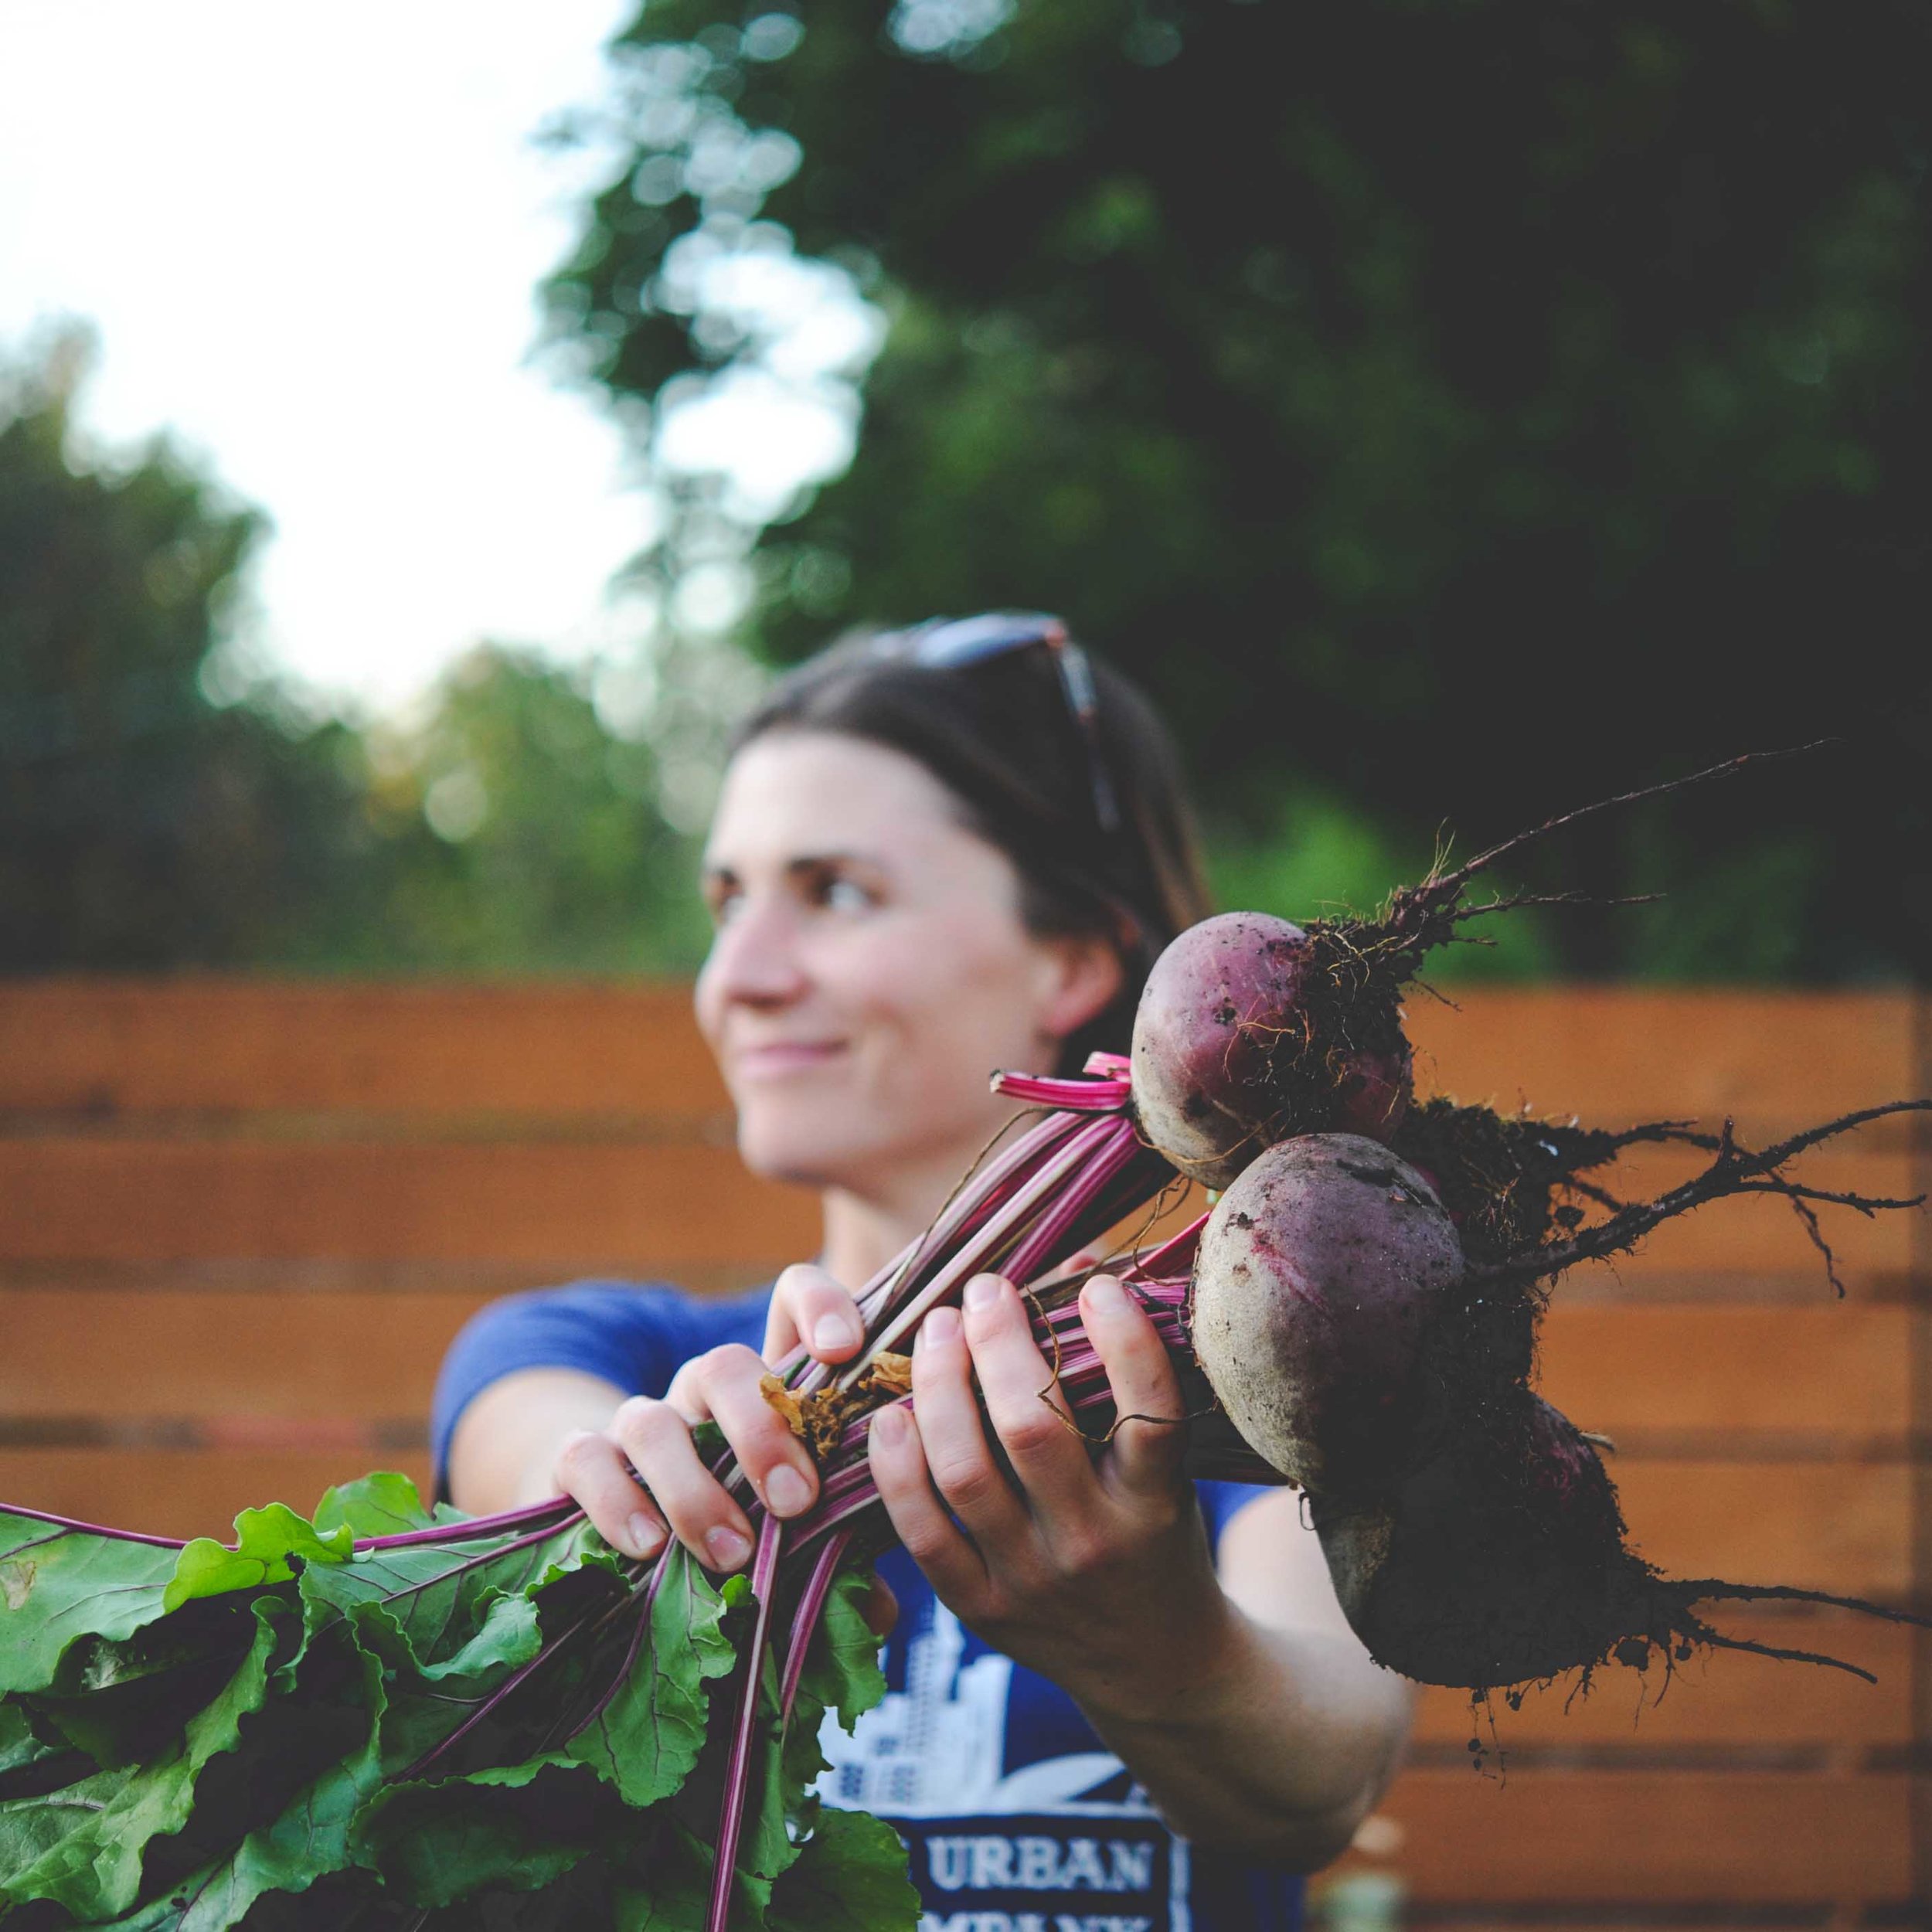
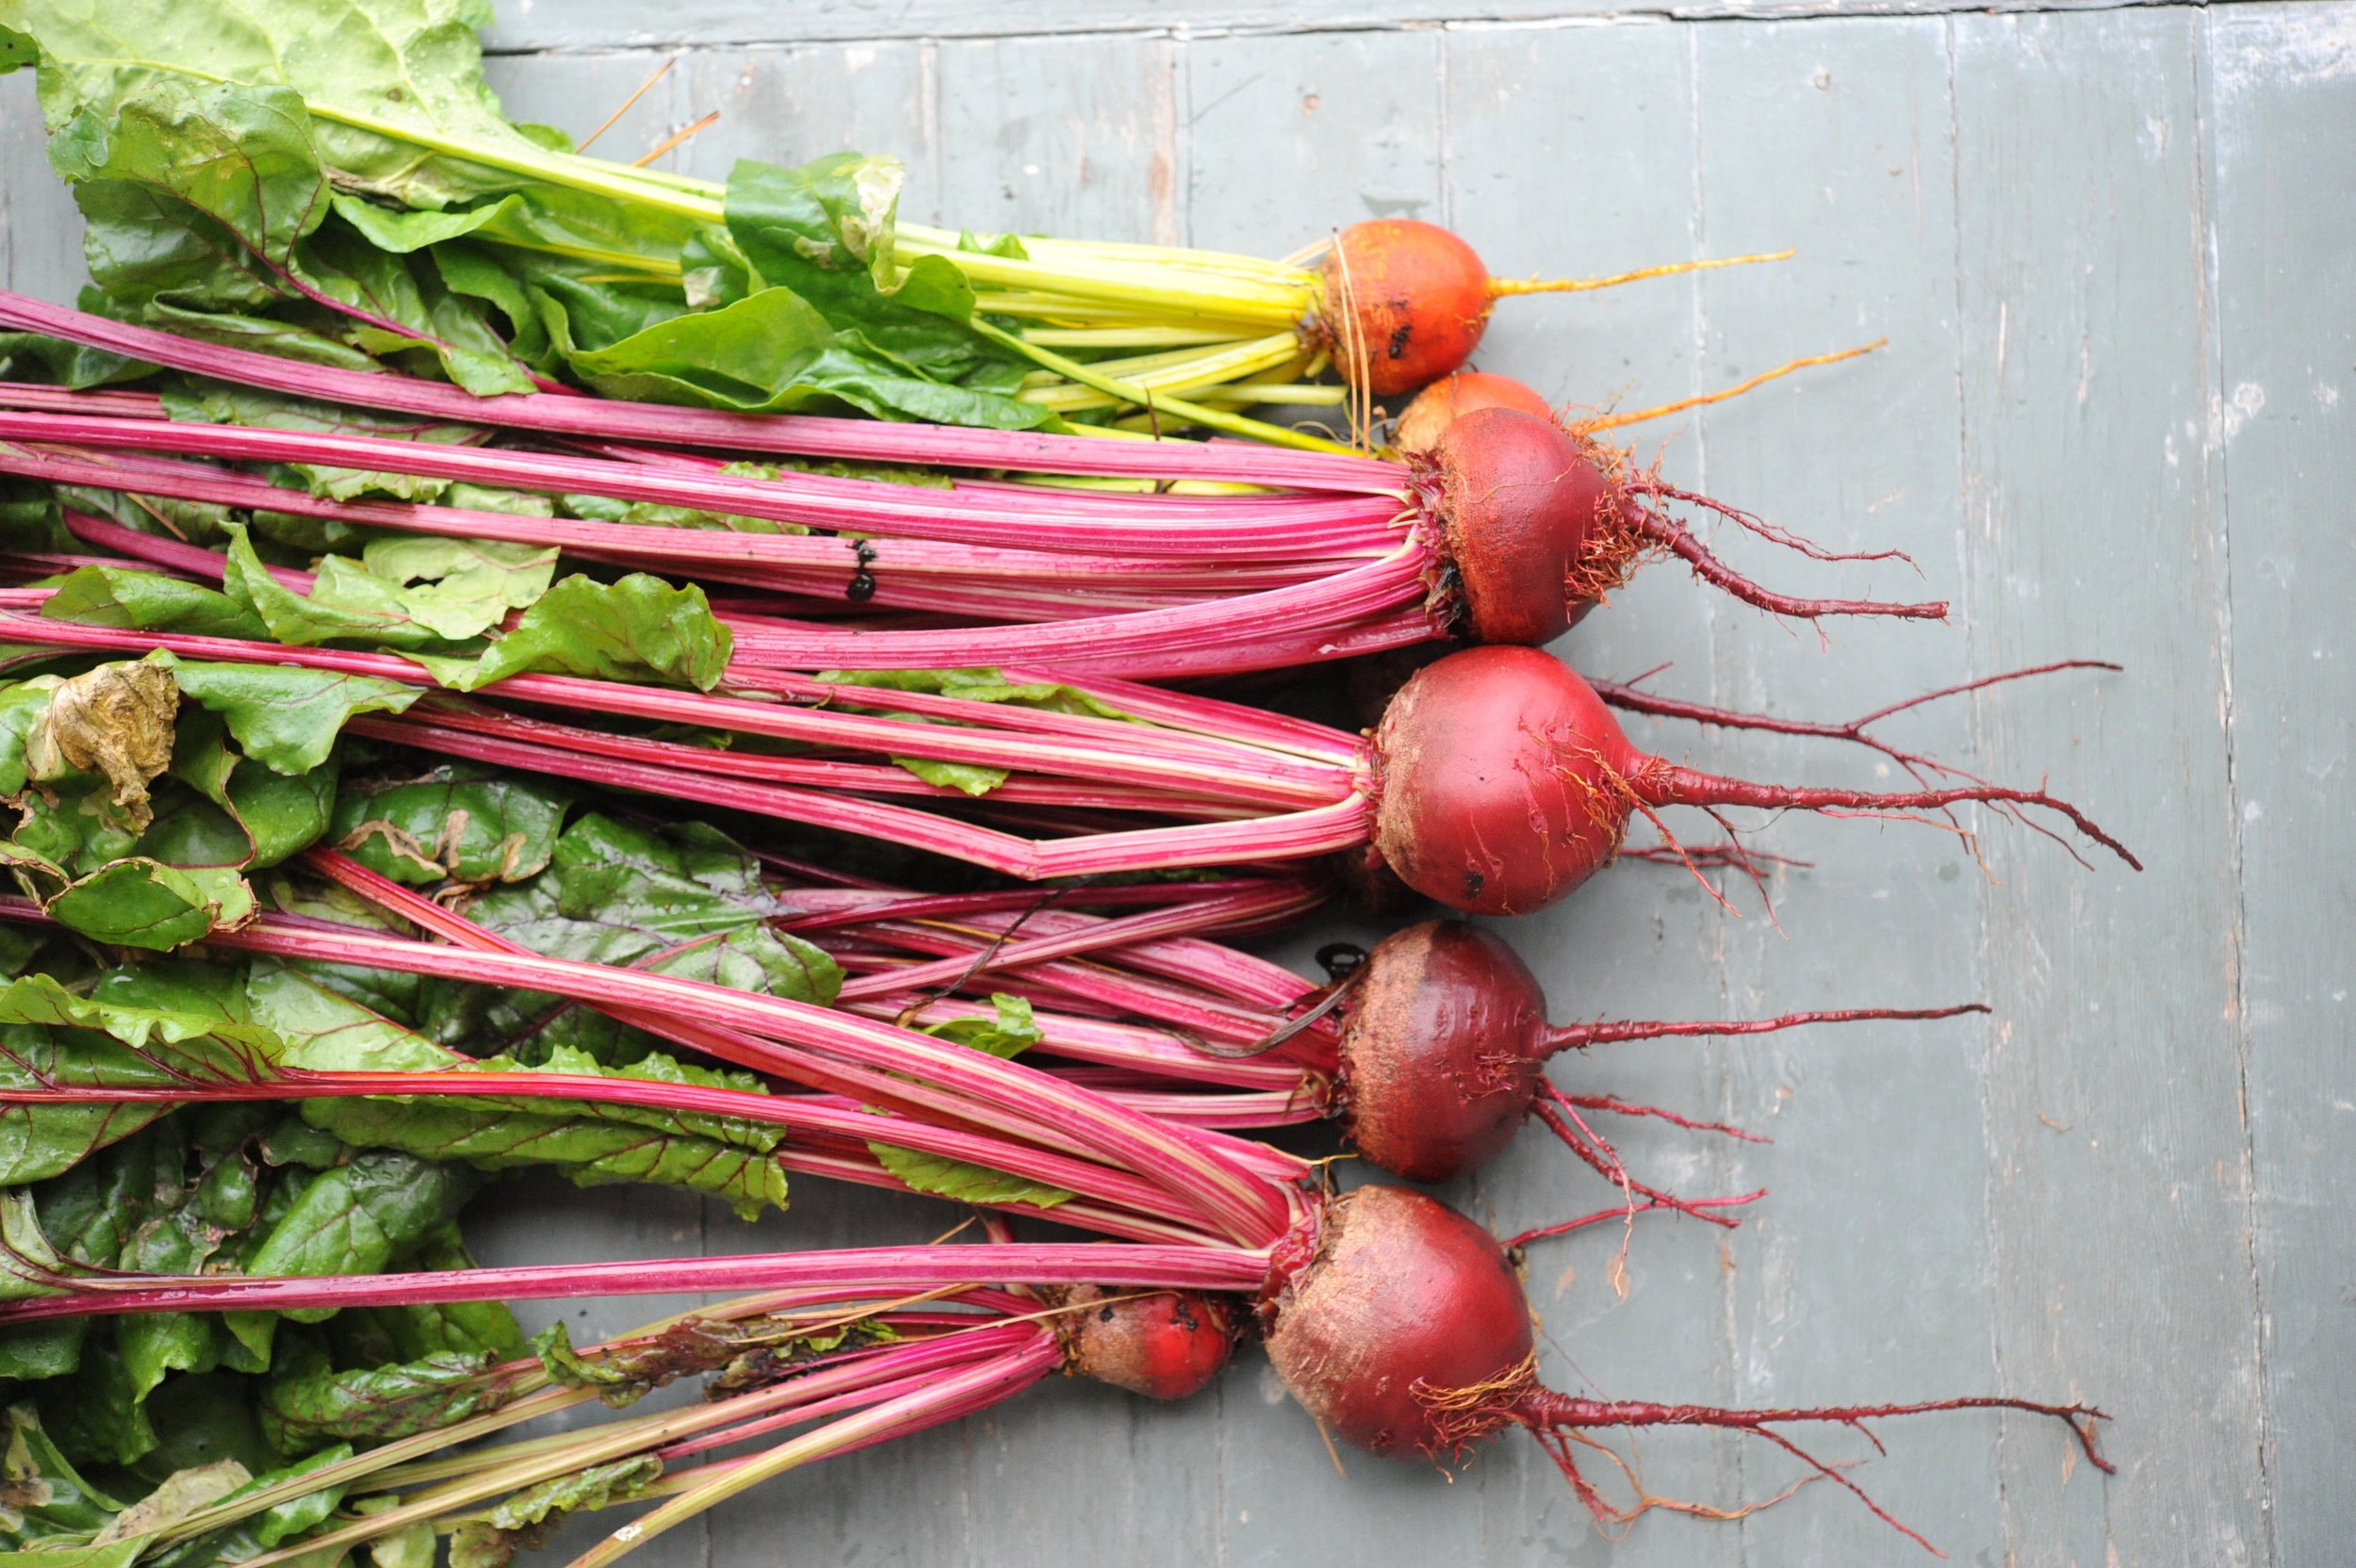
Becoming a beet ninja!
Important Take-aways:
Q: “How do you know when to plant seeds and when to transplant? Last year, my first year planting a veggie garden, I just went to my local big box nursery and picked up what they had in stock.”
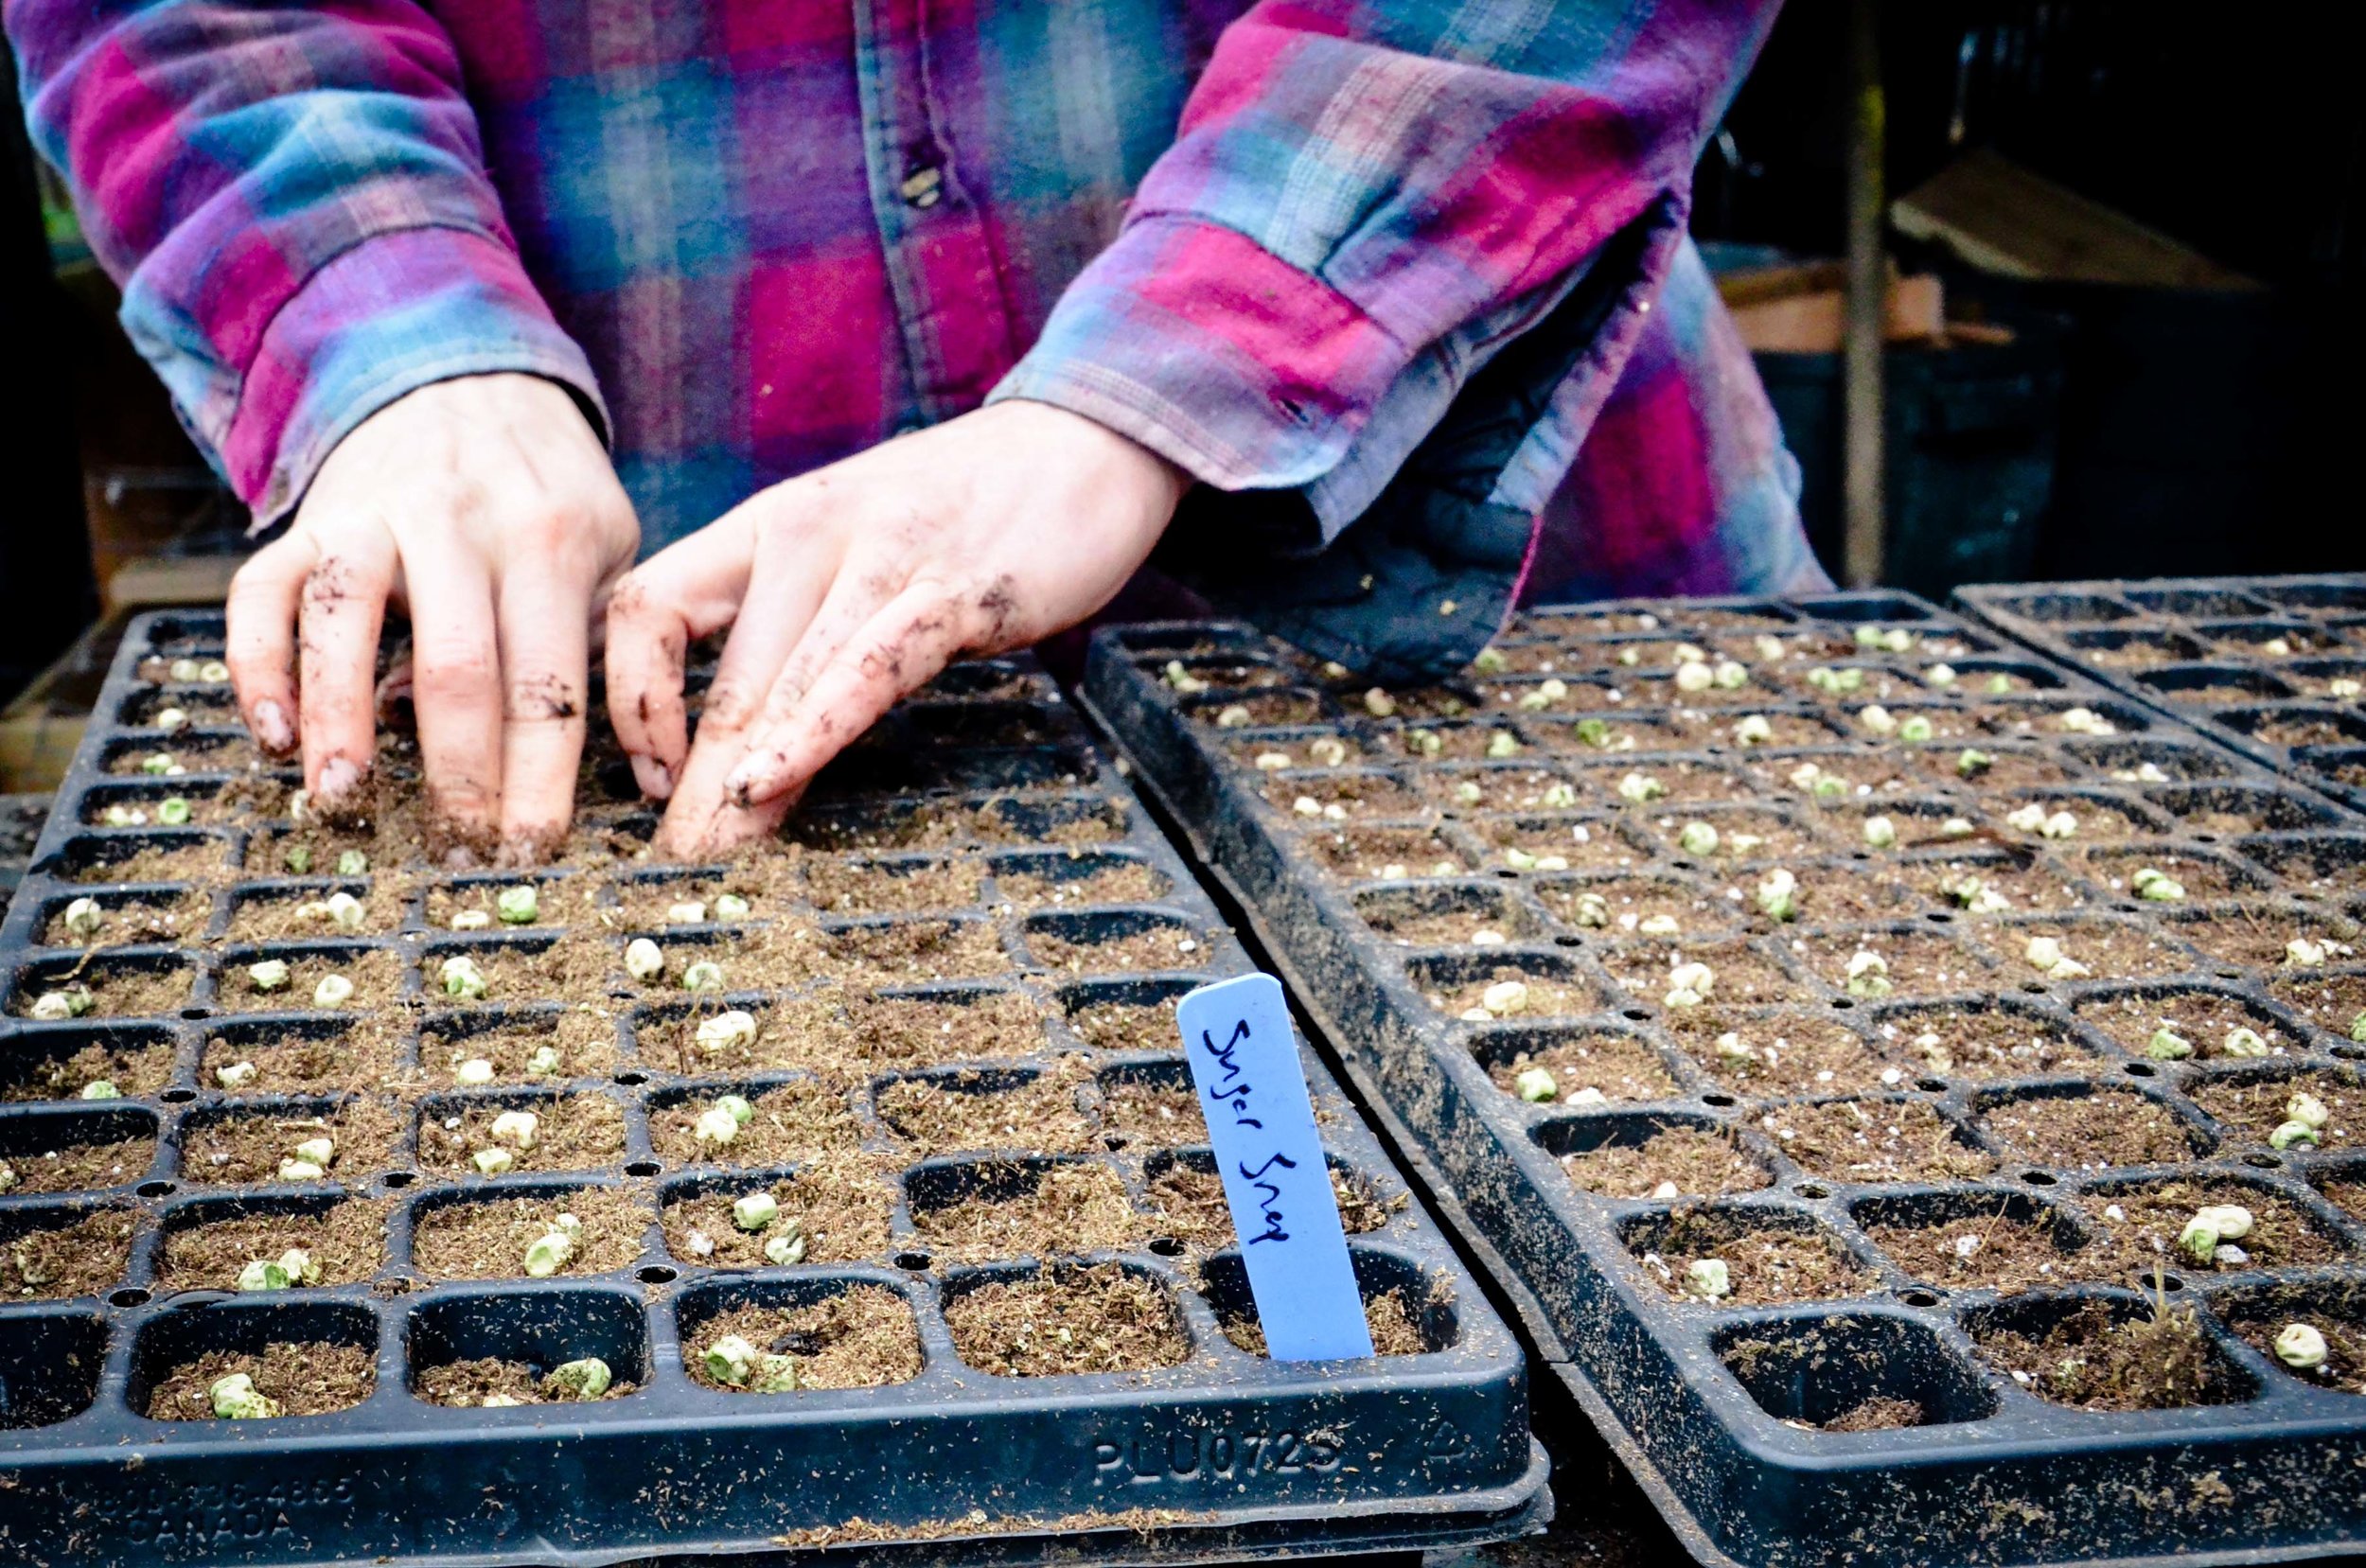
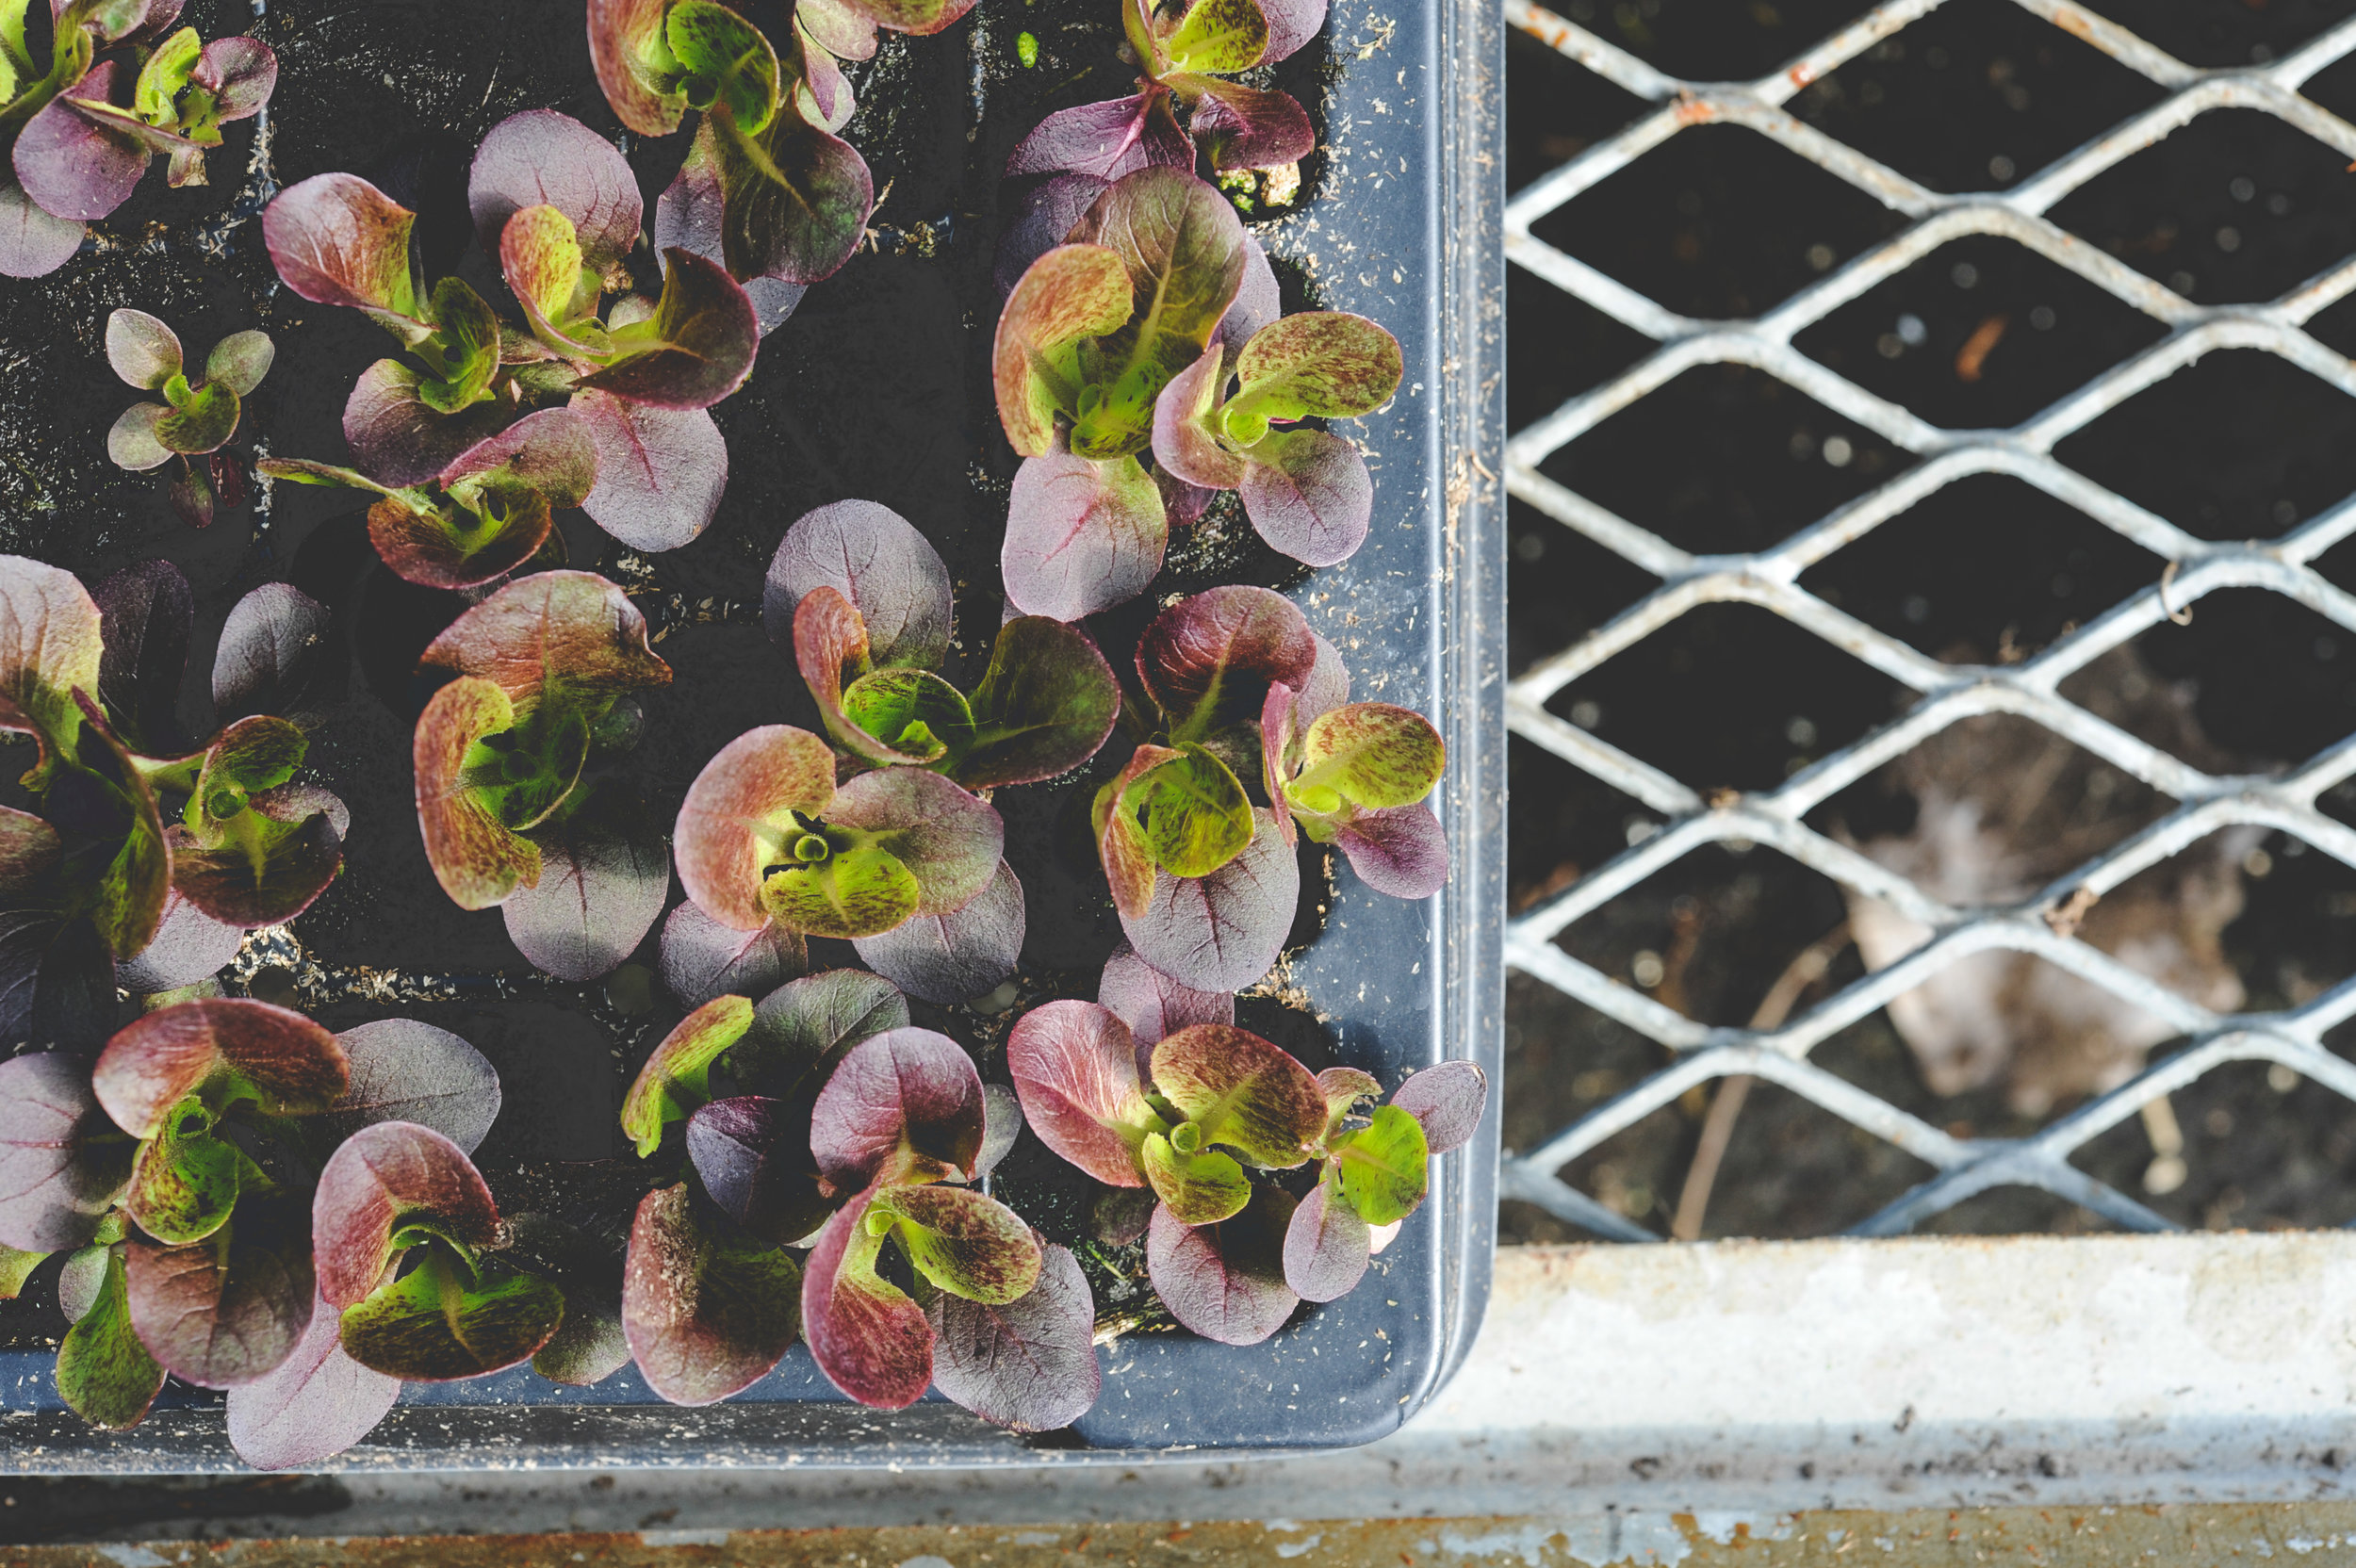
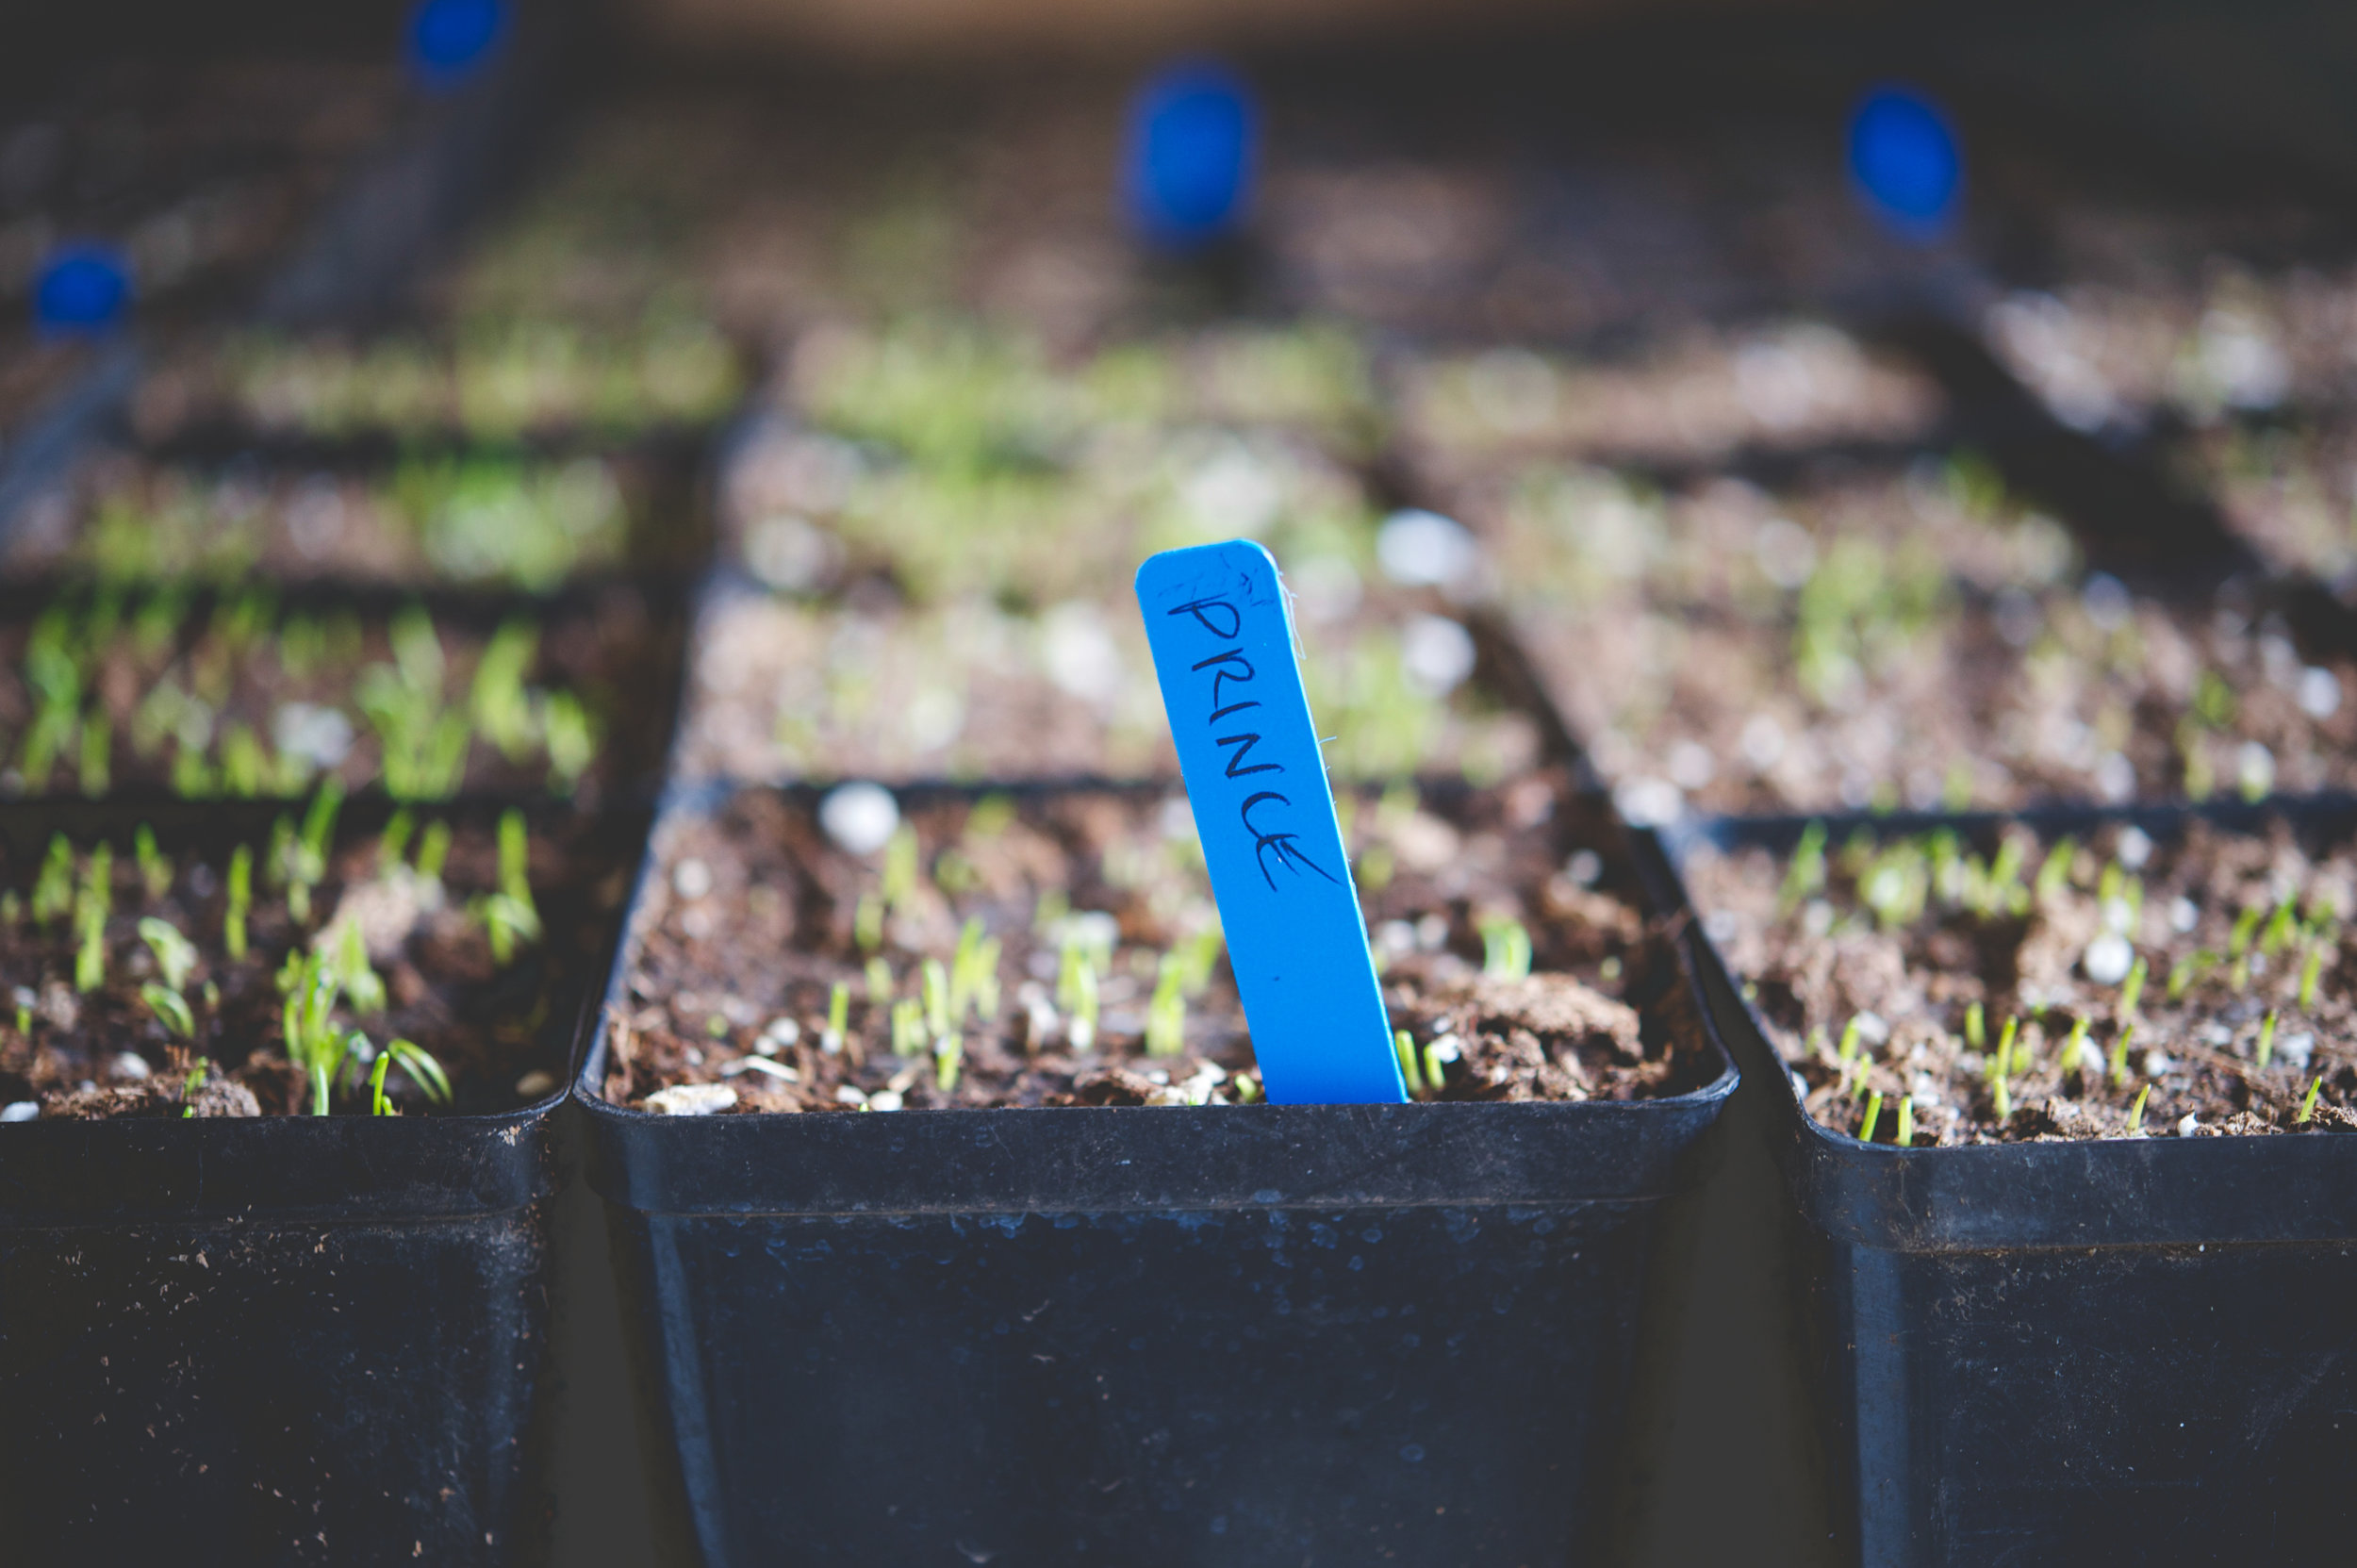
A: (Hilary) There are two different categories of crops that can be transplanted. The first is a group of crops that must be transplanted in order to have a long enough growing season to reach maturity. The second category of transplantable crops are those that individual gardeners choose to transplant because they either perform better or it makes their garden easier to manage or more productive. These crops can be direct seeded into the garden if that is preferable, but many gardeners find it advantageous to transplant them.
Our latest book, High-Yield Vegetable Gardening, helps make planning your direct seeding and transplanting simple by providing charts with our recommendations for each crop.
Q: “When you start your seeds indoors, do you put them by a window or do you use lights? If you use lights; what type of lights? Also, do you use heat pads? Total newbie here to starting seeds indoors, but I'm just trying to figure out a simple/cheap set up.”
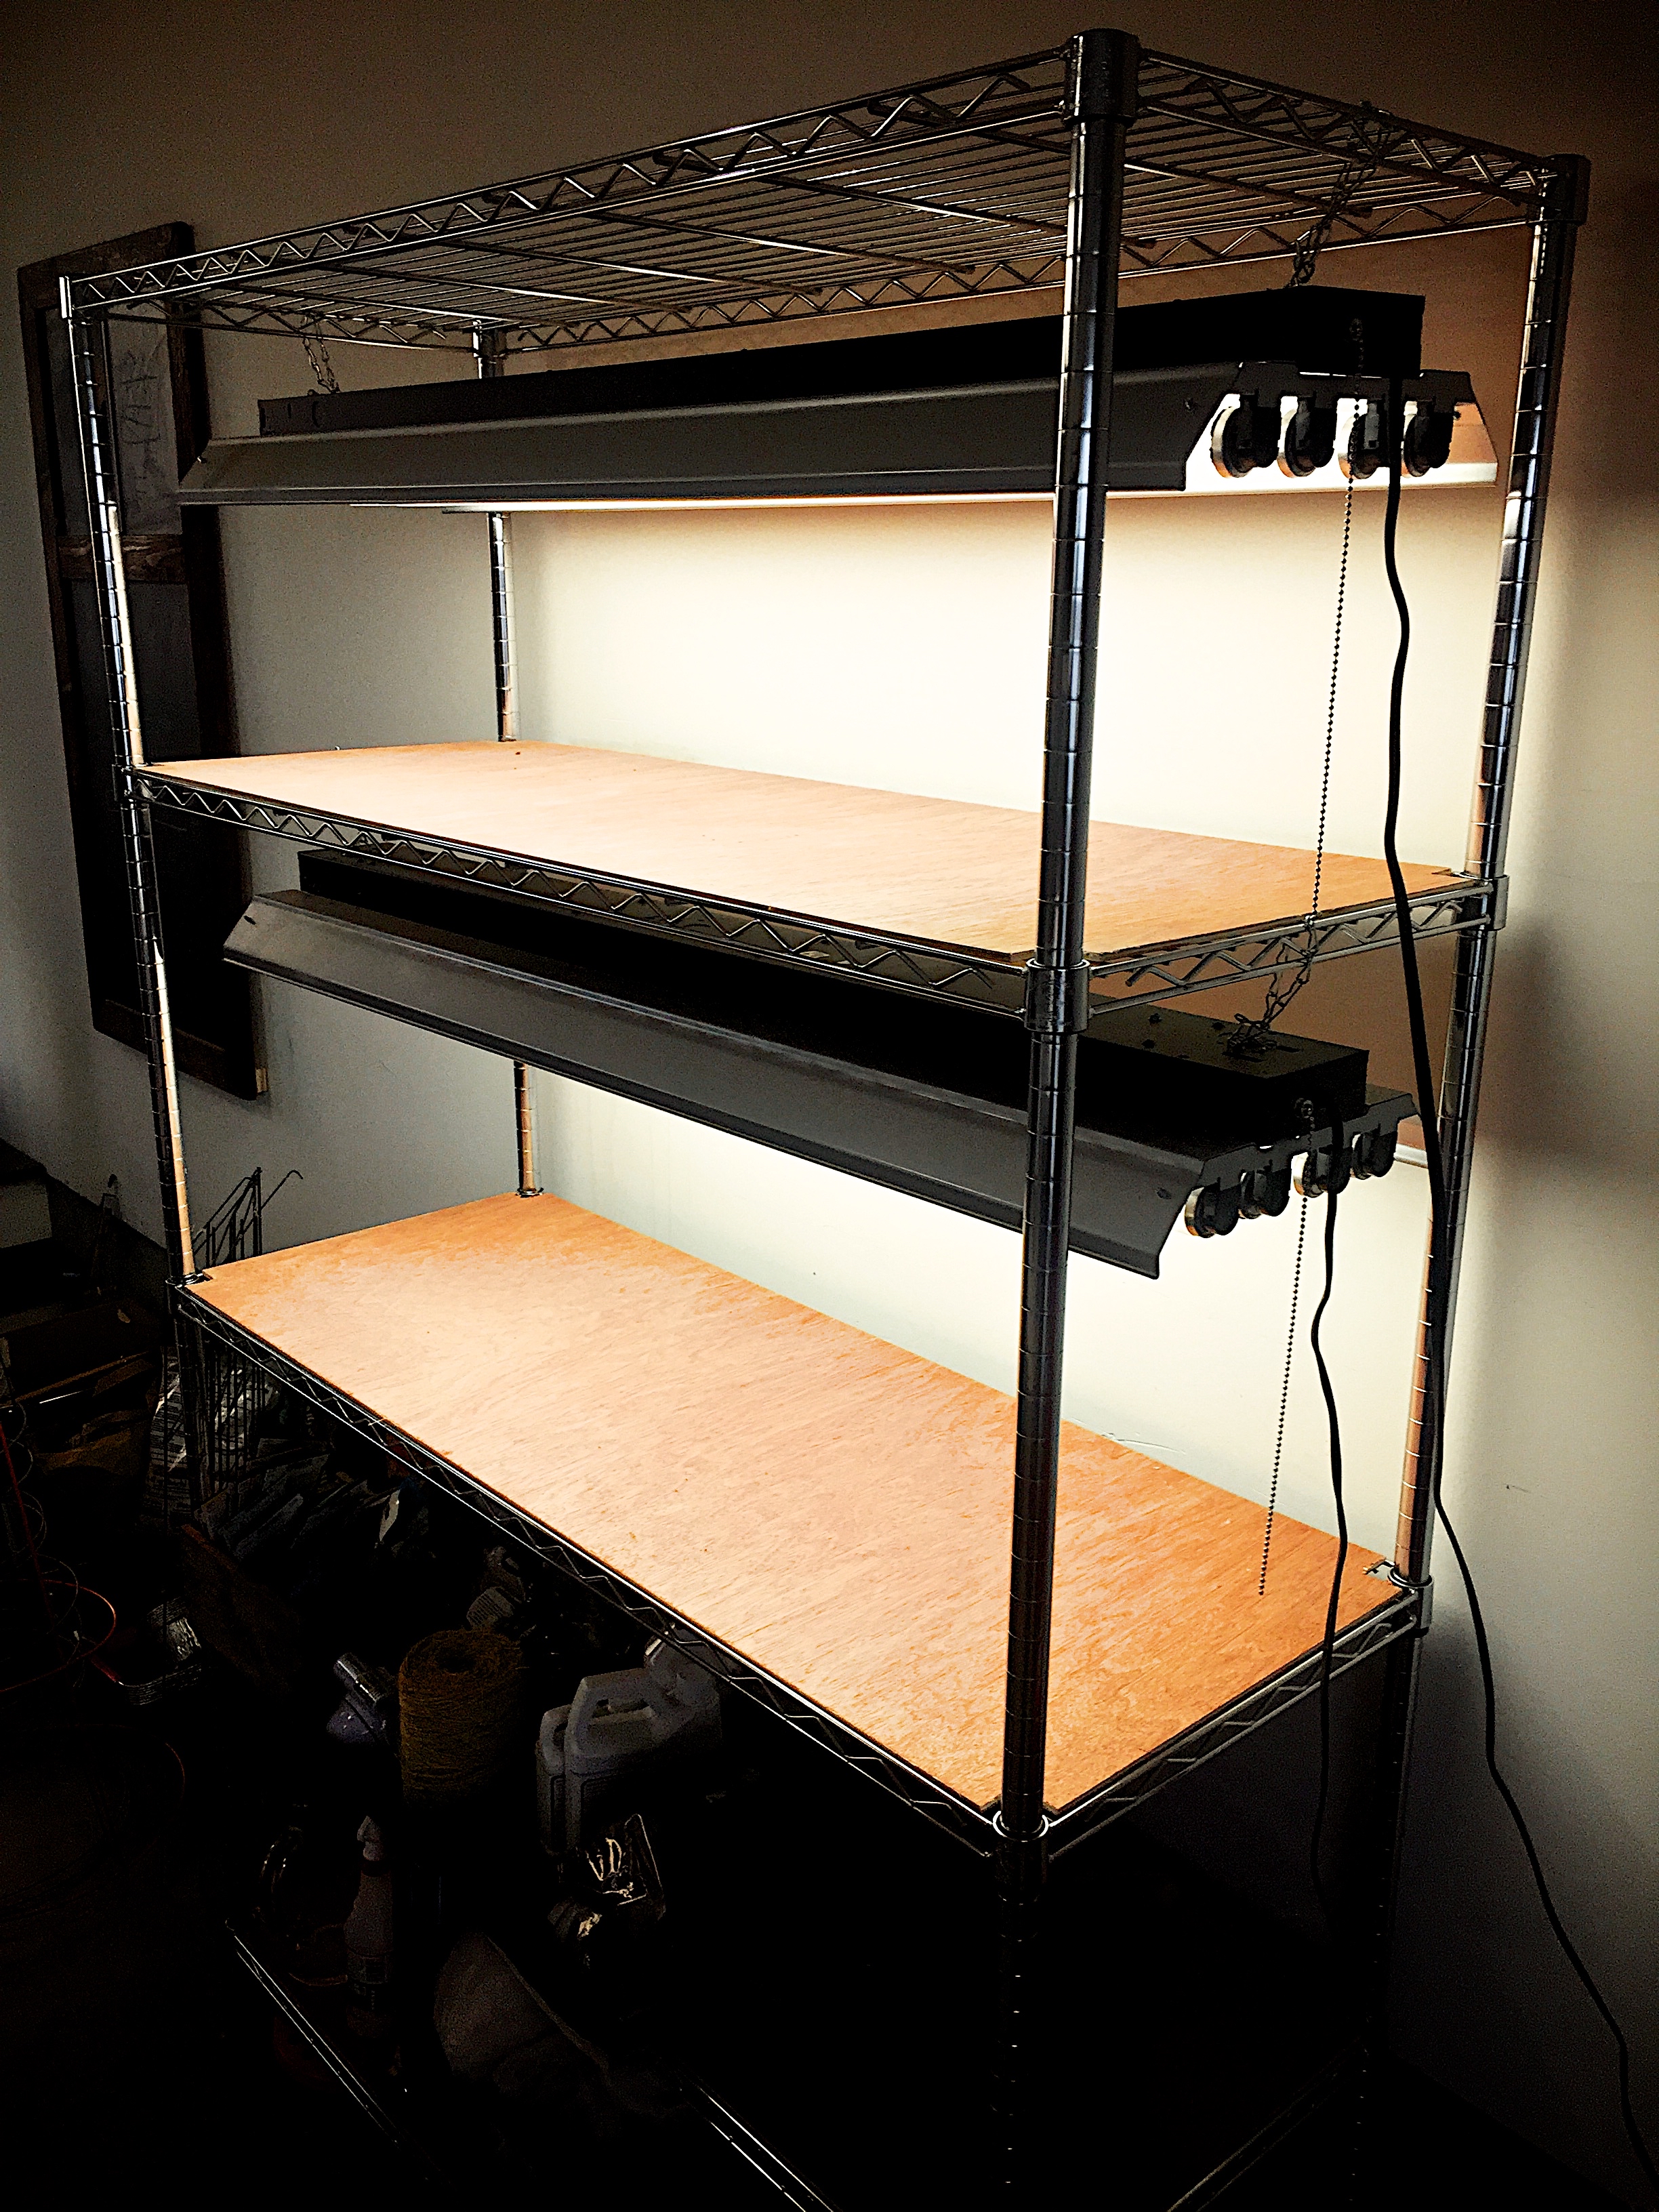
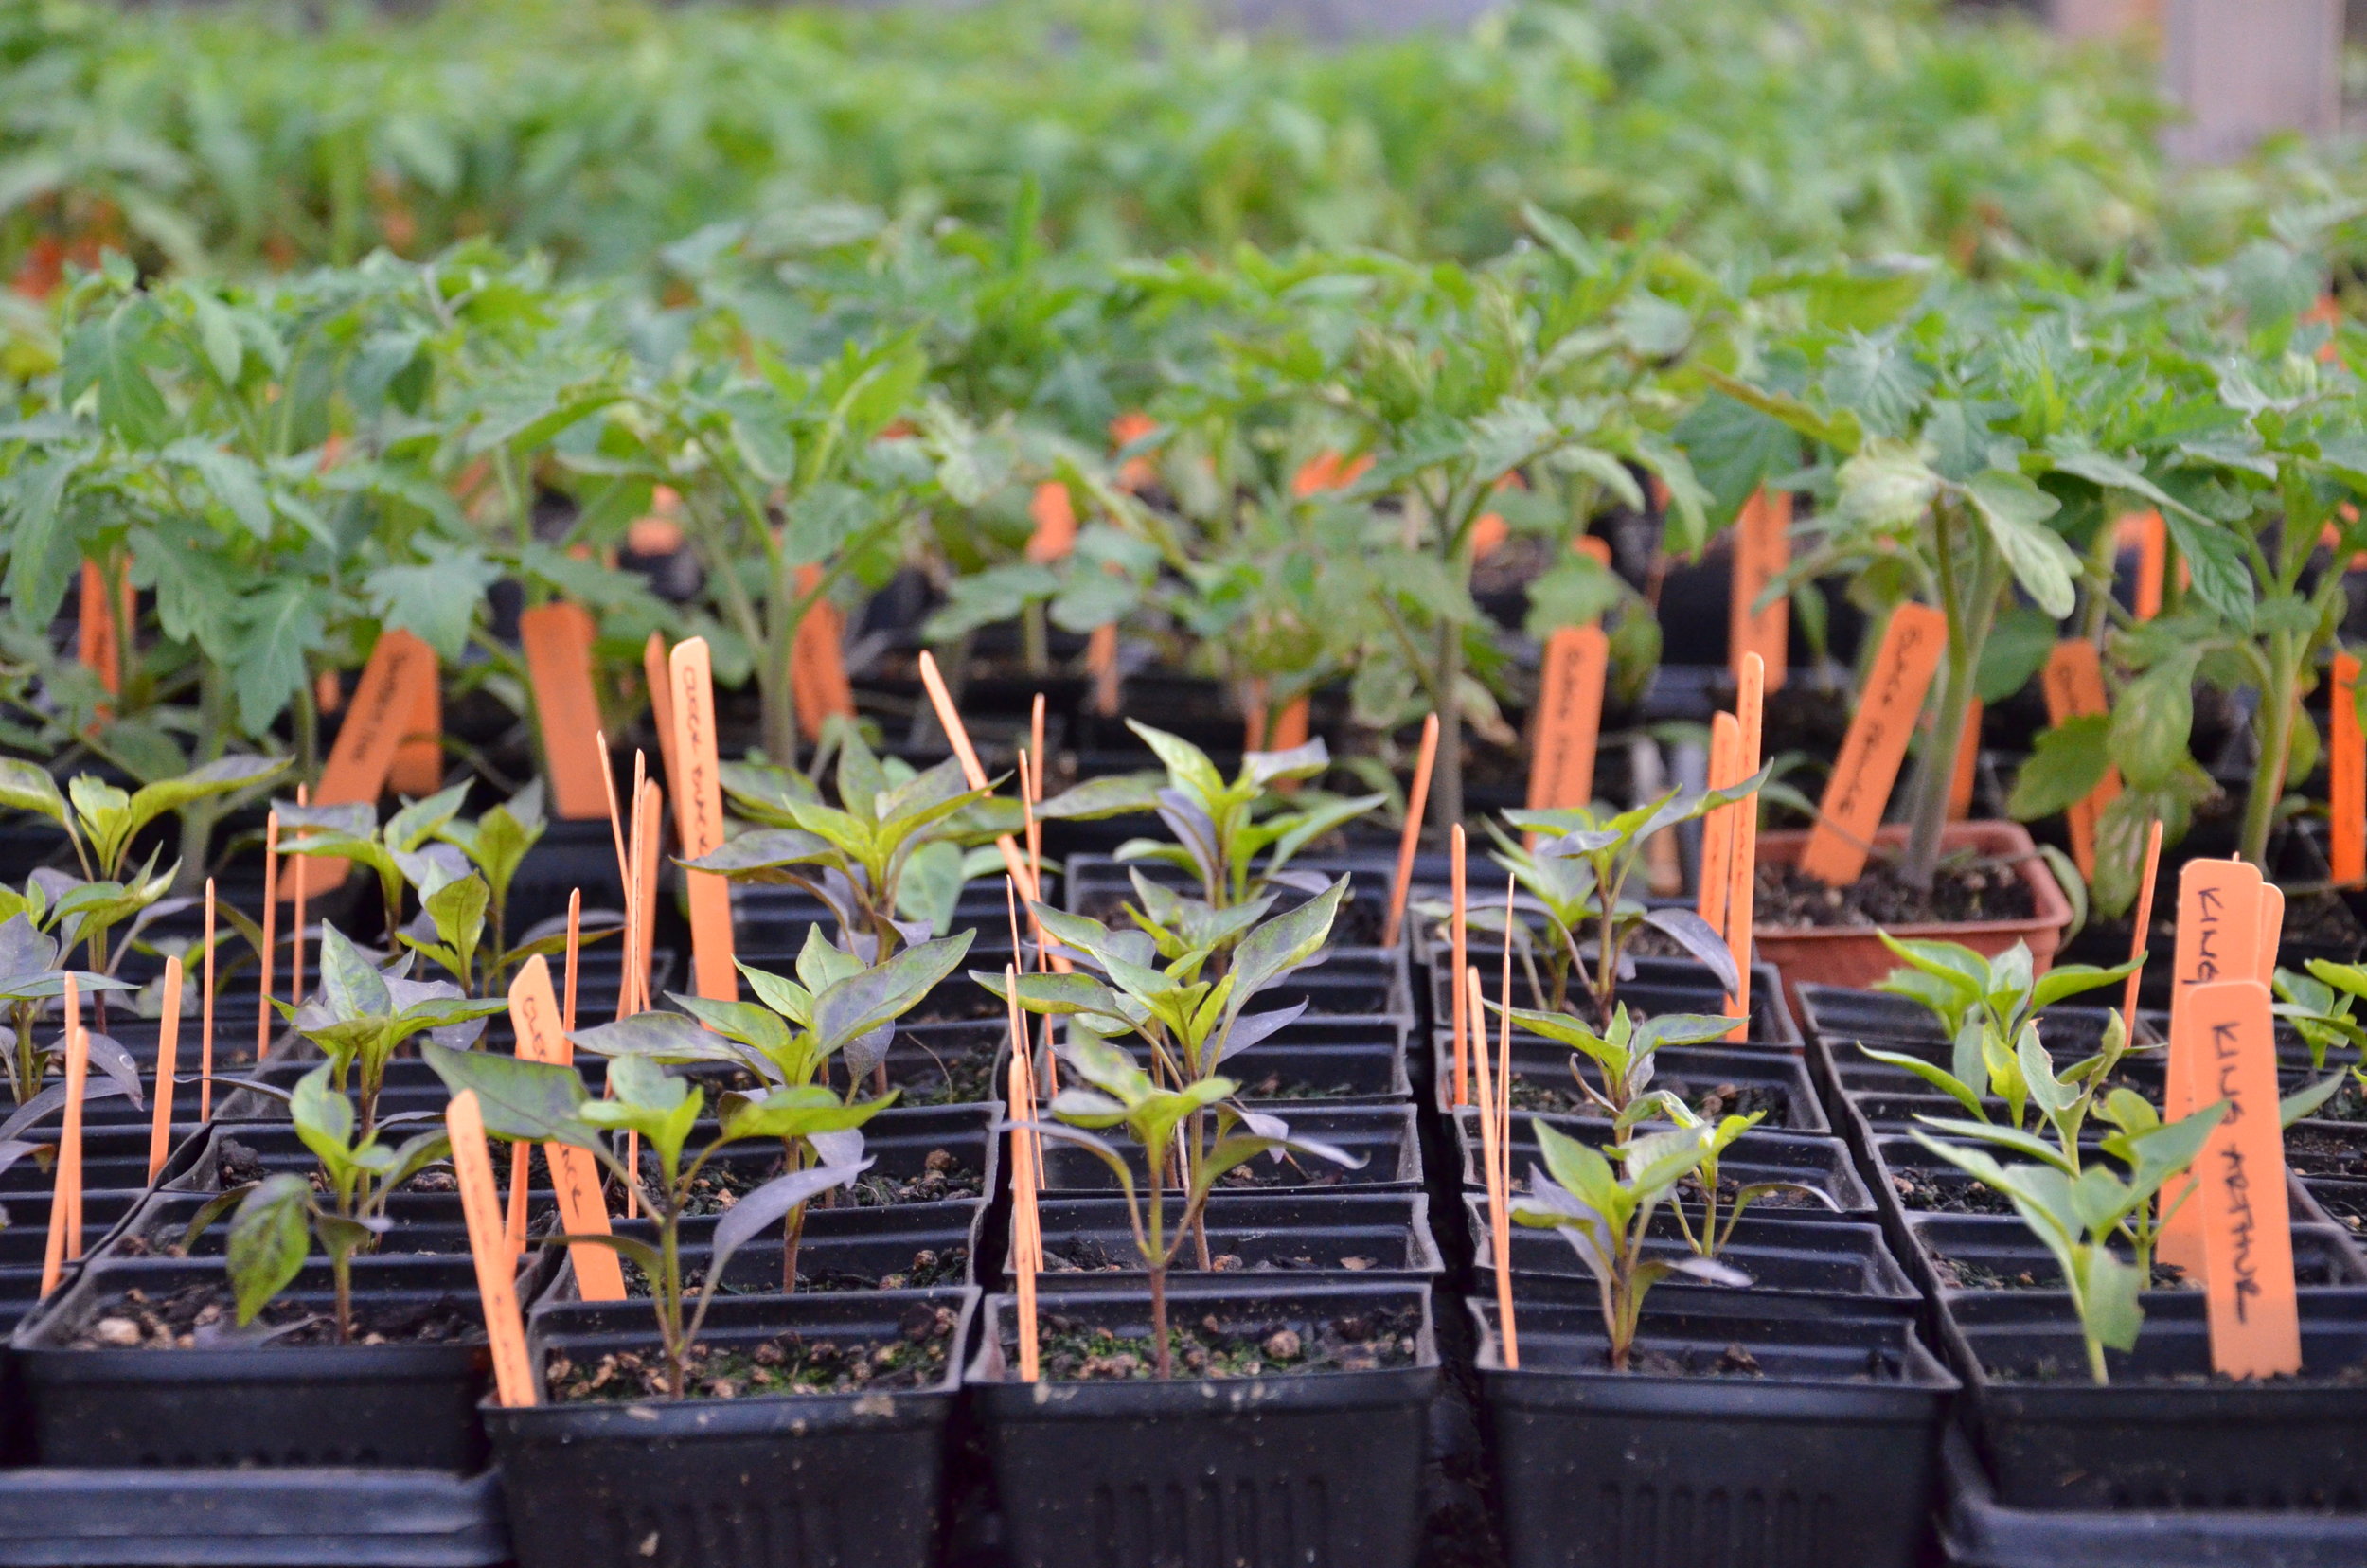
A: (Kellie) My home seed starting set-up is basically metro shelving, and then I hung two shop light fixtures with T5 lights from the shelves. I do use heating mats this time of year, especially for my warmer weather plants like tomatoes (eventually I wean them off the mats as I'm getting ready to harden them off for planting outside). I like to place my seedlings a few inches from the lights. The easiest way to do that is to prop them up on extra trays or pots, and then remove those as the seedlings get taller (it's easier than changing the position of the lights).
Q: "I'm hoping to sit down and get my planning squared away this weekend. This will be my first time growing anything! The house we bought came with a few small beds, and your resources have been so helpful. I'm getting to the stage of narrowing things down, and now I'm trying to figure out where to buy things. I don't have the capability to start things indoors, so I'm trying to figure out what I can grow from seed outside, and what I can buy that has been started elsewhere (for example, should I just buy a tomato plant and move it to my raised beds?)."
A: (Hilary) First of all, I want to say: keep it simple!!! If you just have a few raised beds I'd encourage you to pick out a handful of crops to try out this year... make a list of what you're thinking about growing, and then research if it should be direct seeded or transplanted. The a seed website or catalog can help with that, and so can the Slack group! From there, you'll have a sense of what seeds to buy now and what transplants to buy later. You might designate one of your beds to a couple of short season, direct-seeded crops, and then seed another bed in beets and carrots, and transition the first bed to peppers and tomatoes that you buy as transplants later in the season.
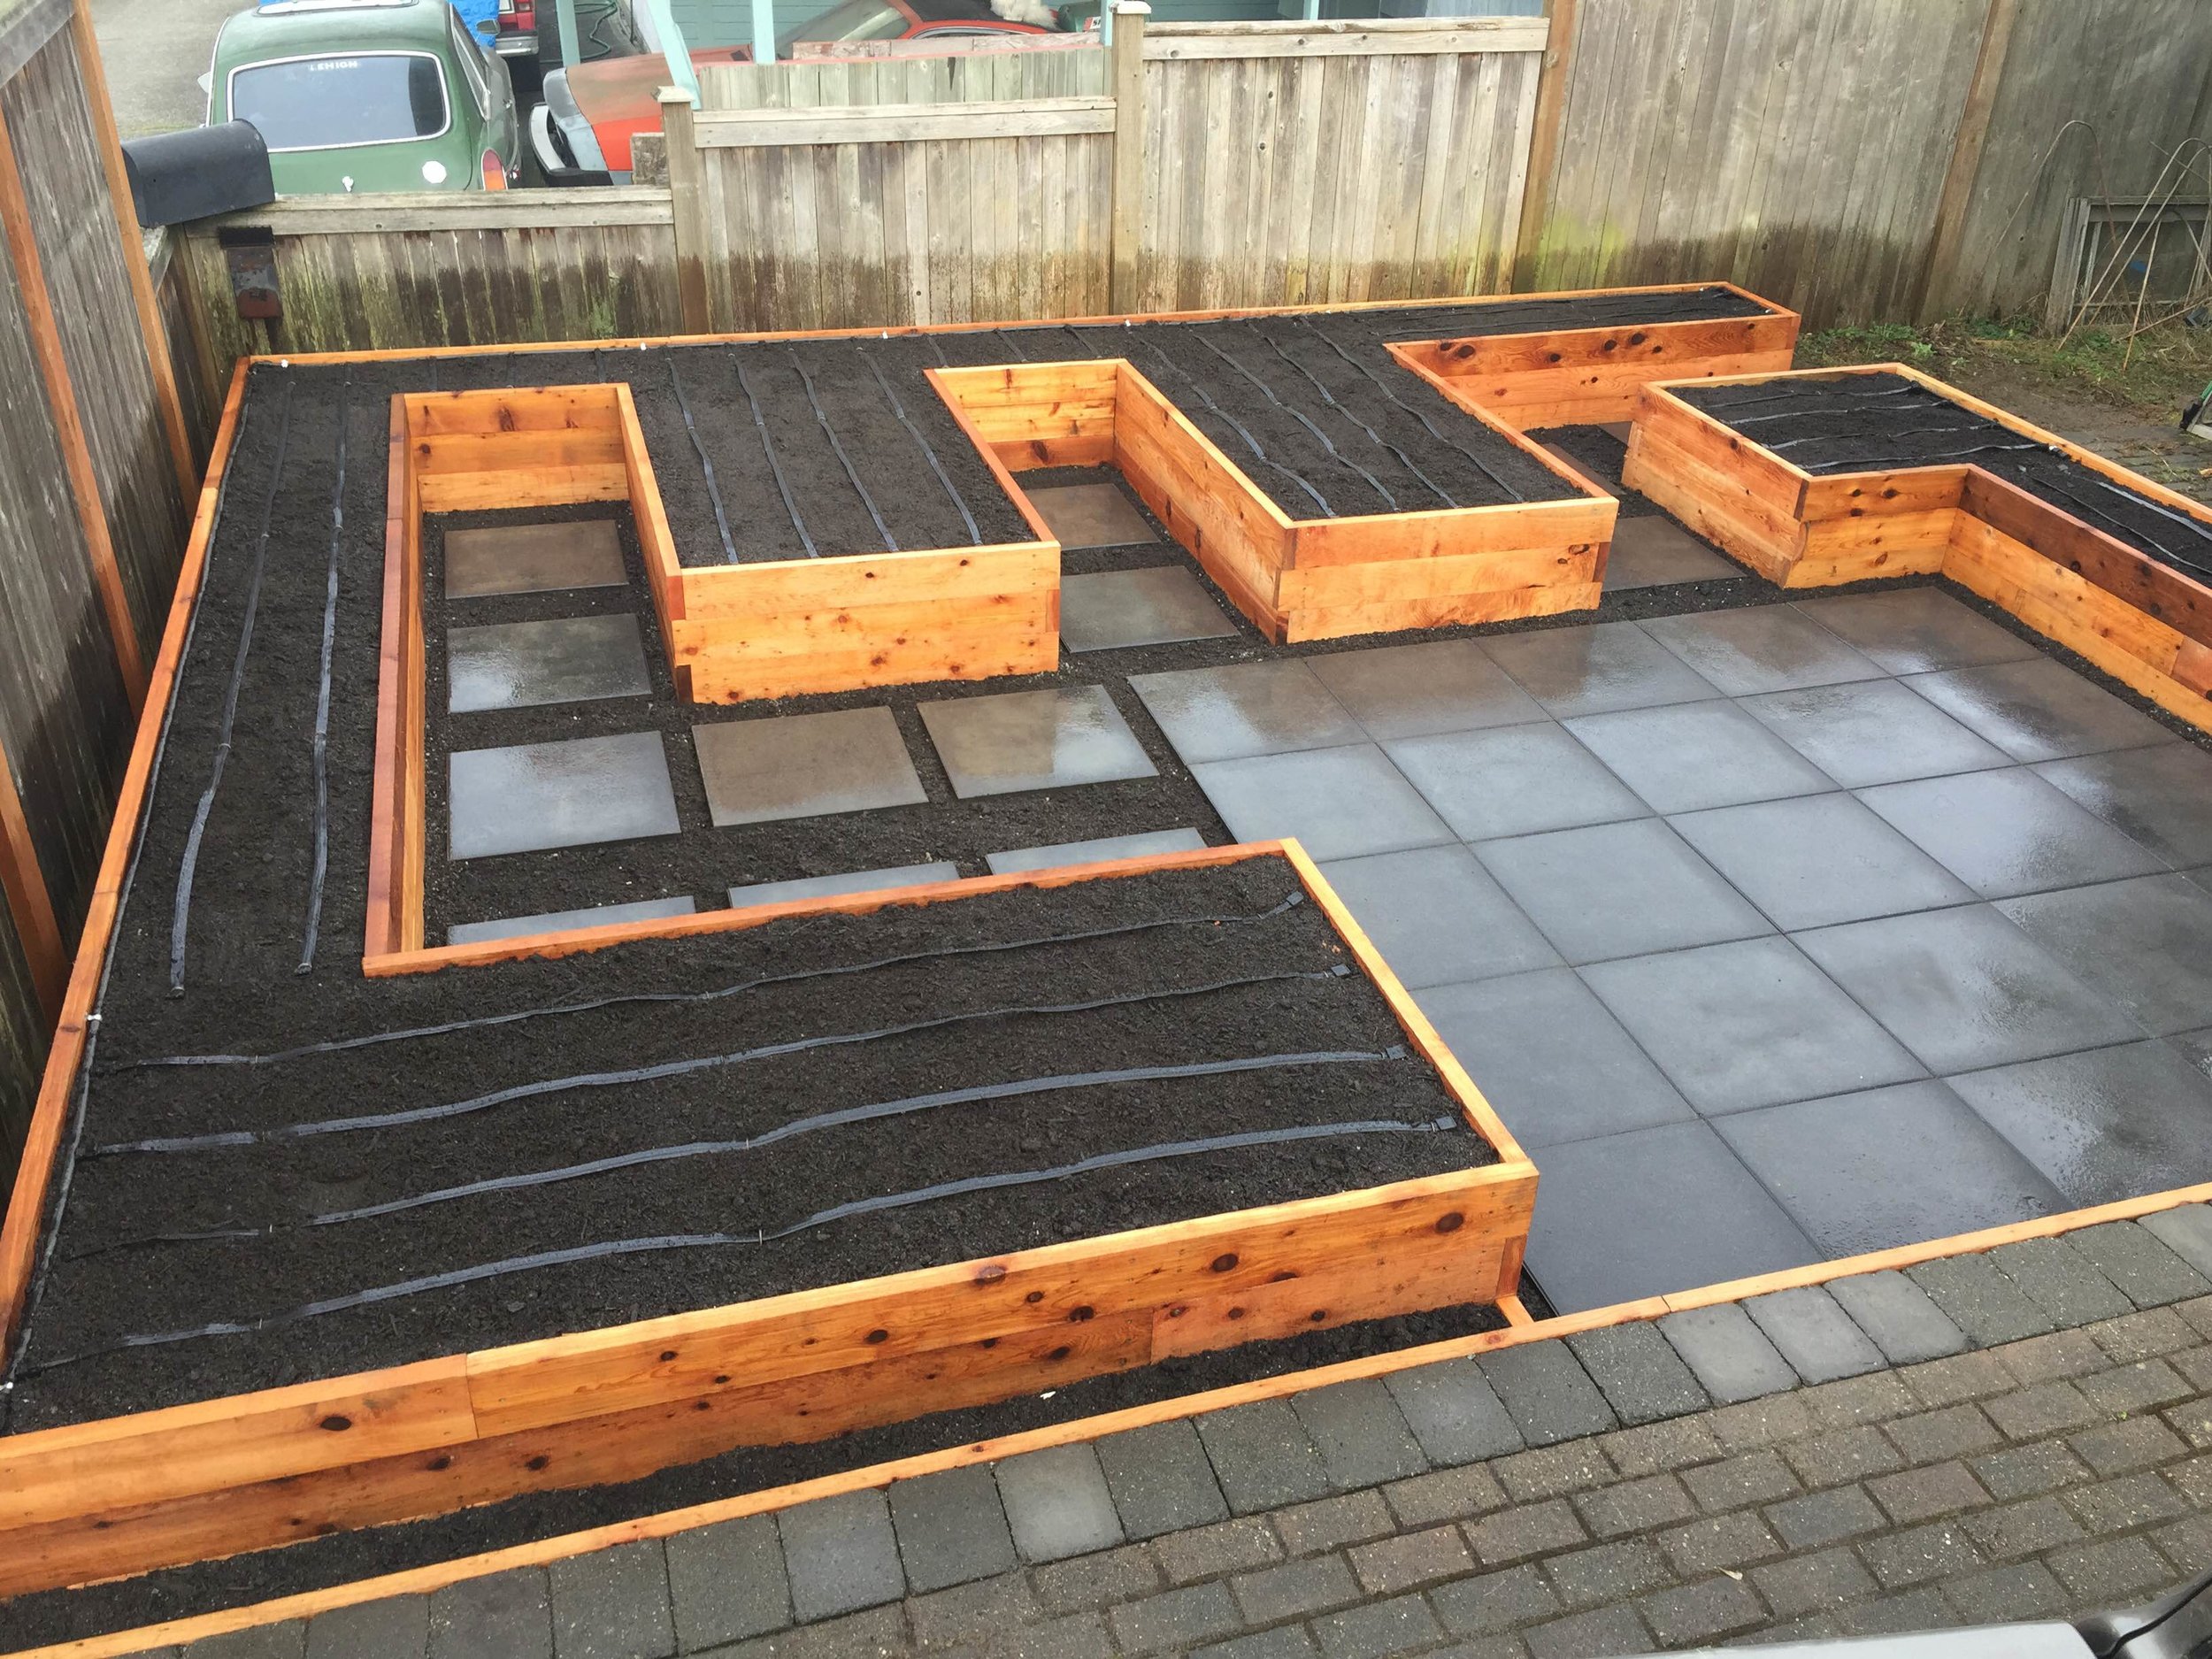
Q: “When we first moved to this small farm/homestead last year, I had no idea how to deal with these huge expanses of tilled land (well, huge compared to my previous backyards)... so I built raised beds because they were familiar to me and I knew how to arrange a small raised bed. But this year I pulled out the raised beds and I'm going to try doing reeeeallly long rows, probably just 1 or 2 at the most of each variety. I think it will be easier to do successive plantings this way. It's been a hard transition to figure out how to plan my garden on this comparatively giant expanse of soil... Also! I really want to do drip irrigation but I don't think it makes sense on a plot of land -- parts of it are always getting turned in, and it seems like big parts wouldn't be covered by the drip hose. Plus the expense! Also I think they lose their water pressure if a line is too long... #firstgenerationfarming #clueless'”
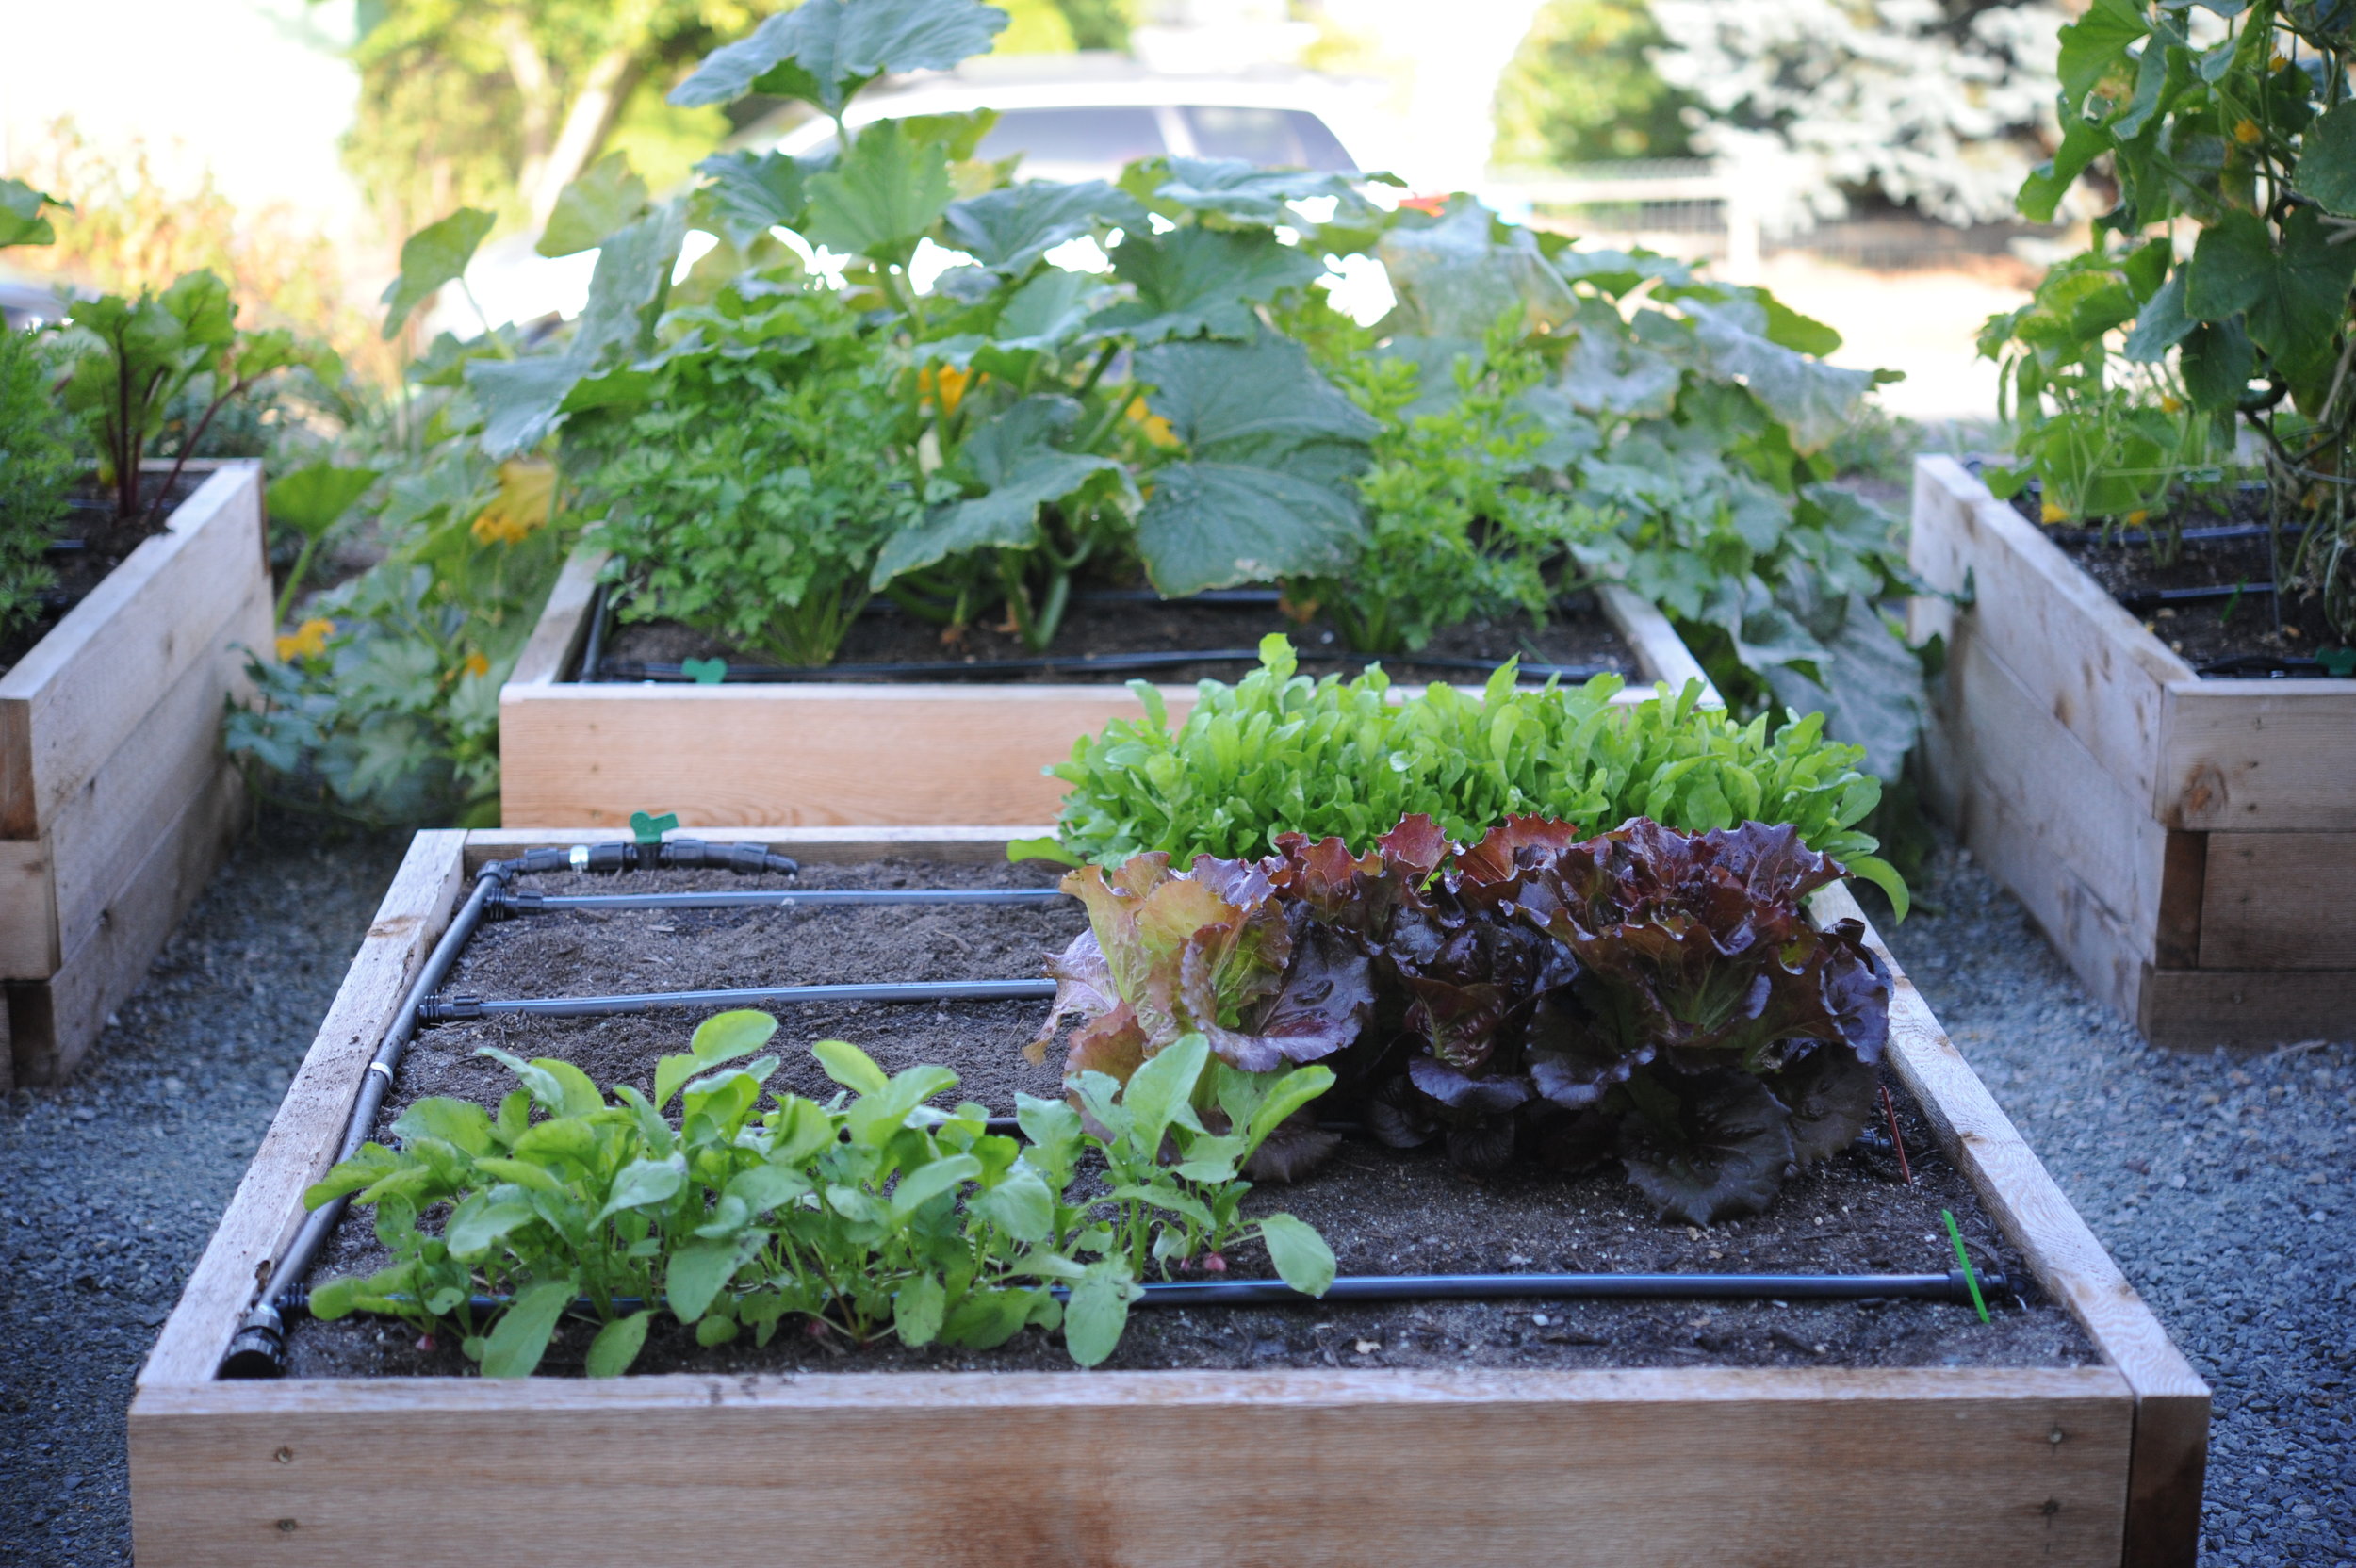
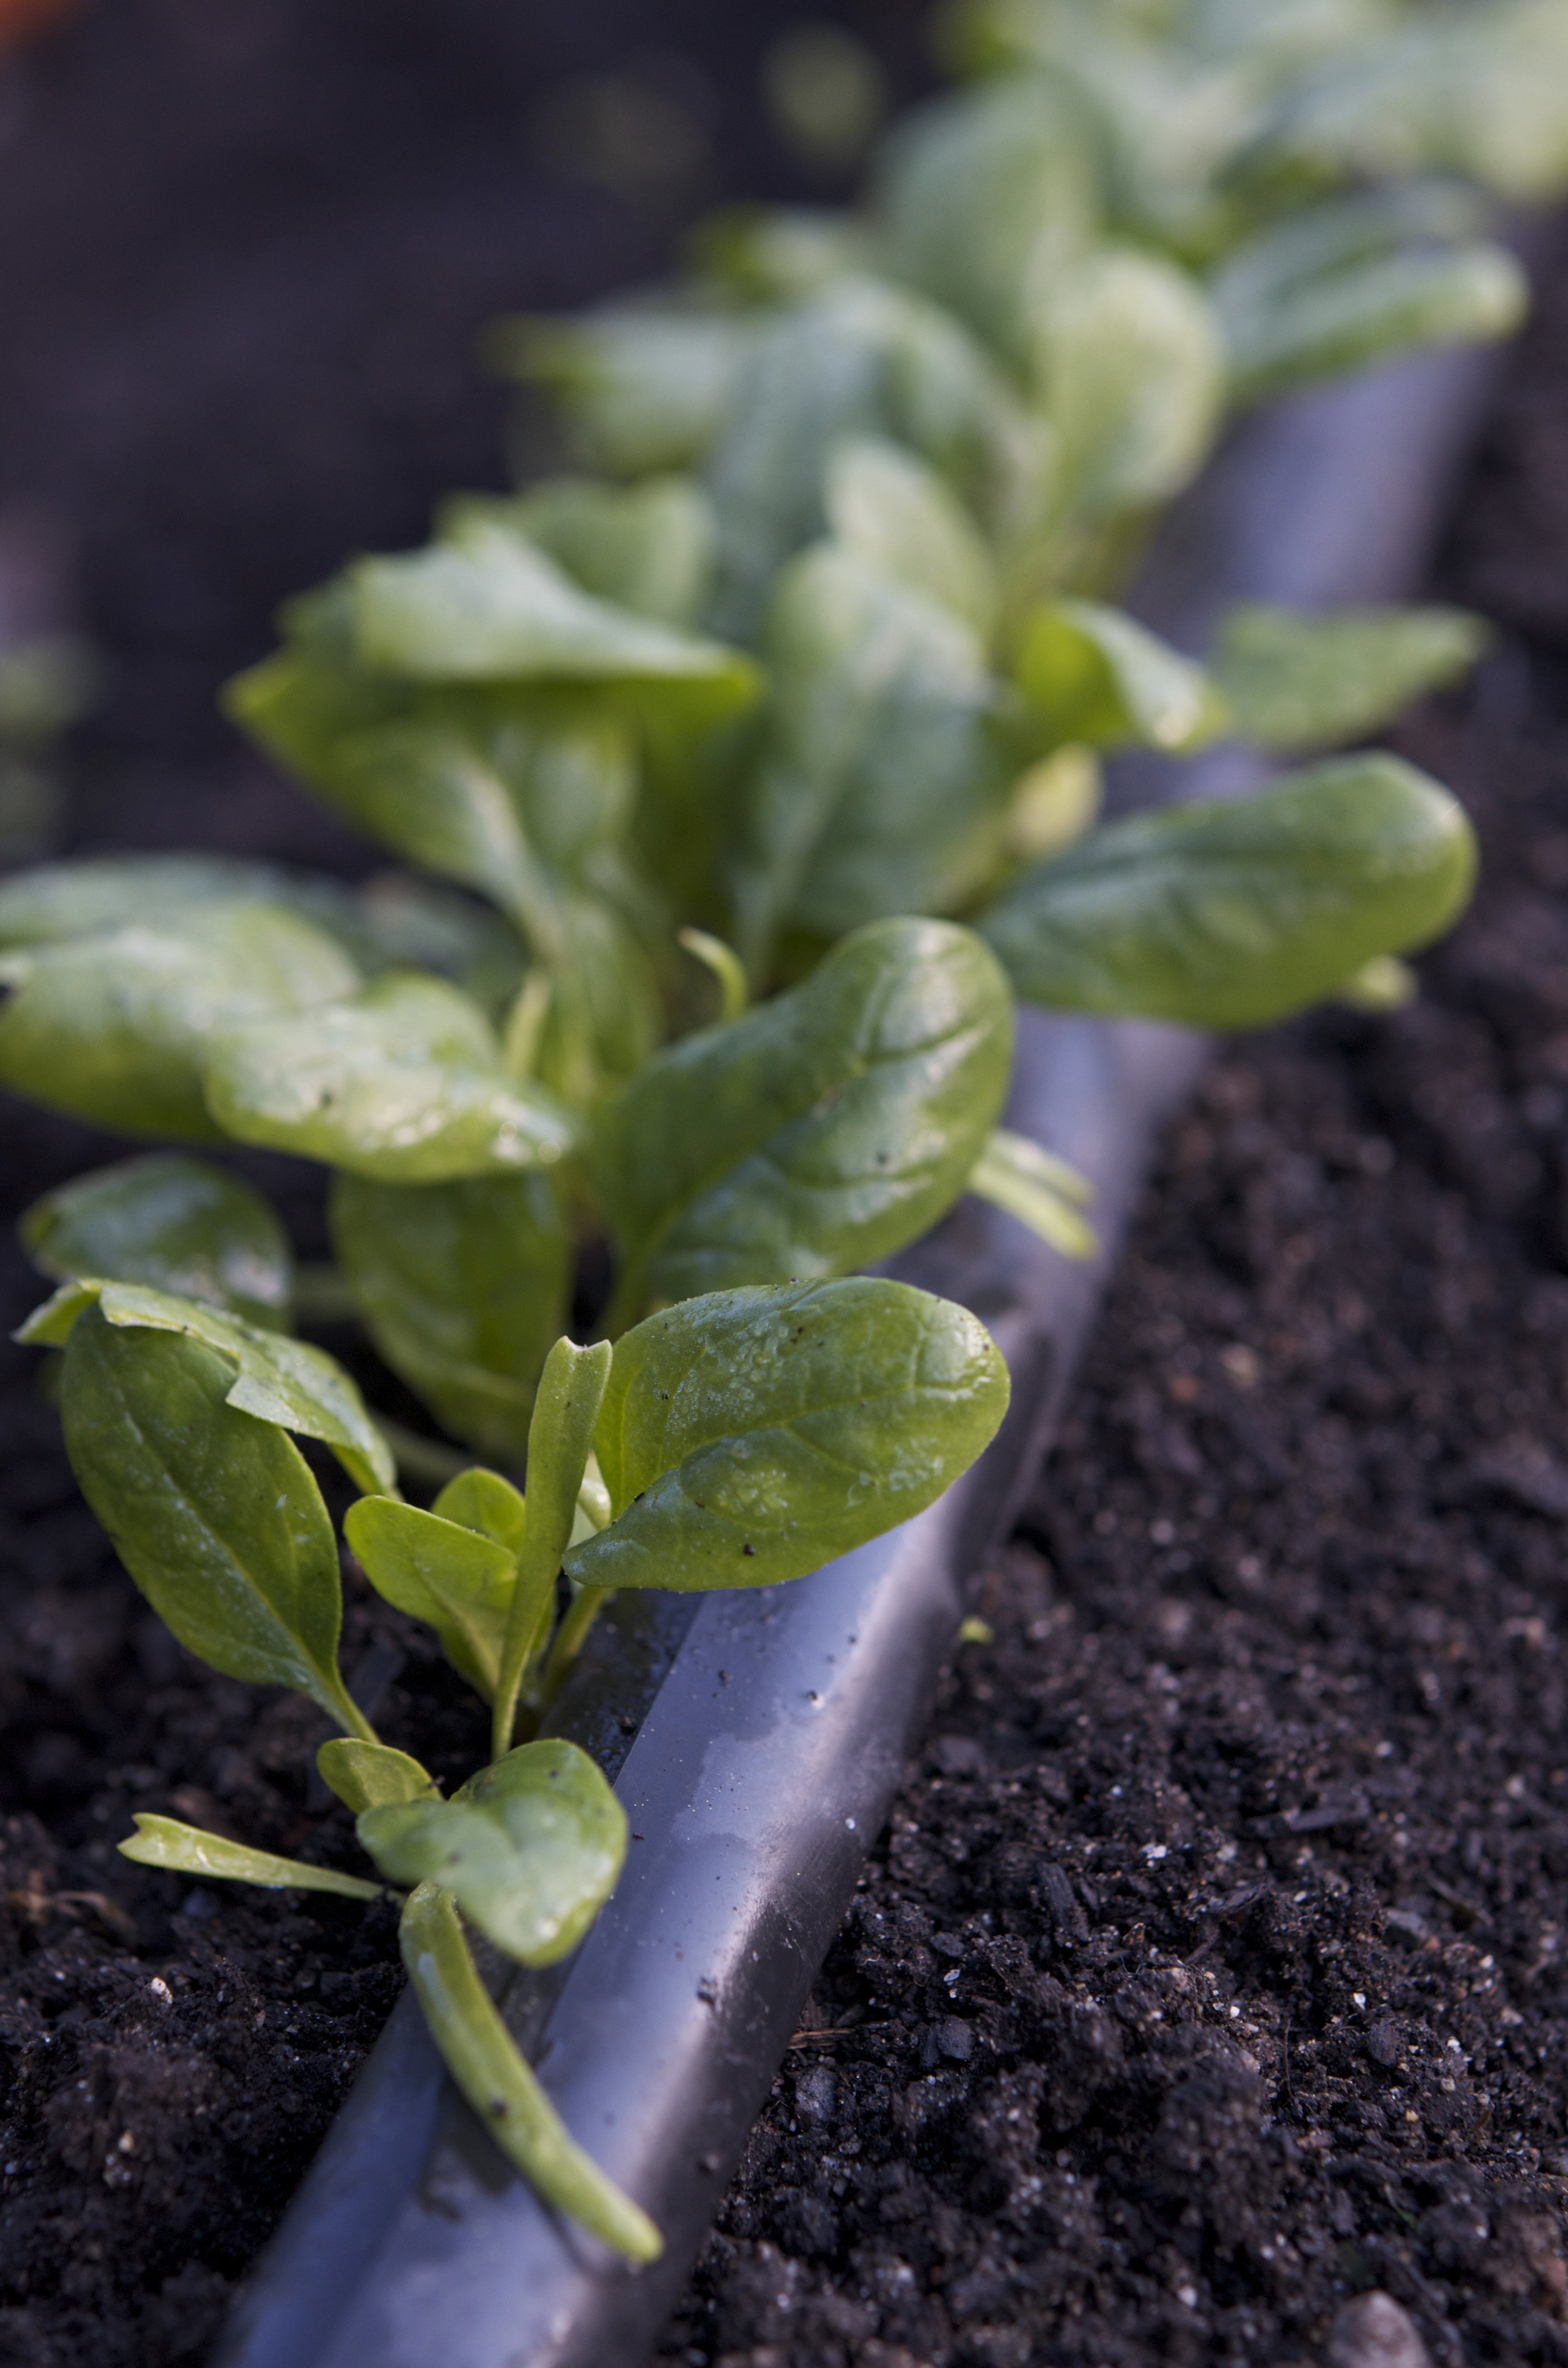
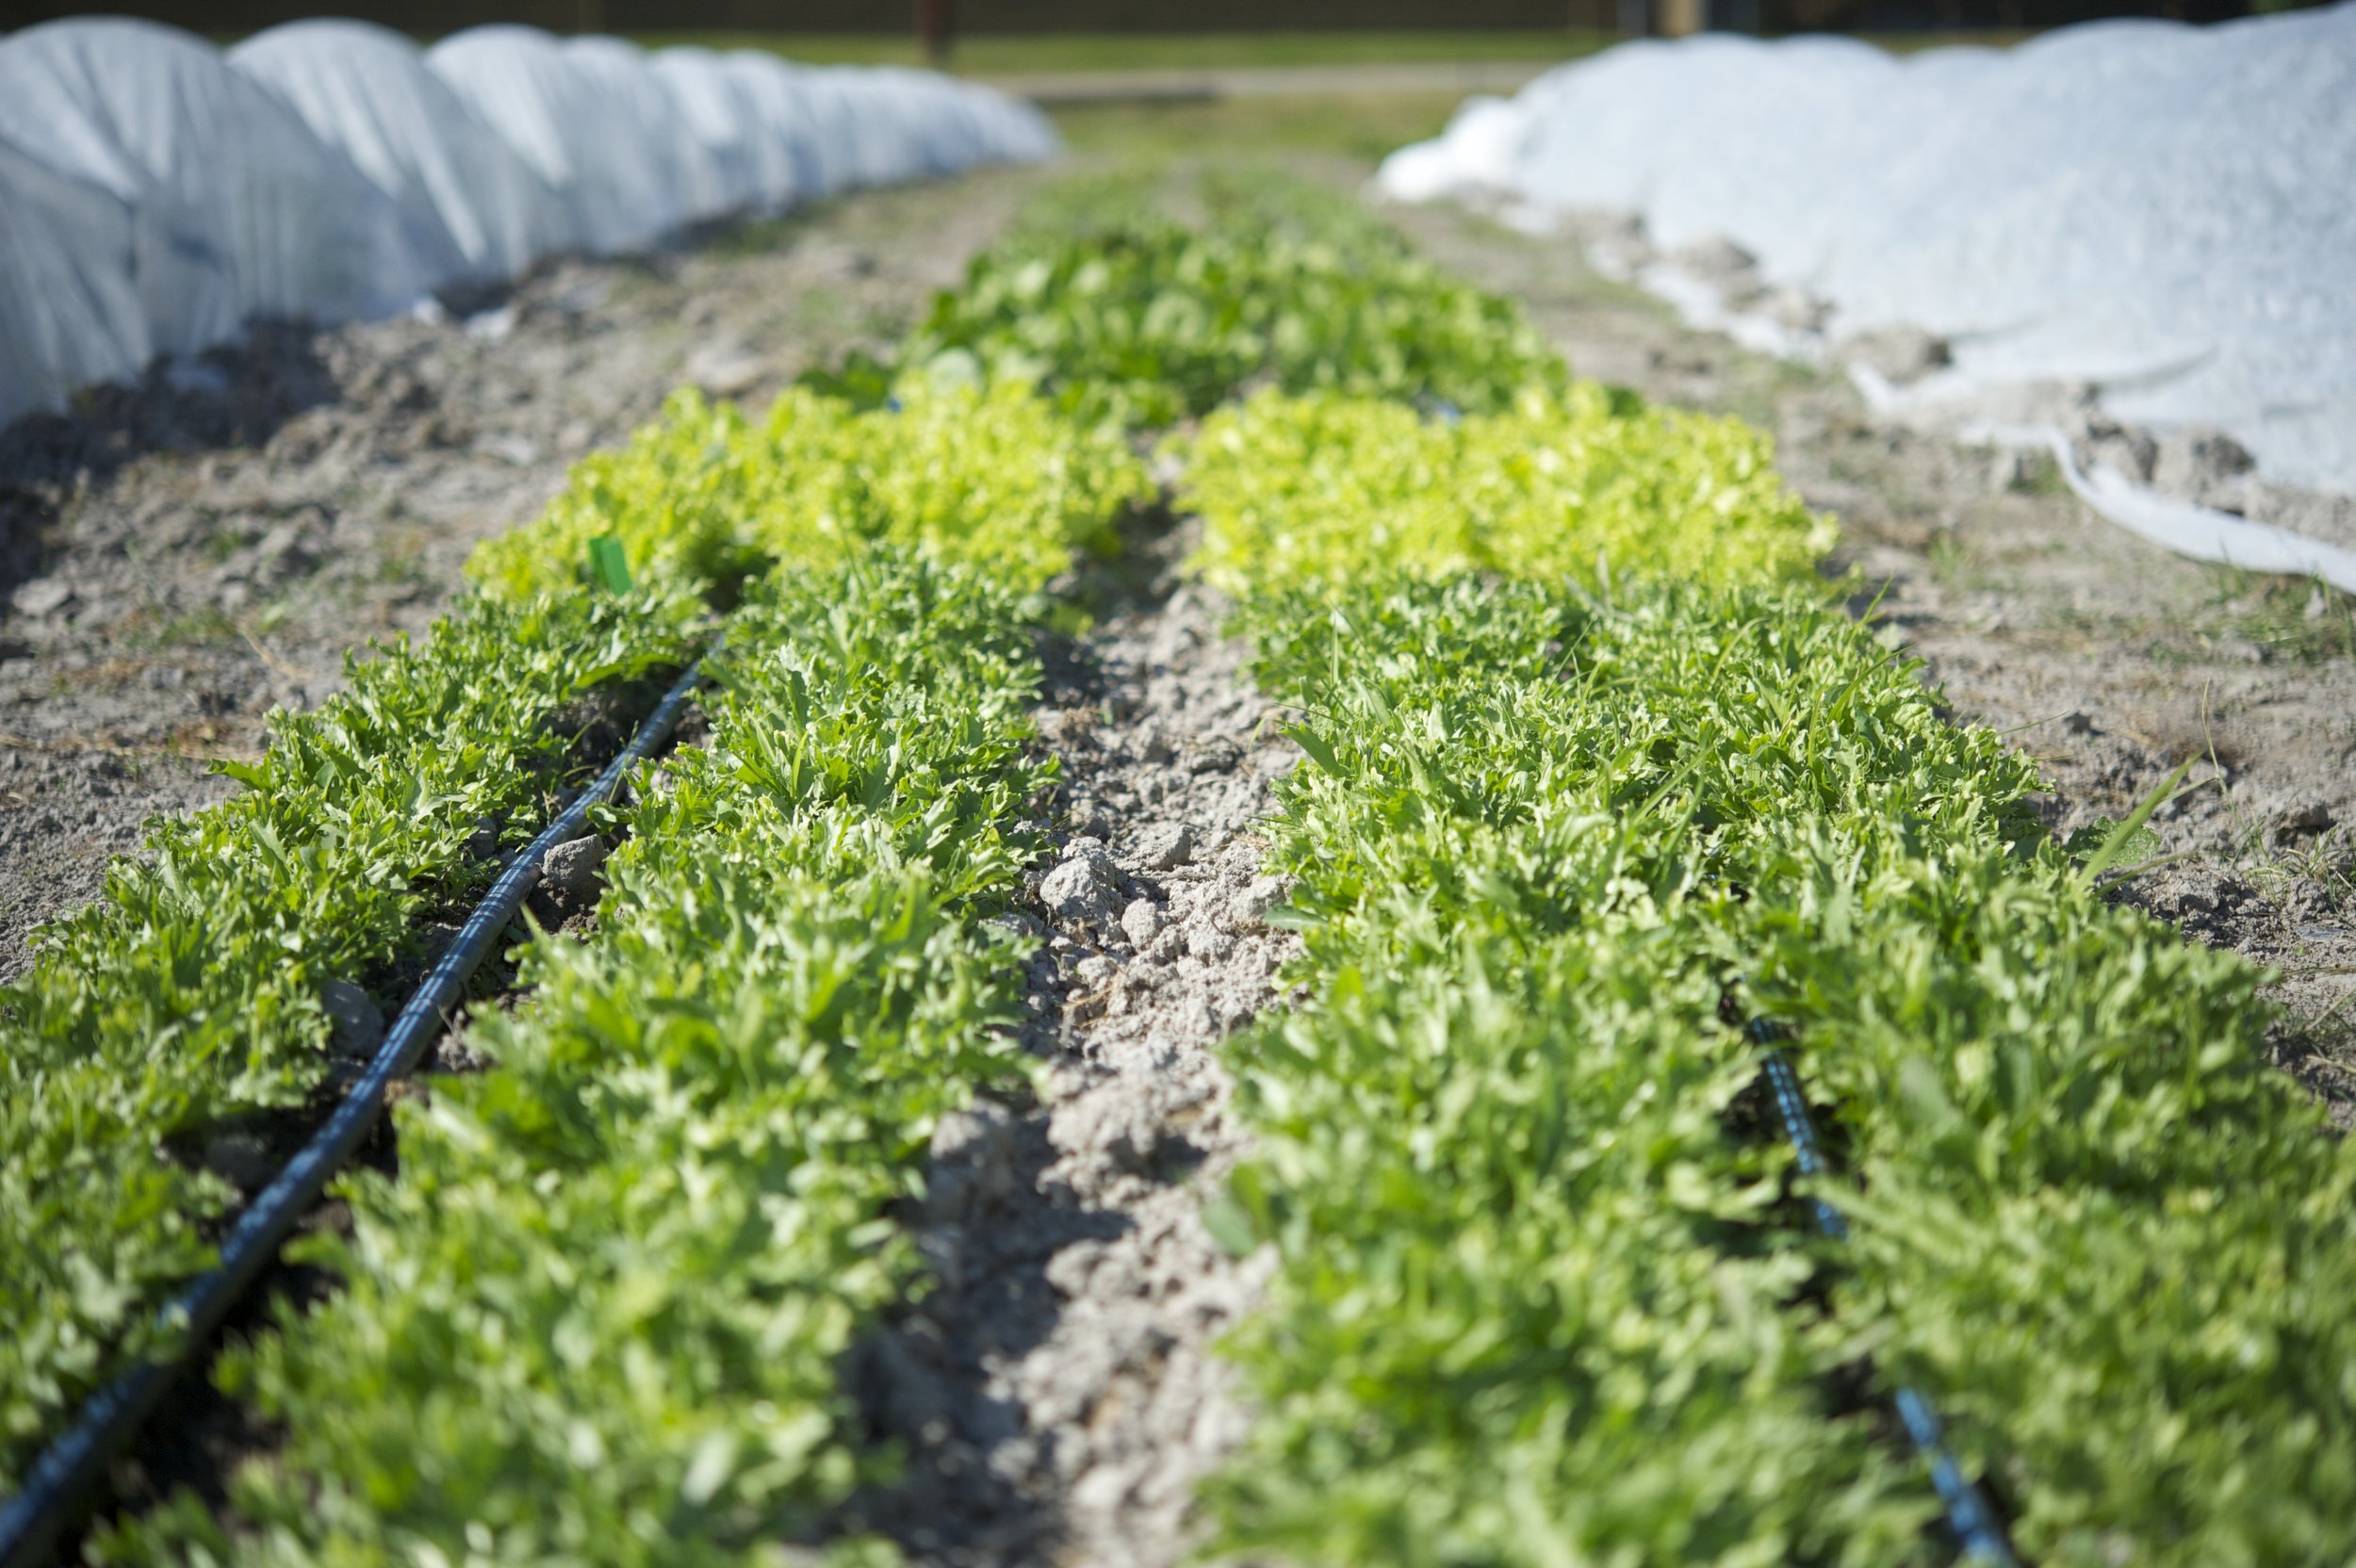
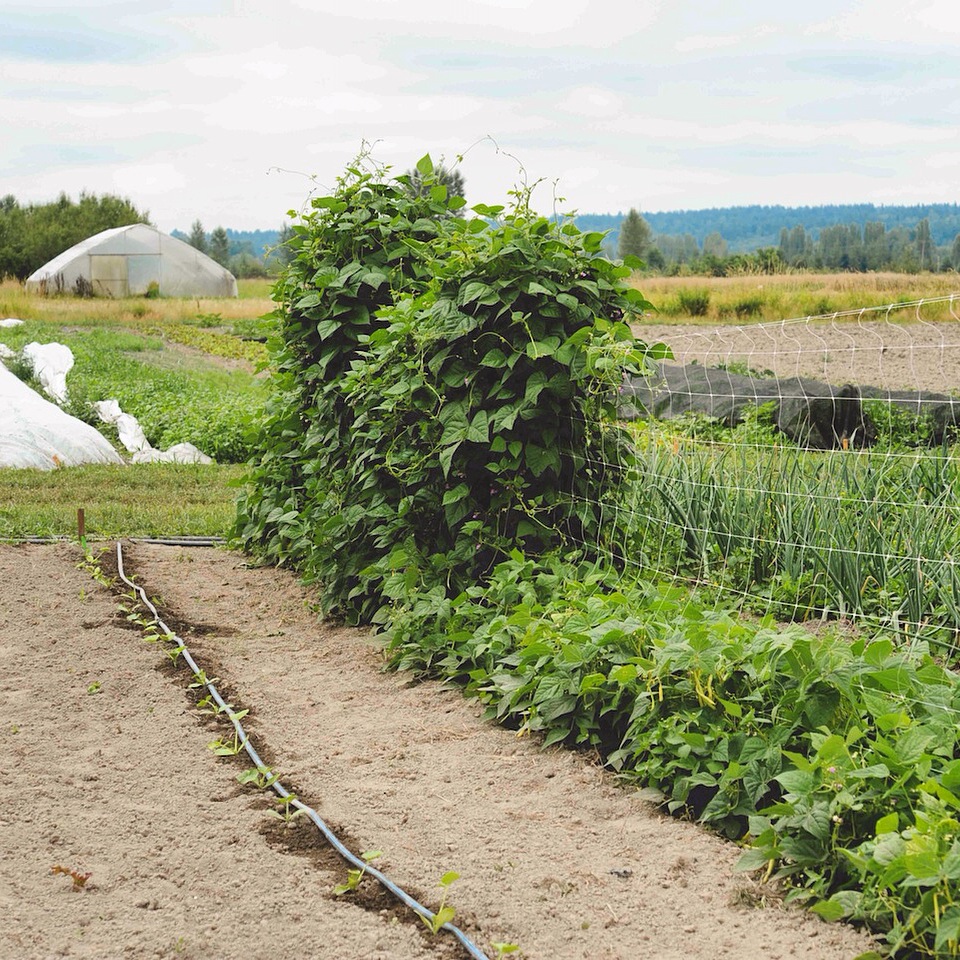
A: (Hilary) The drip irrigation we use in our urban farms is actually designed for large farms. The drip lines we have at our Woodinville farm span beds that are 150 feet long and is the exact same line we use in our residential gardens, so water pressure shouldn't be an issue! But, you're right, they are an investment on that scale…
When it comes to figuring out how to plant these really large spaces, I think it depends on the crop, what your goals are and how active you are in your garden. If it were me, I'd probably think about planting in blocks, as opposed to rows. Let’s say your beds are 4 x 50 feet and you have drip tapes spaced every foot across the 4 foot span. You'll still plant in rows along your drip tapes, but instead of planting one long 50 foot row of beets, you'll plant 8 (one on each side of the drip tape) 5 foot rows of beets, and then 8 5 foot rows of carrots next to that, and so on. In my opinion, this makes harvesting, maintenance and succession planting a little easier.
Q: (@christian) "Okay, I have a confession - I'm having some serious Beet envy right now watching the Aussie instagrammers, and feel ready to expose my deep insecurity around the size of my former roots. I have grown them successfully and tried multiple techniques (increased/decreased light/soaking seeds/more soil fertility/less soil fertility/early sow/late sow) but, lack consistency. Any go-to wisdom/tips for growing down some fat beets are welcome!!”
A: (Hilary) Here's how I grow beets:
chose a spot that gets full sun - soil temp should be at least 50 degrees, 77 degrees is optimal
work the soil so that it's nice and loose
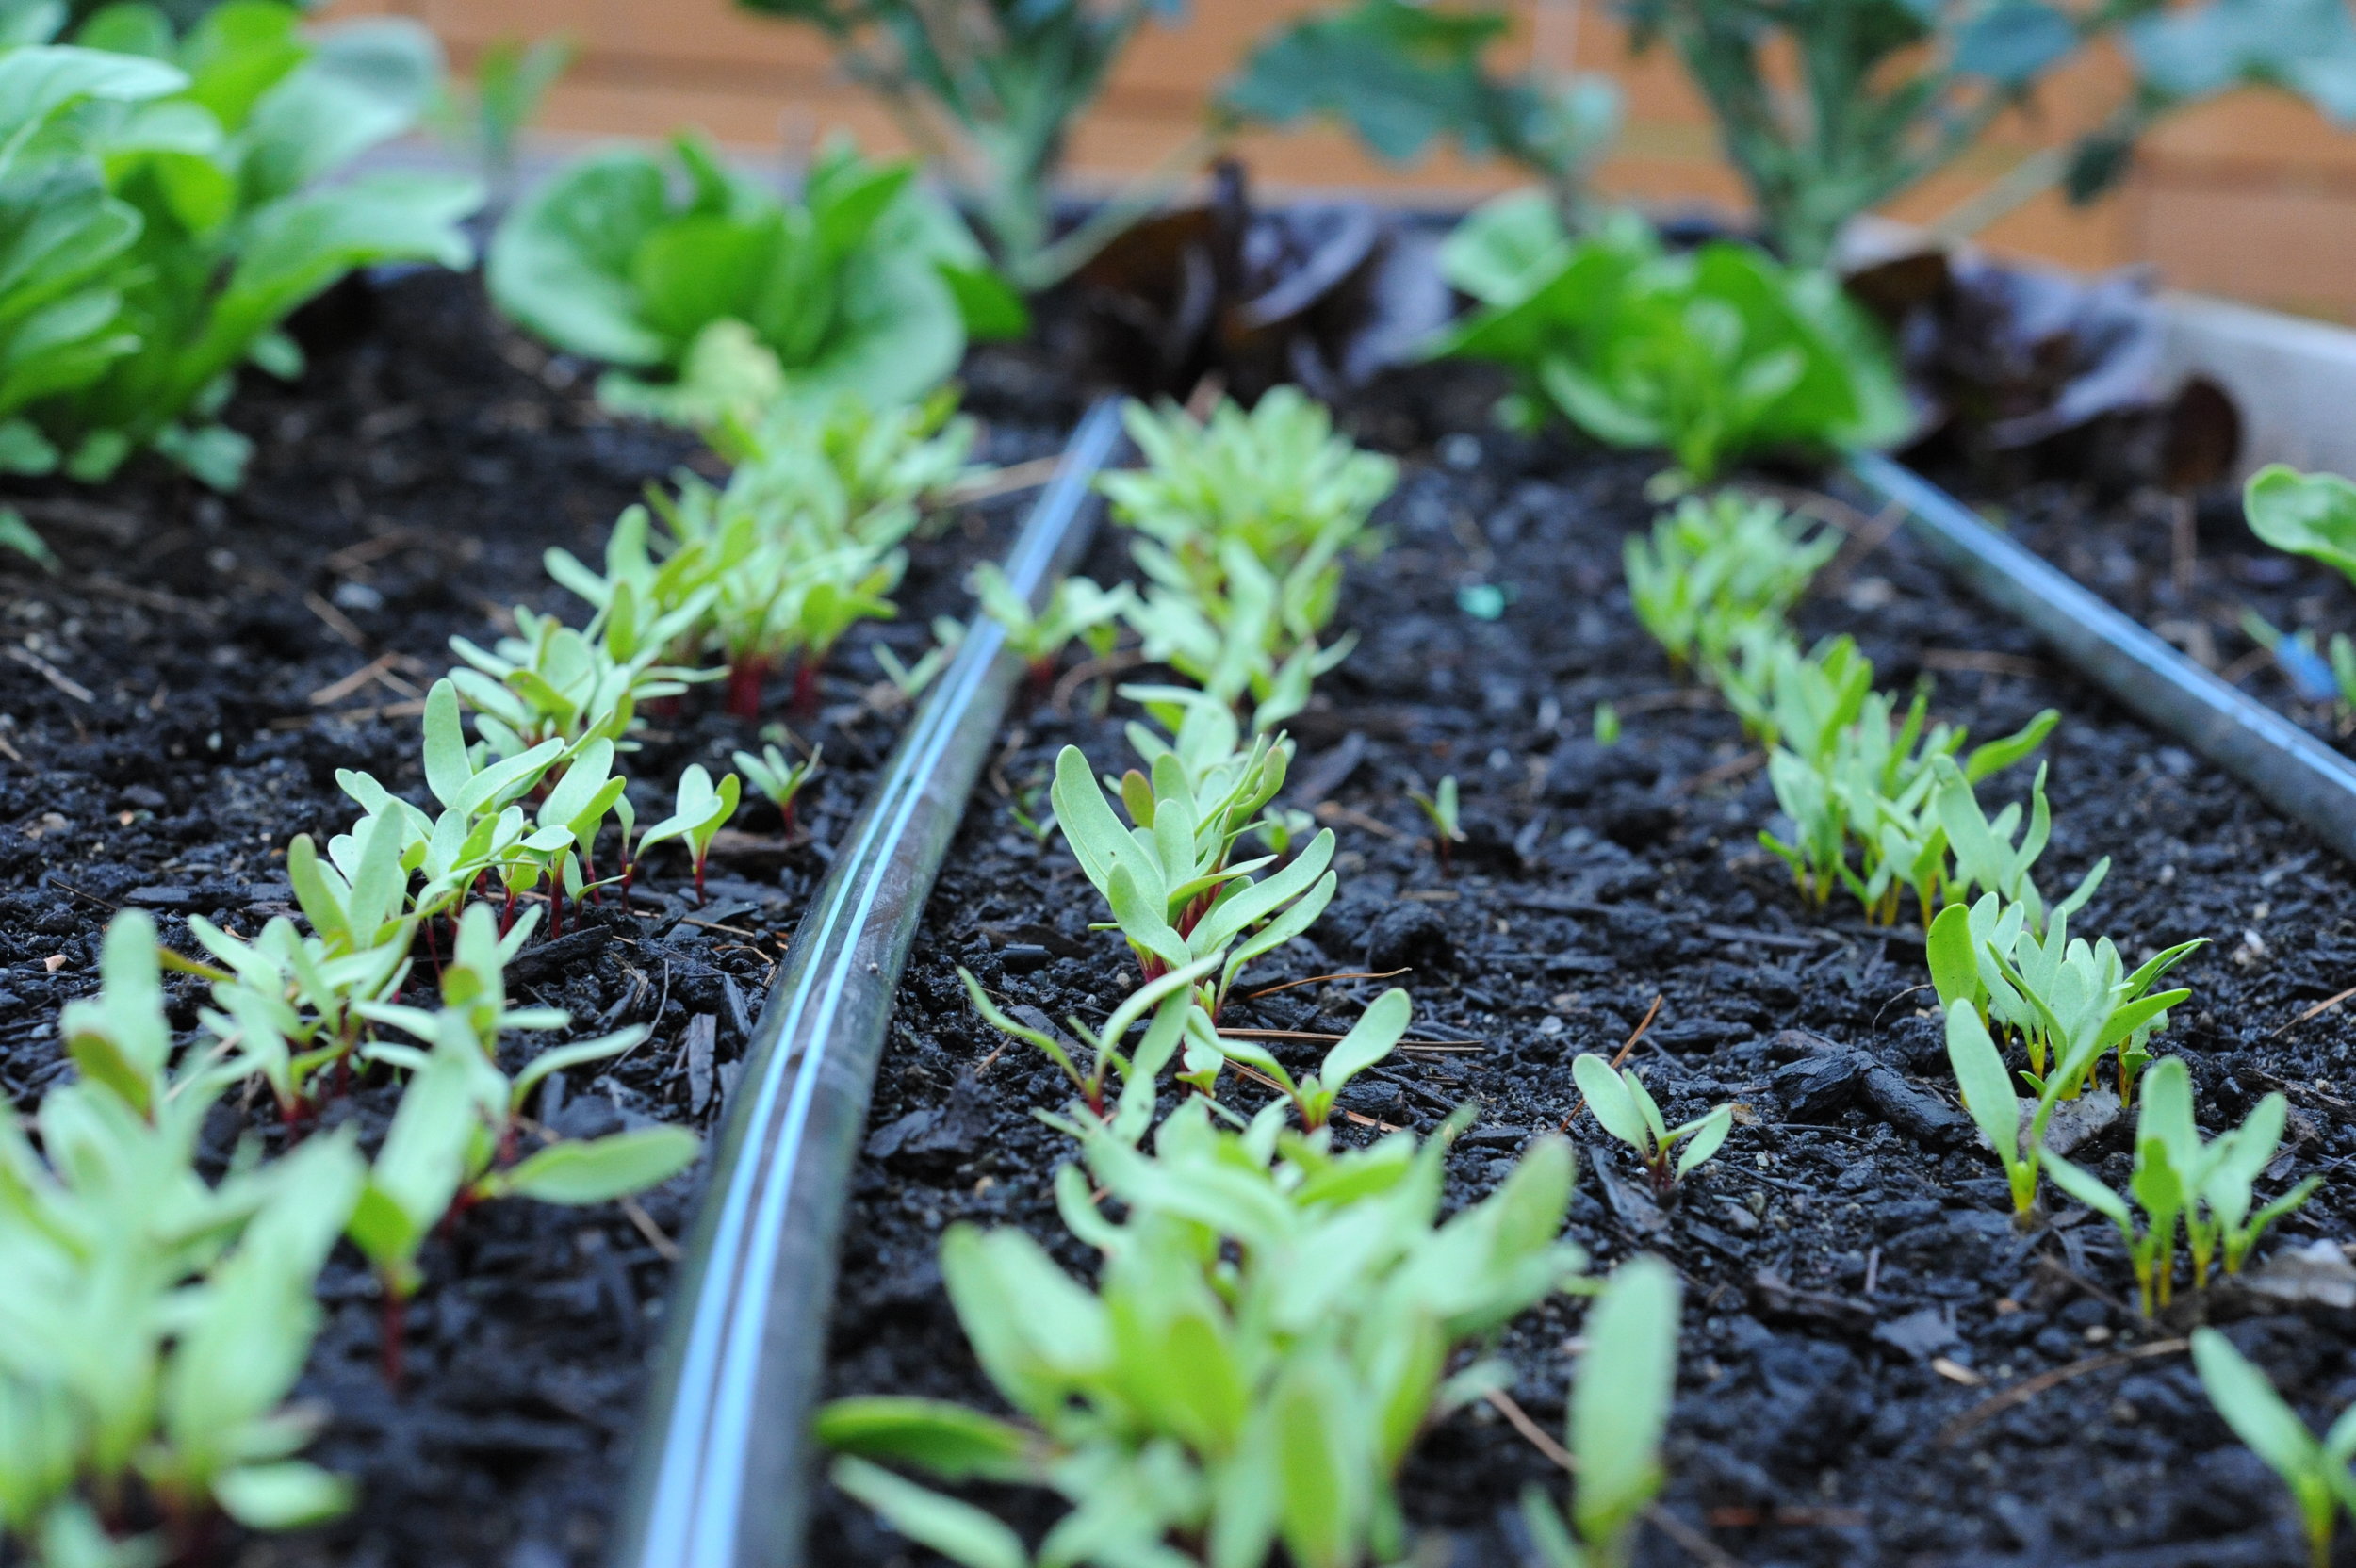
use my finger to make furrows along the drip tape, spacing the rows at least 6 inches apart
seed at a rate of about 1-2 seeds per inch - very overseeded!
cover with about a ¼ inch of soil
water
once seedling are about 2 inches tall, thin to one plant every 3-4 inches- crucial step!!
fertilize every 3-4 weeks with a liquid fertilizer.
Our favorite beet varieties:
Response @christian: Shall we have a ninja-beet challenge? Who can produce the fattest beet this spring while following Hilary's method. Winner earns a coveted place in Ninja-Beet hall of fame? Are you in?
Like what you hear? Please share our podcast with a friend. Subscribe on iTunes or your favorite podcast player so you never miss a beat. And we'd really appreciate you showing us some love by leaving a rating and review on iTunes.
Have a topic you'd like see us dig in to? Leave us a note in the comment section below or #EBpodcast on Instagram and Twitter!
