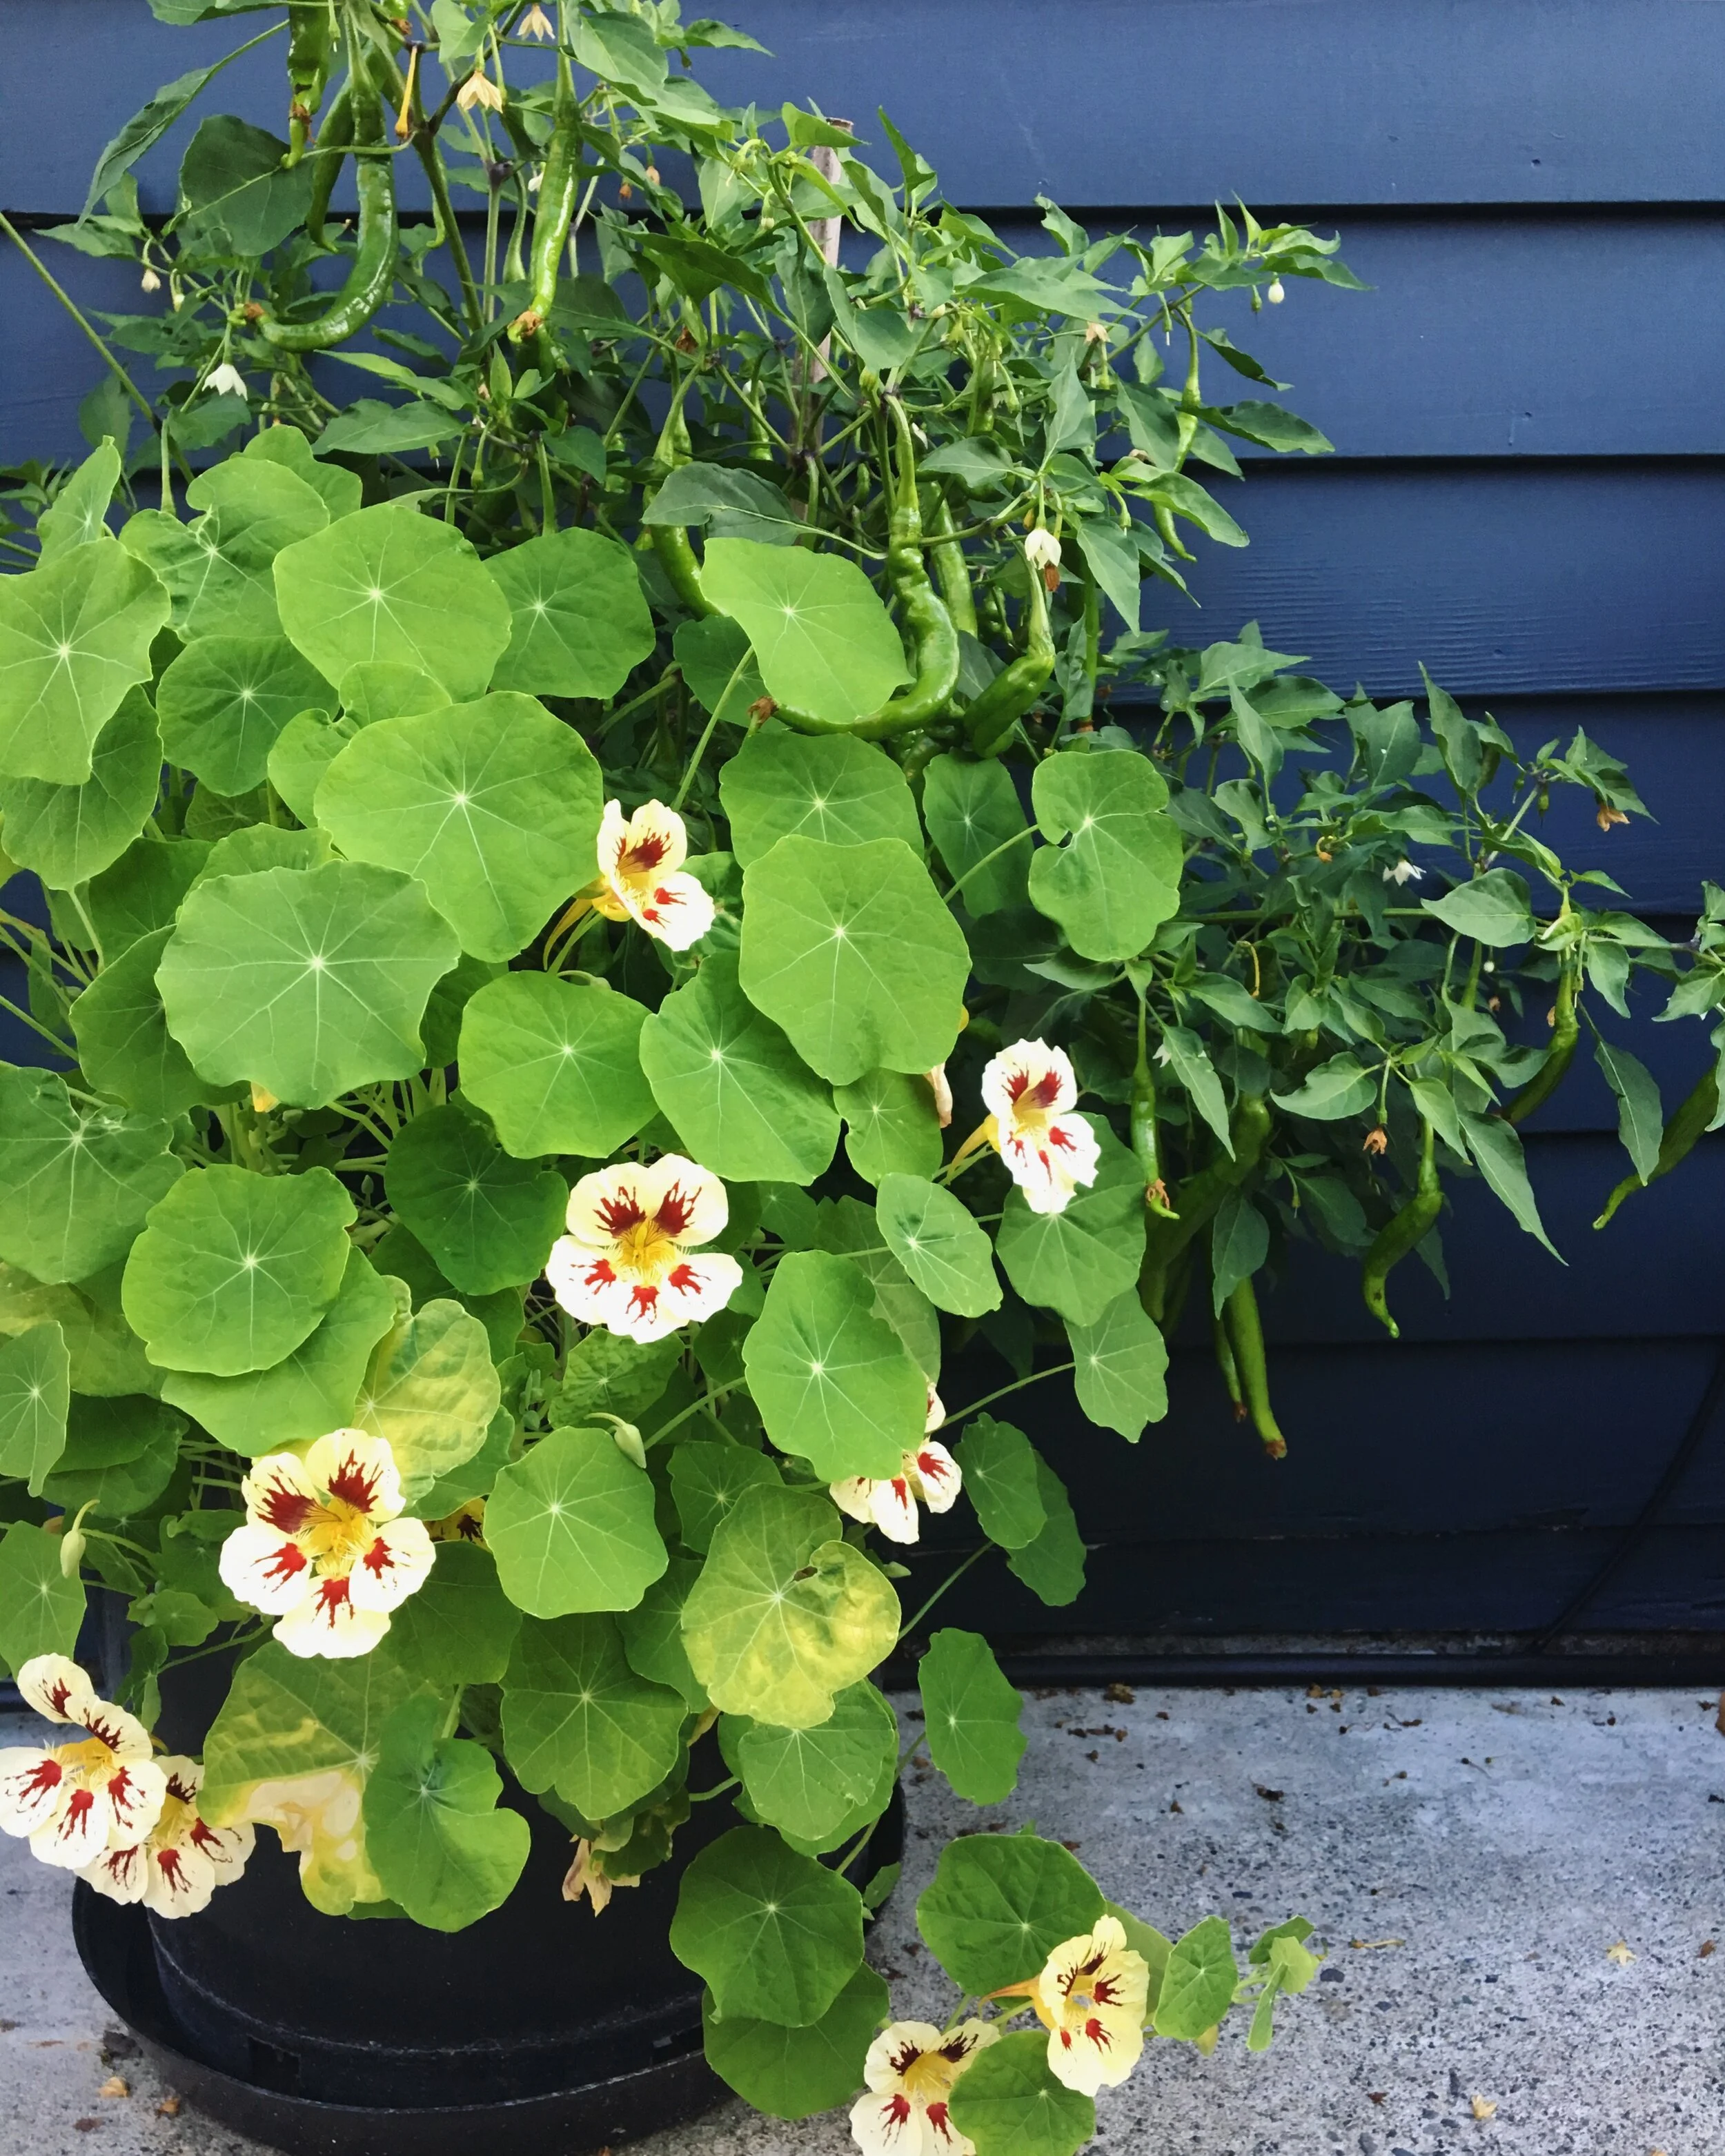
Last year I built a container garden in my backyard. Before adding the containers, my garden had 140 square feet of raised beds for annual crops, and another 250 square feet of space for cut flowers and edible perennials. My garden was a decent size, and produced a ton of food. However, since I love to can, pickle, ferment and freeze, I can always use more.
To be honest, I’ve always been spoiled by having access to large growing spaces. For years, I grew food in the 1,200 square foot garden at Seattle Urban Farm Co. headquarters. I also had virtually endless growing space at our Urban Fringe Farm project (now Ecolibrium Farms).
After growing in such large spaces, I was a little hesitant to add containers. I didn’t think they would make much of an impact on the amount of food I could grow. Instead what I REALLY wanted to do was build more raised beds.
Alas, building new beds didn’t seem practical as I found myself chasing after my son to prevent new death-defying toddler feats. There was barely enough time for me to create an annual crop plan for my garden, let alone embark on a construction project. I wasn’t ready to give up on my garden expansion plans, I just needed to come up with a more realistic plan.
I decided to give some inexpensive containers a try. I chose pots with a simple design that were food safe and heavy duty, but that weren’t too expensive (eventually, I still want to get around to that raised bed expansion project). I planned to use the pots for crops such as tomatoes and peppers, and the in-ground and raised bed space would be reserved for plants like root crops, alliums, and peas.
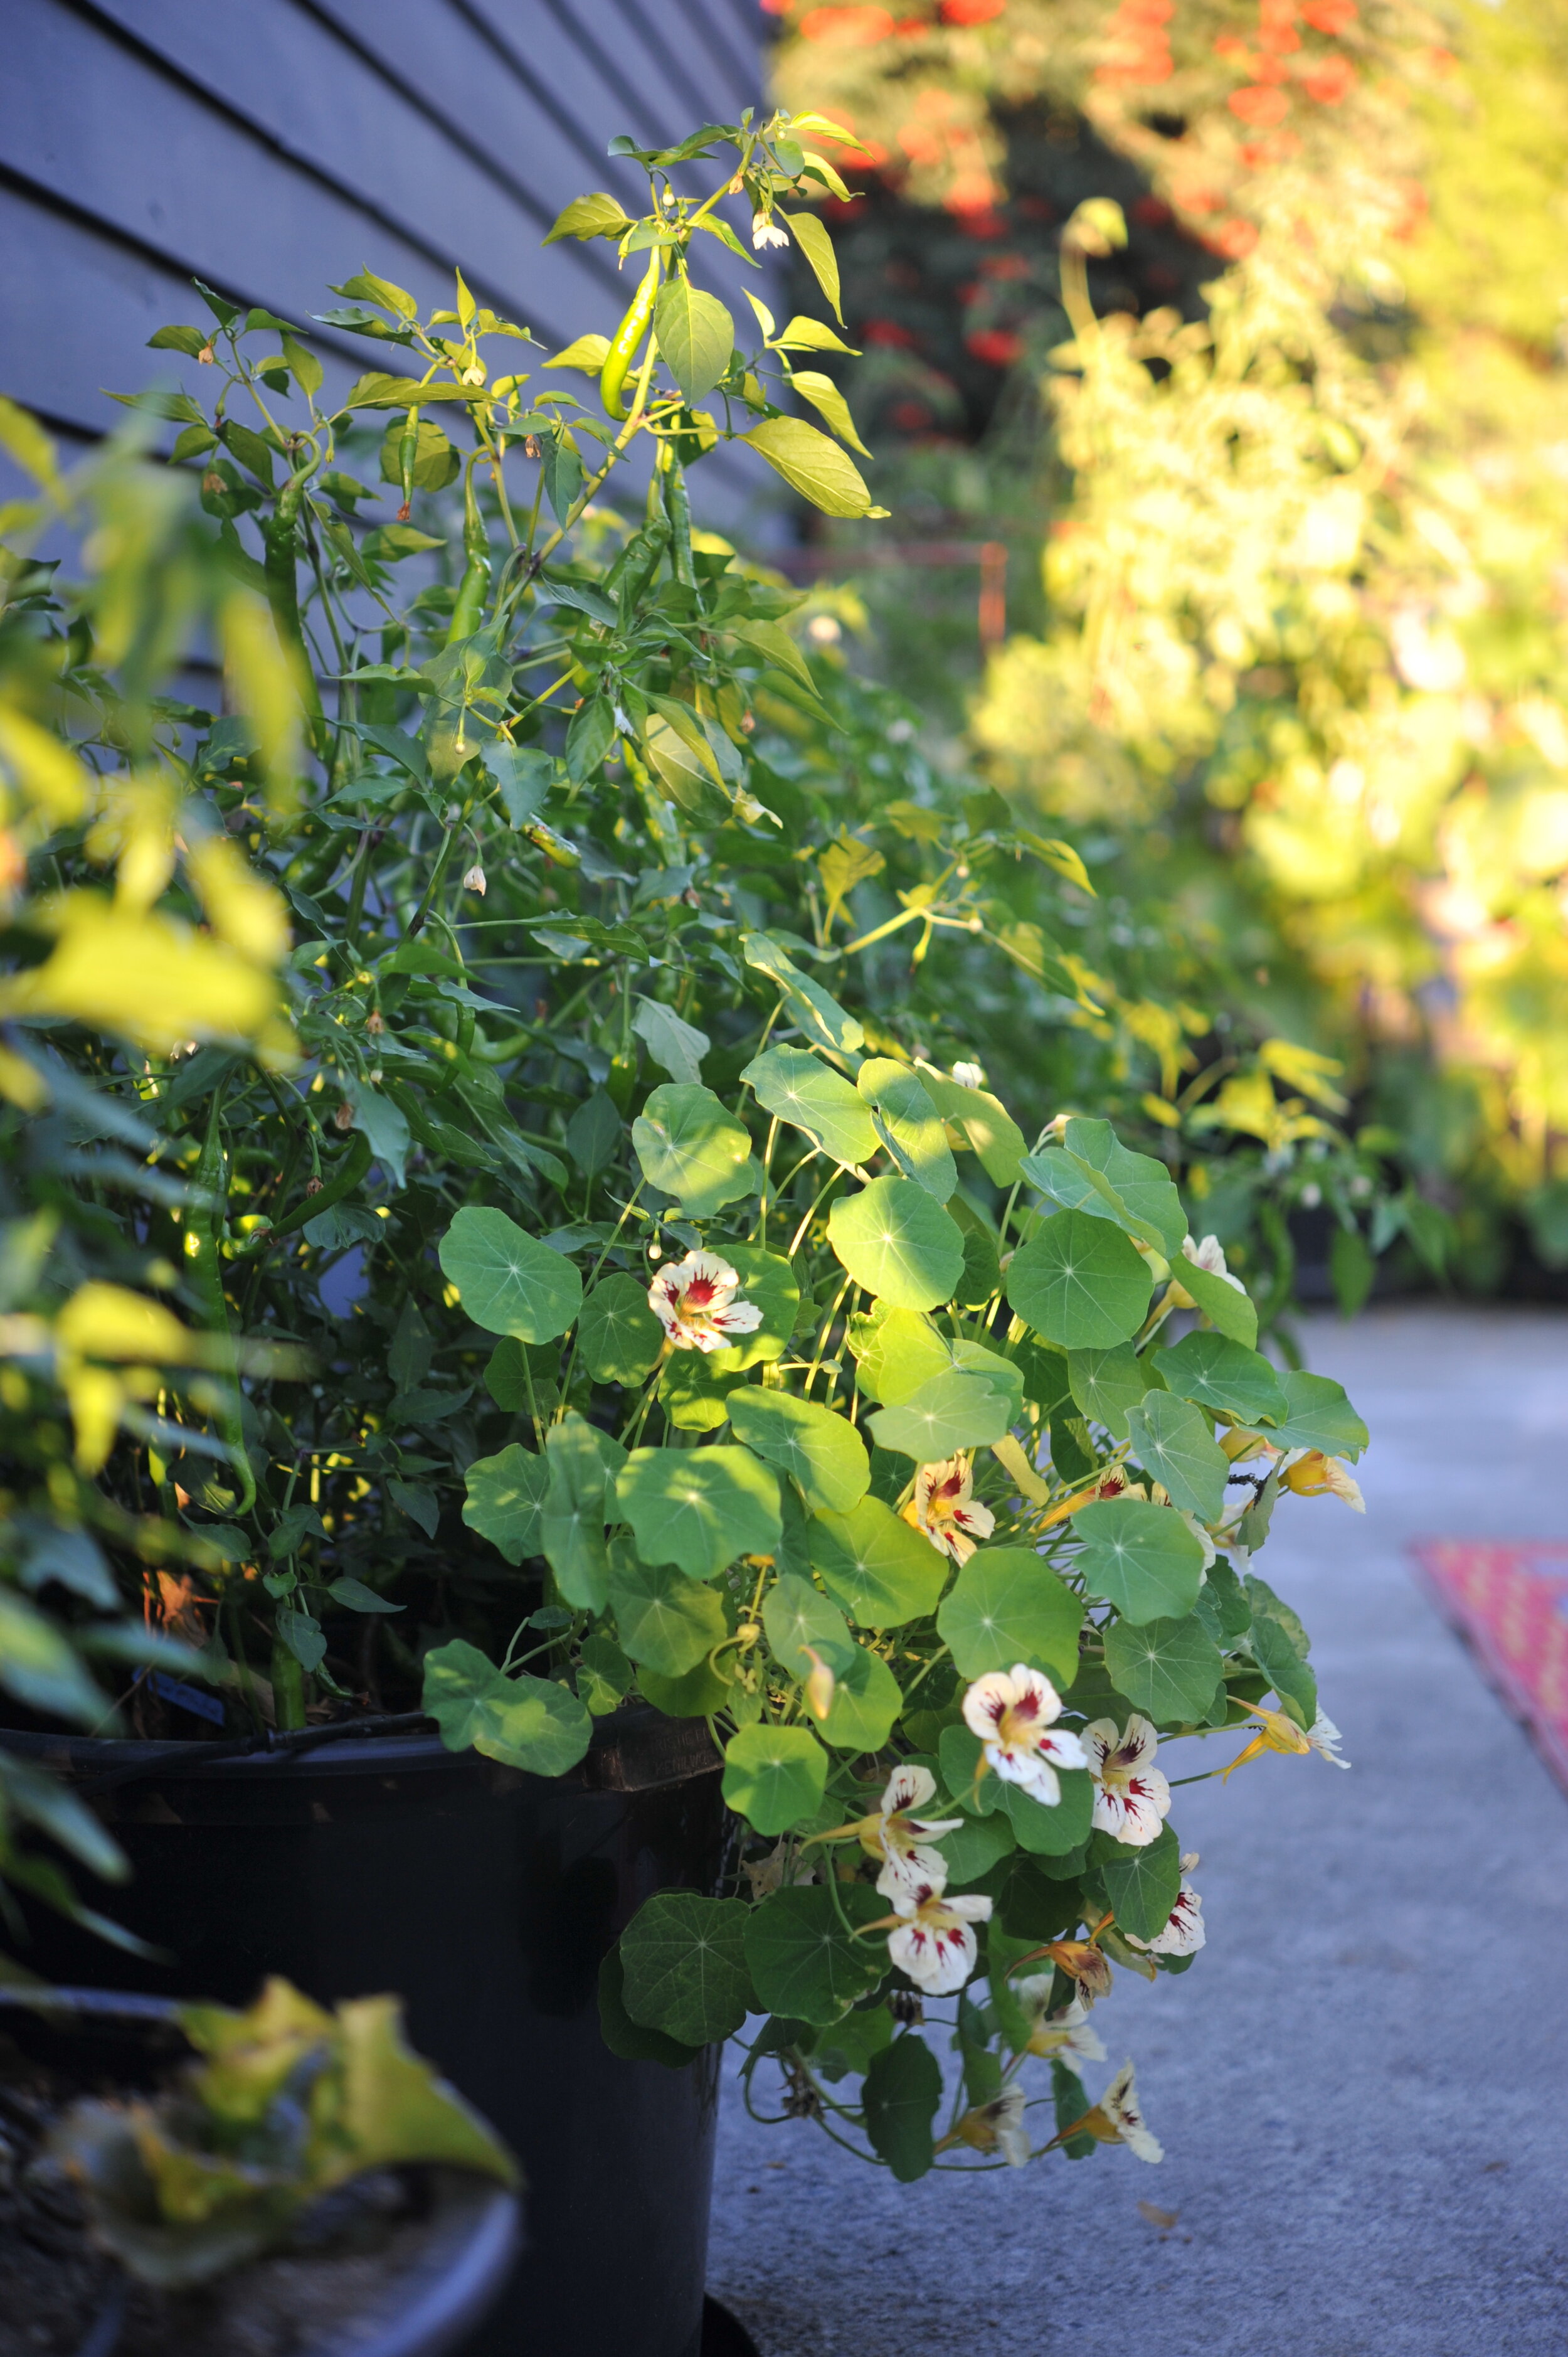
With that rough plan in mind, I decided to use with 10 gallon pots. This size pot is plenty big for one large healthy tomato plant or pepper, but would also allow me some room to plant a trailing flower in each container to help beautify the pots. I could also interplant quick growing head lettuces around the container's edges in the early summer months before the main crops grew too large. Ten gallons is large enough to grow multiple basil plants in one pot (I’m always looking for more basil growing space in my garden!!).
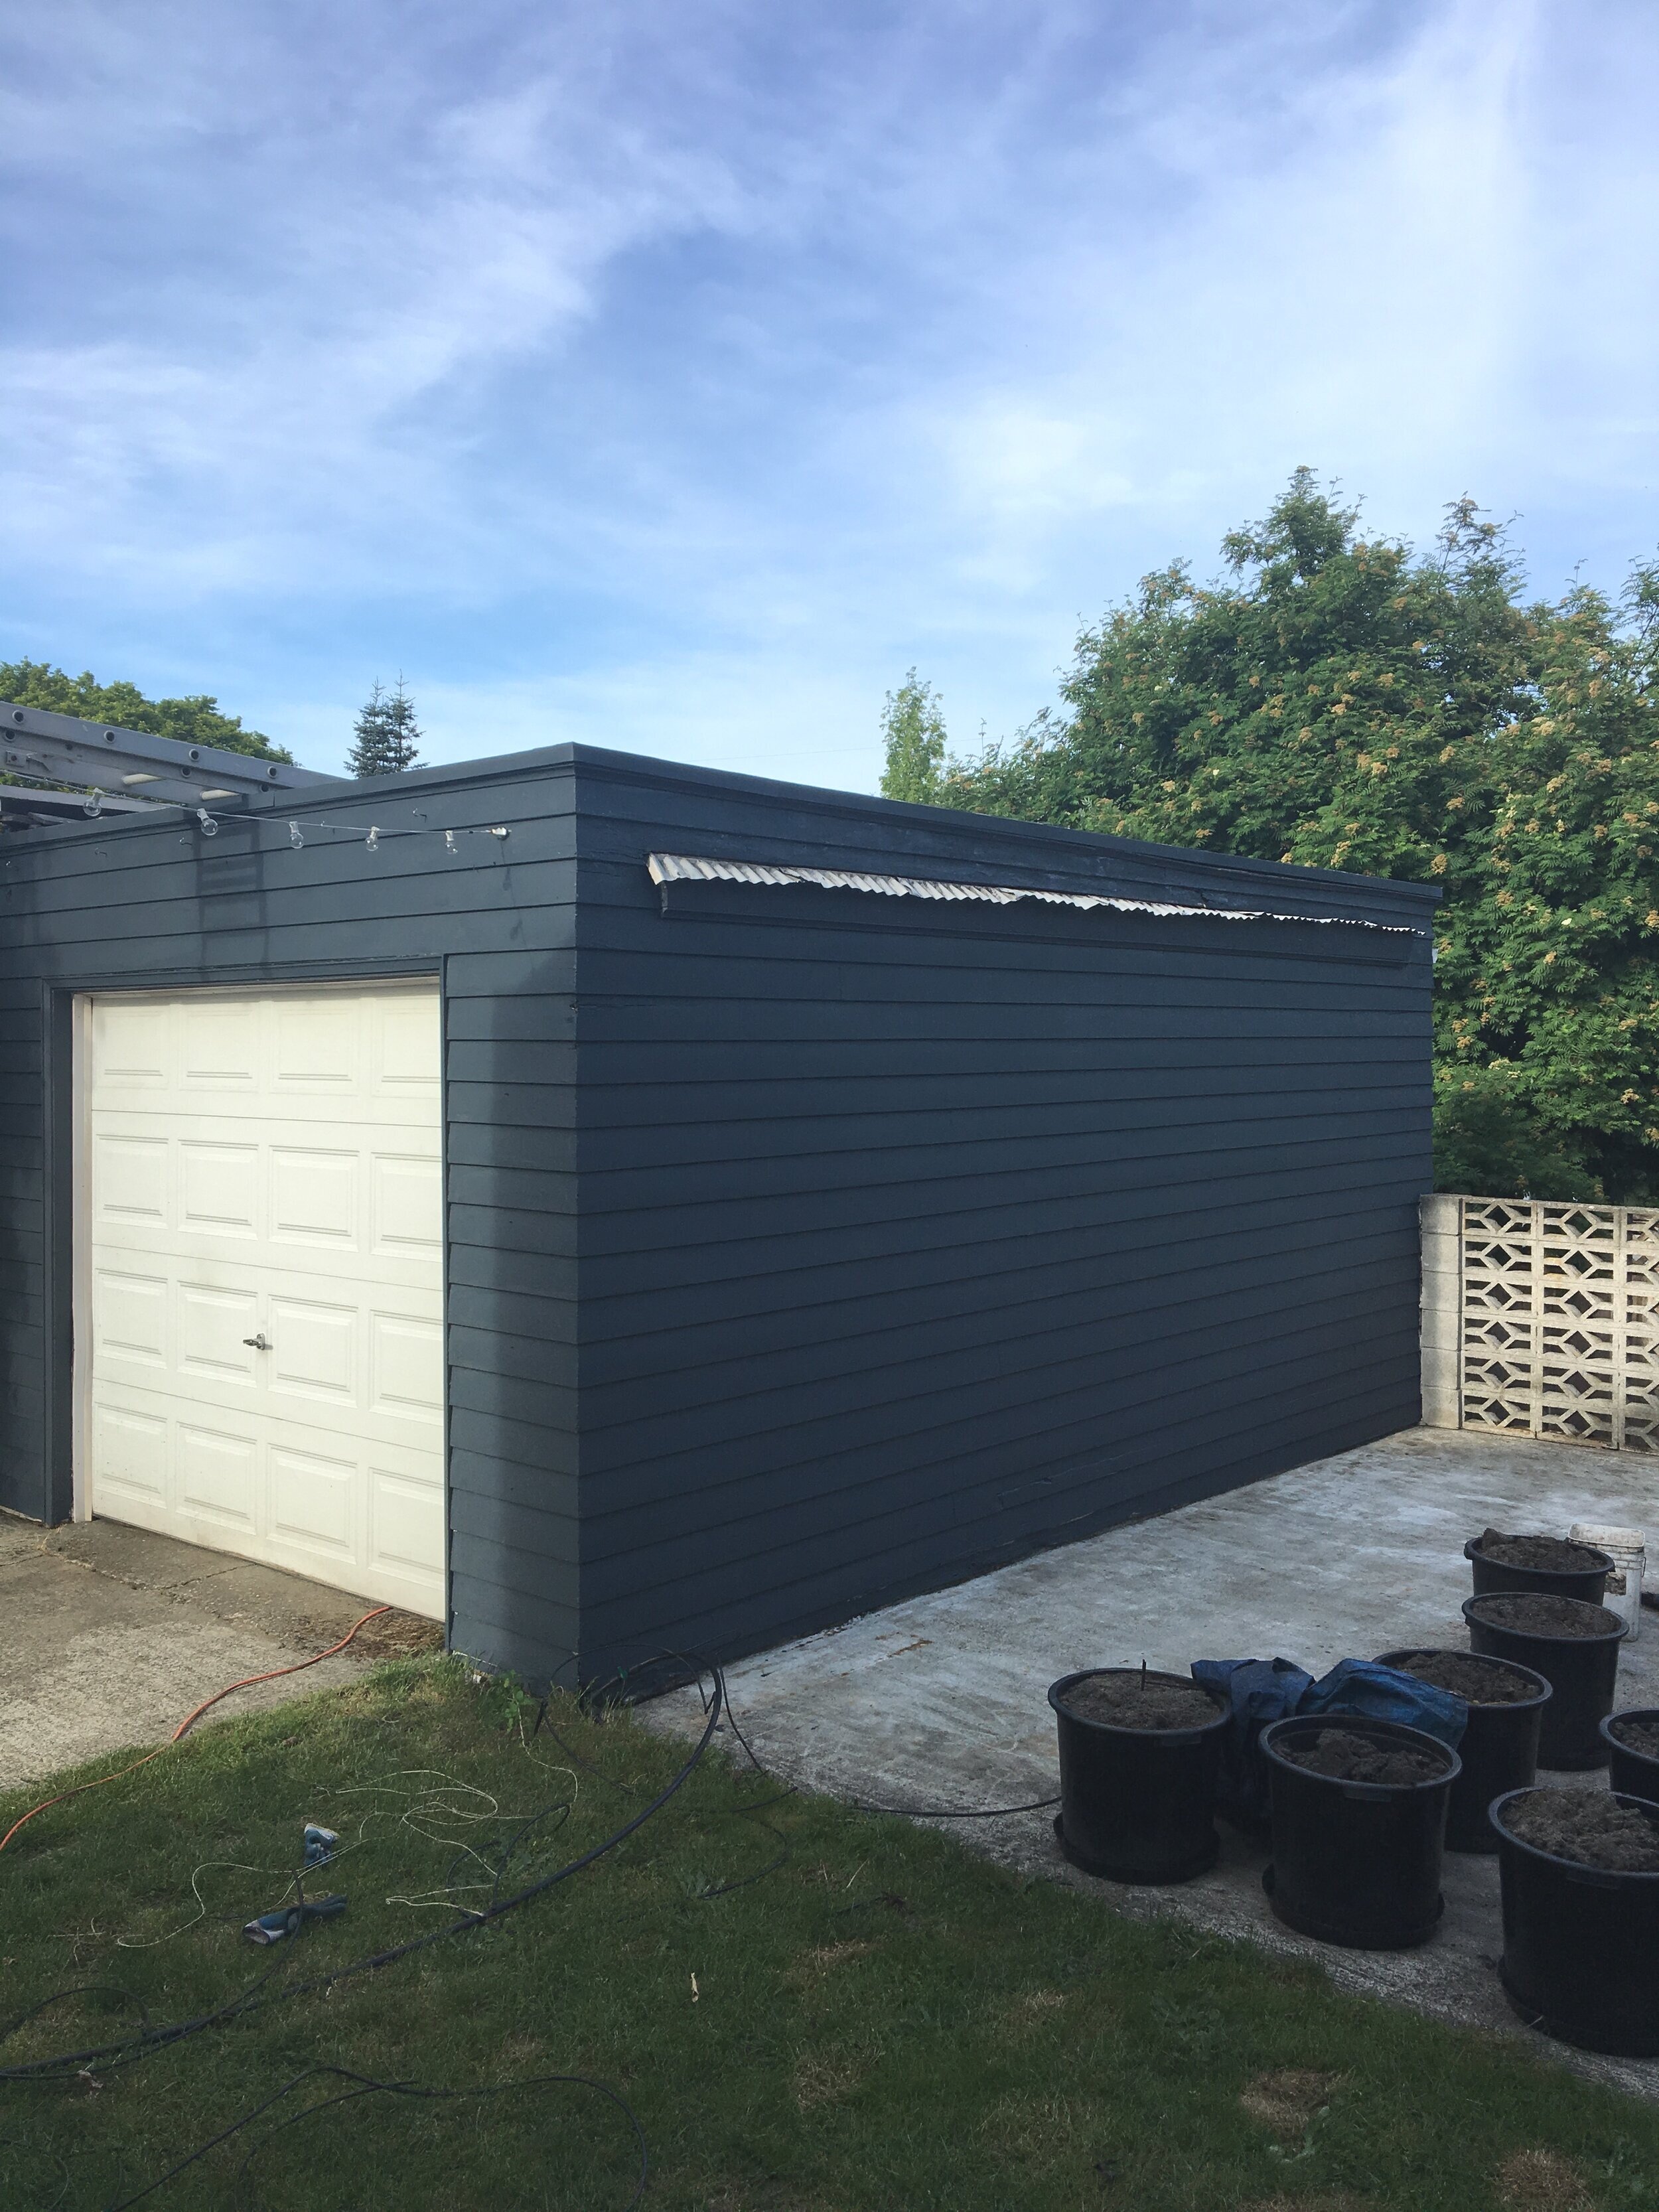
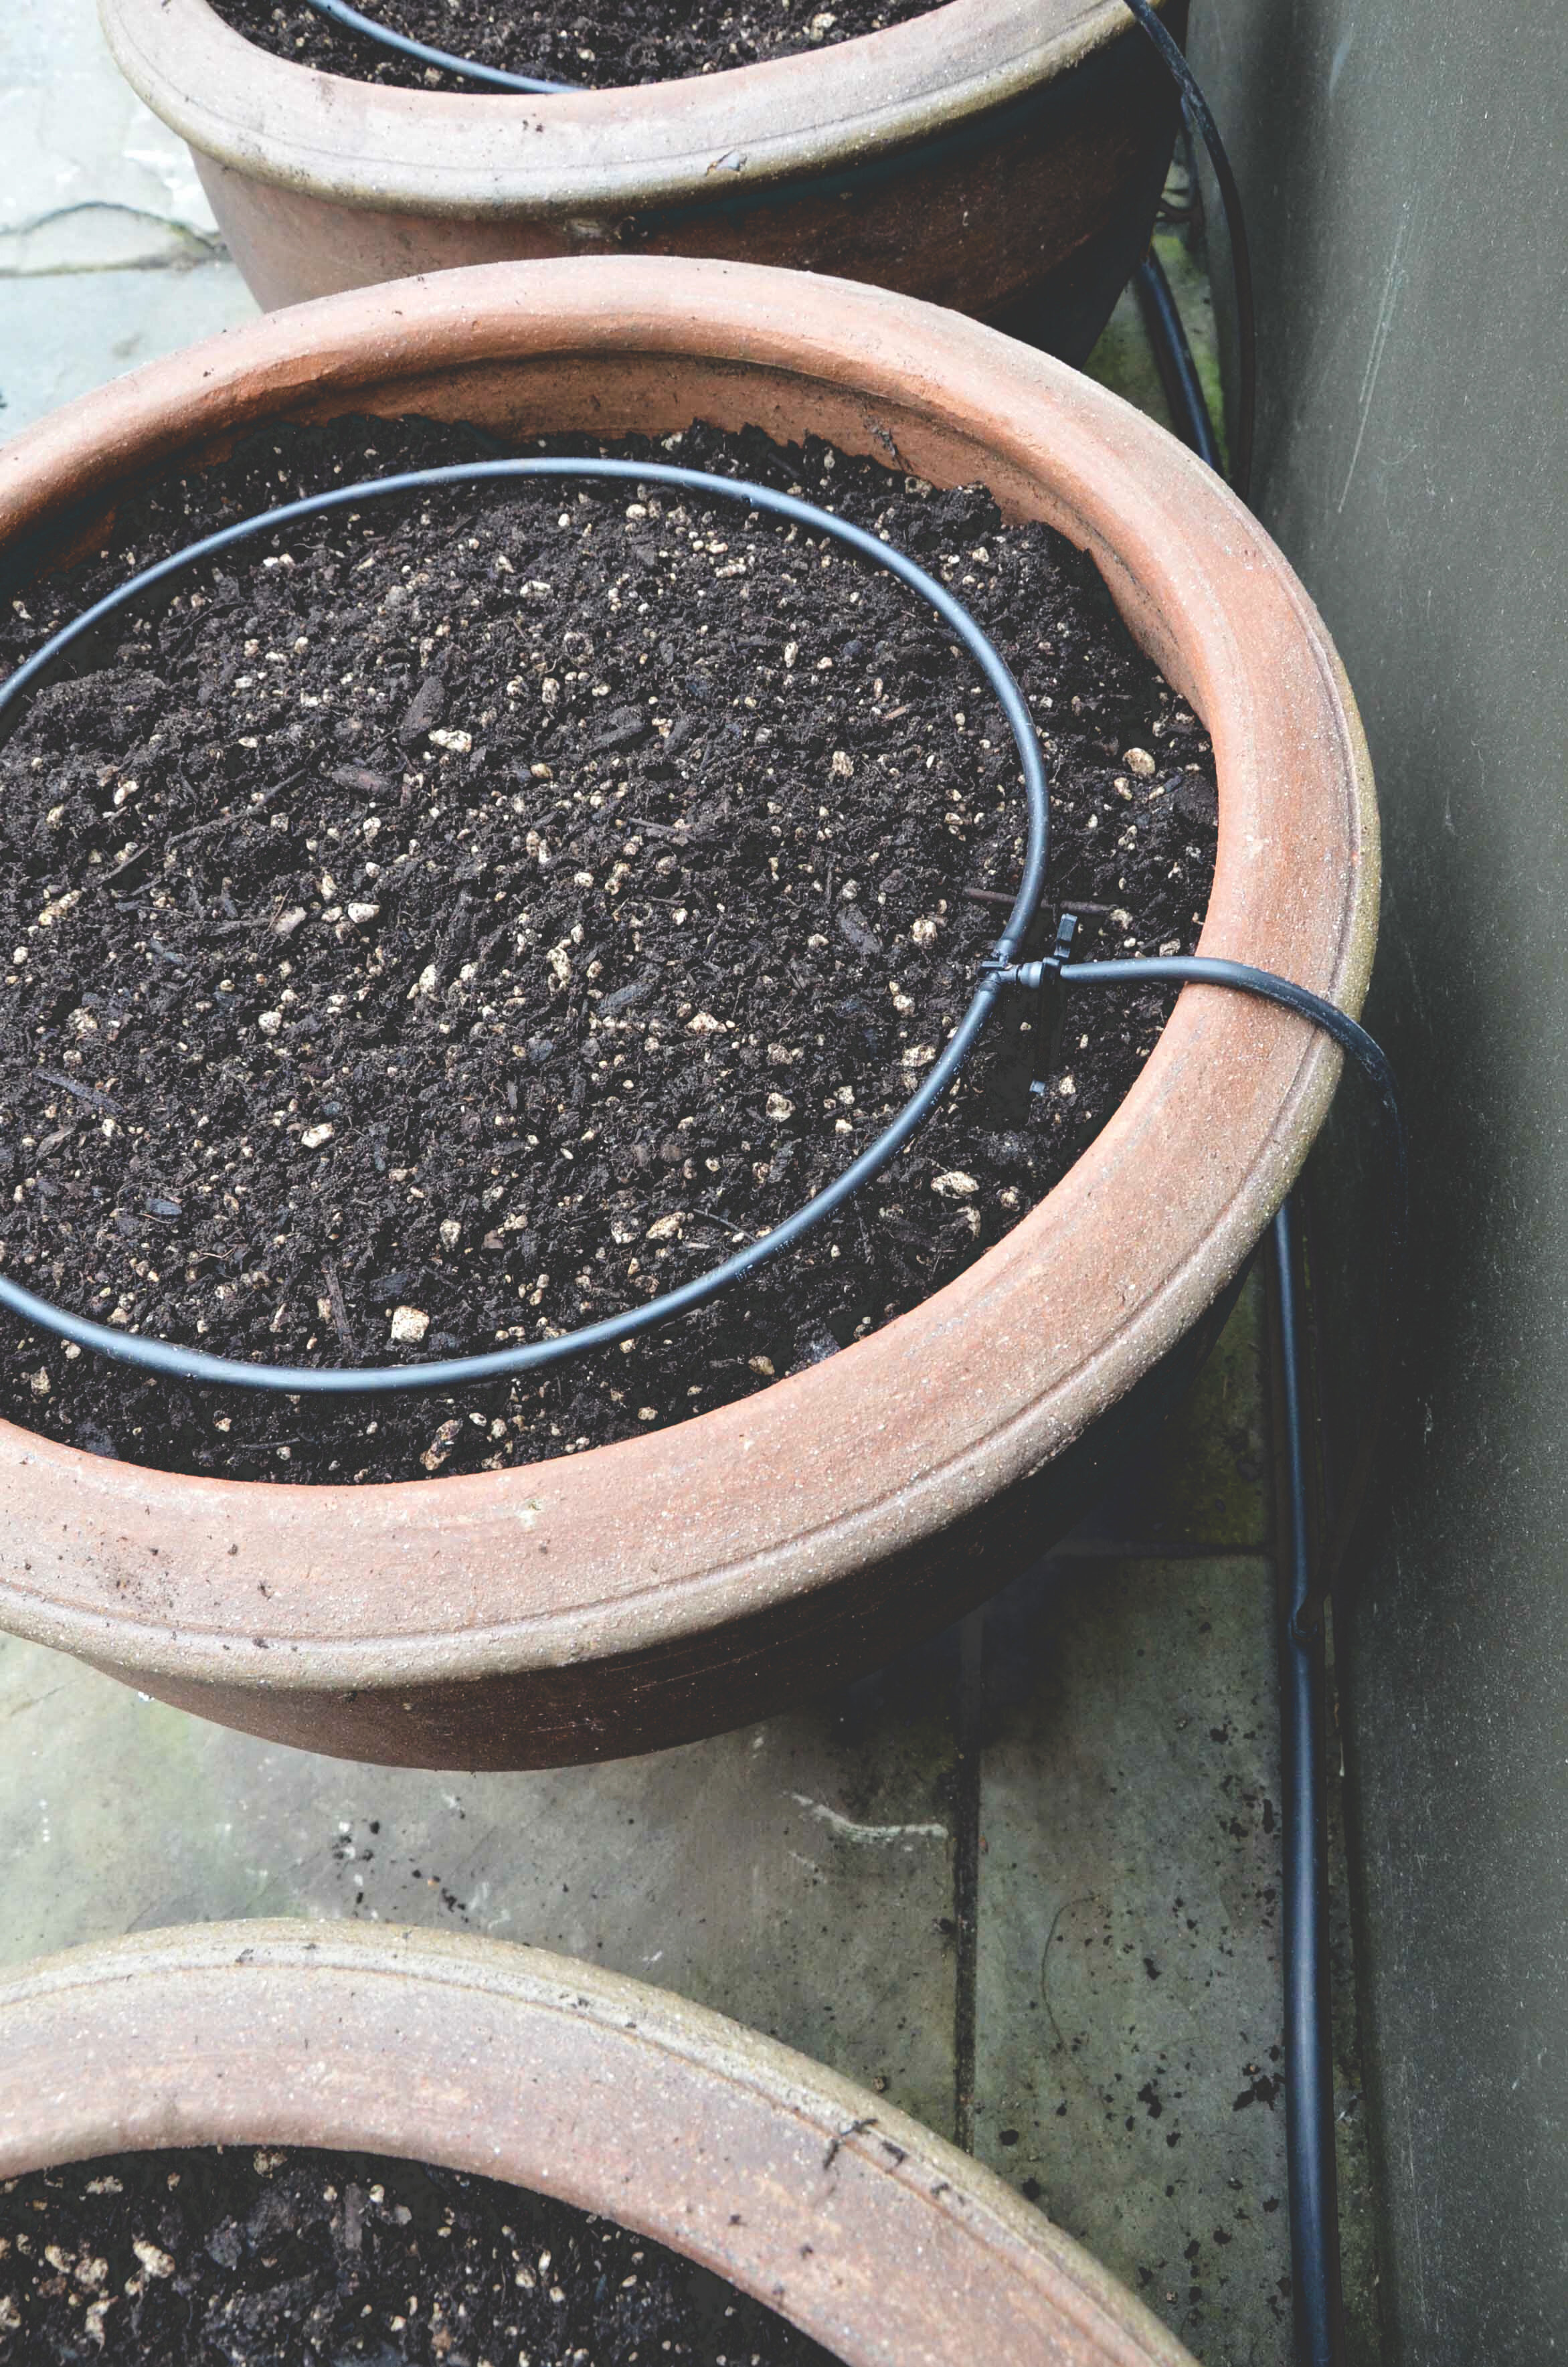
I set up thirteen BPA-free 10 gallon plastic pots in an L-shape lining my garage and back fence (see first two images above). Each pot was filled with a blend of compost and potting soil*. It’s important to set up a drip irrigation system in any sized garden, but in my opinion, setting up an automatic drip irrigation for smaller growing containers is essential. Containers dry out even faster than raised beds or in-ground beds because more of the soil surface area is exposed to the sun. Running irrigation to pots can be relatively simple. We recommend this kit using ¼ inch dripline from Dripworks and setting your system to run for short intervals 2-3x per day.
* It takes about 1.5 cubic feet of soil to fill a 10 gallon pot.
Once the containers were filled with soil and the irrigation was run, the pots were ready to plant. I added ¼ cup of balanced fertilizer to each pot before planting and planted each pot with the following:
When it comes to container gardening, it’s crucial that you don’t overplant. It may seem like overkill to devote most of these containers to just one plant, but by doing so you’re setting that plant up for maximum productivity. Would you rather have 8 tomato plants that produce 3 lbs of fruit each, or plant 2-3 that each produce 10-20 lbs?
Most people aren’t going to devote ½ of their container garden to peppers, so if you’re looking for a little more variety, the following crops are great choices for a high-yield container garden. I’ve organized the crops by lifespan to help you think about how you can succession plant some crops in your container garden for an even more productive growing space.
You can plant most annual crops in a container, so the following are just a select few that I find to be particularly productive when there is only a small space available.
Short season - succession plant these throughout the season, or before planting a longer season crop, if you have time:
Arugula
Cilantro
Head lettuce
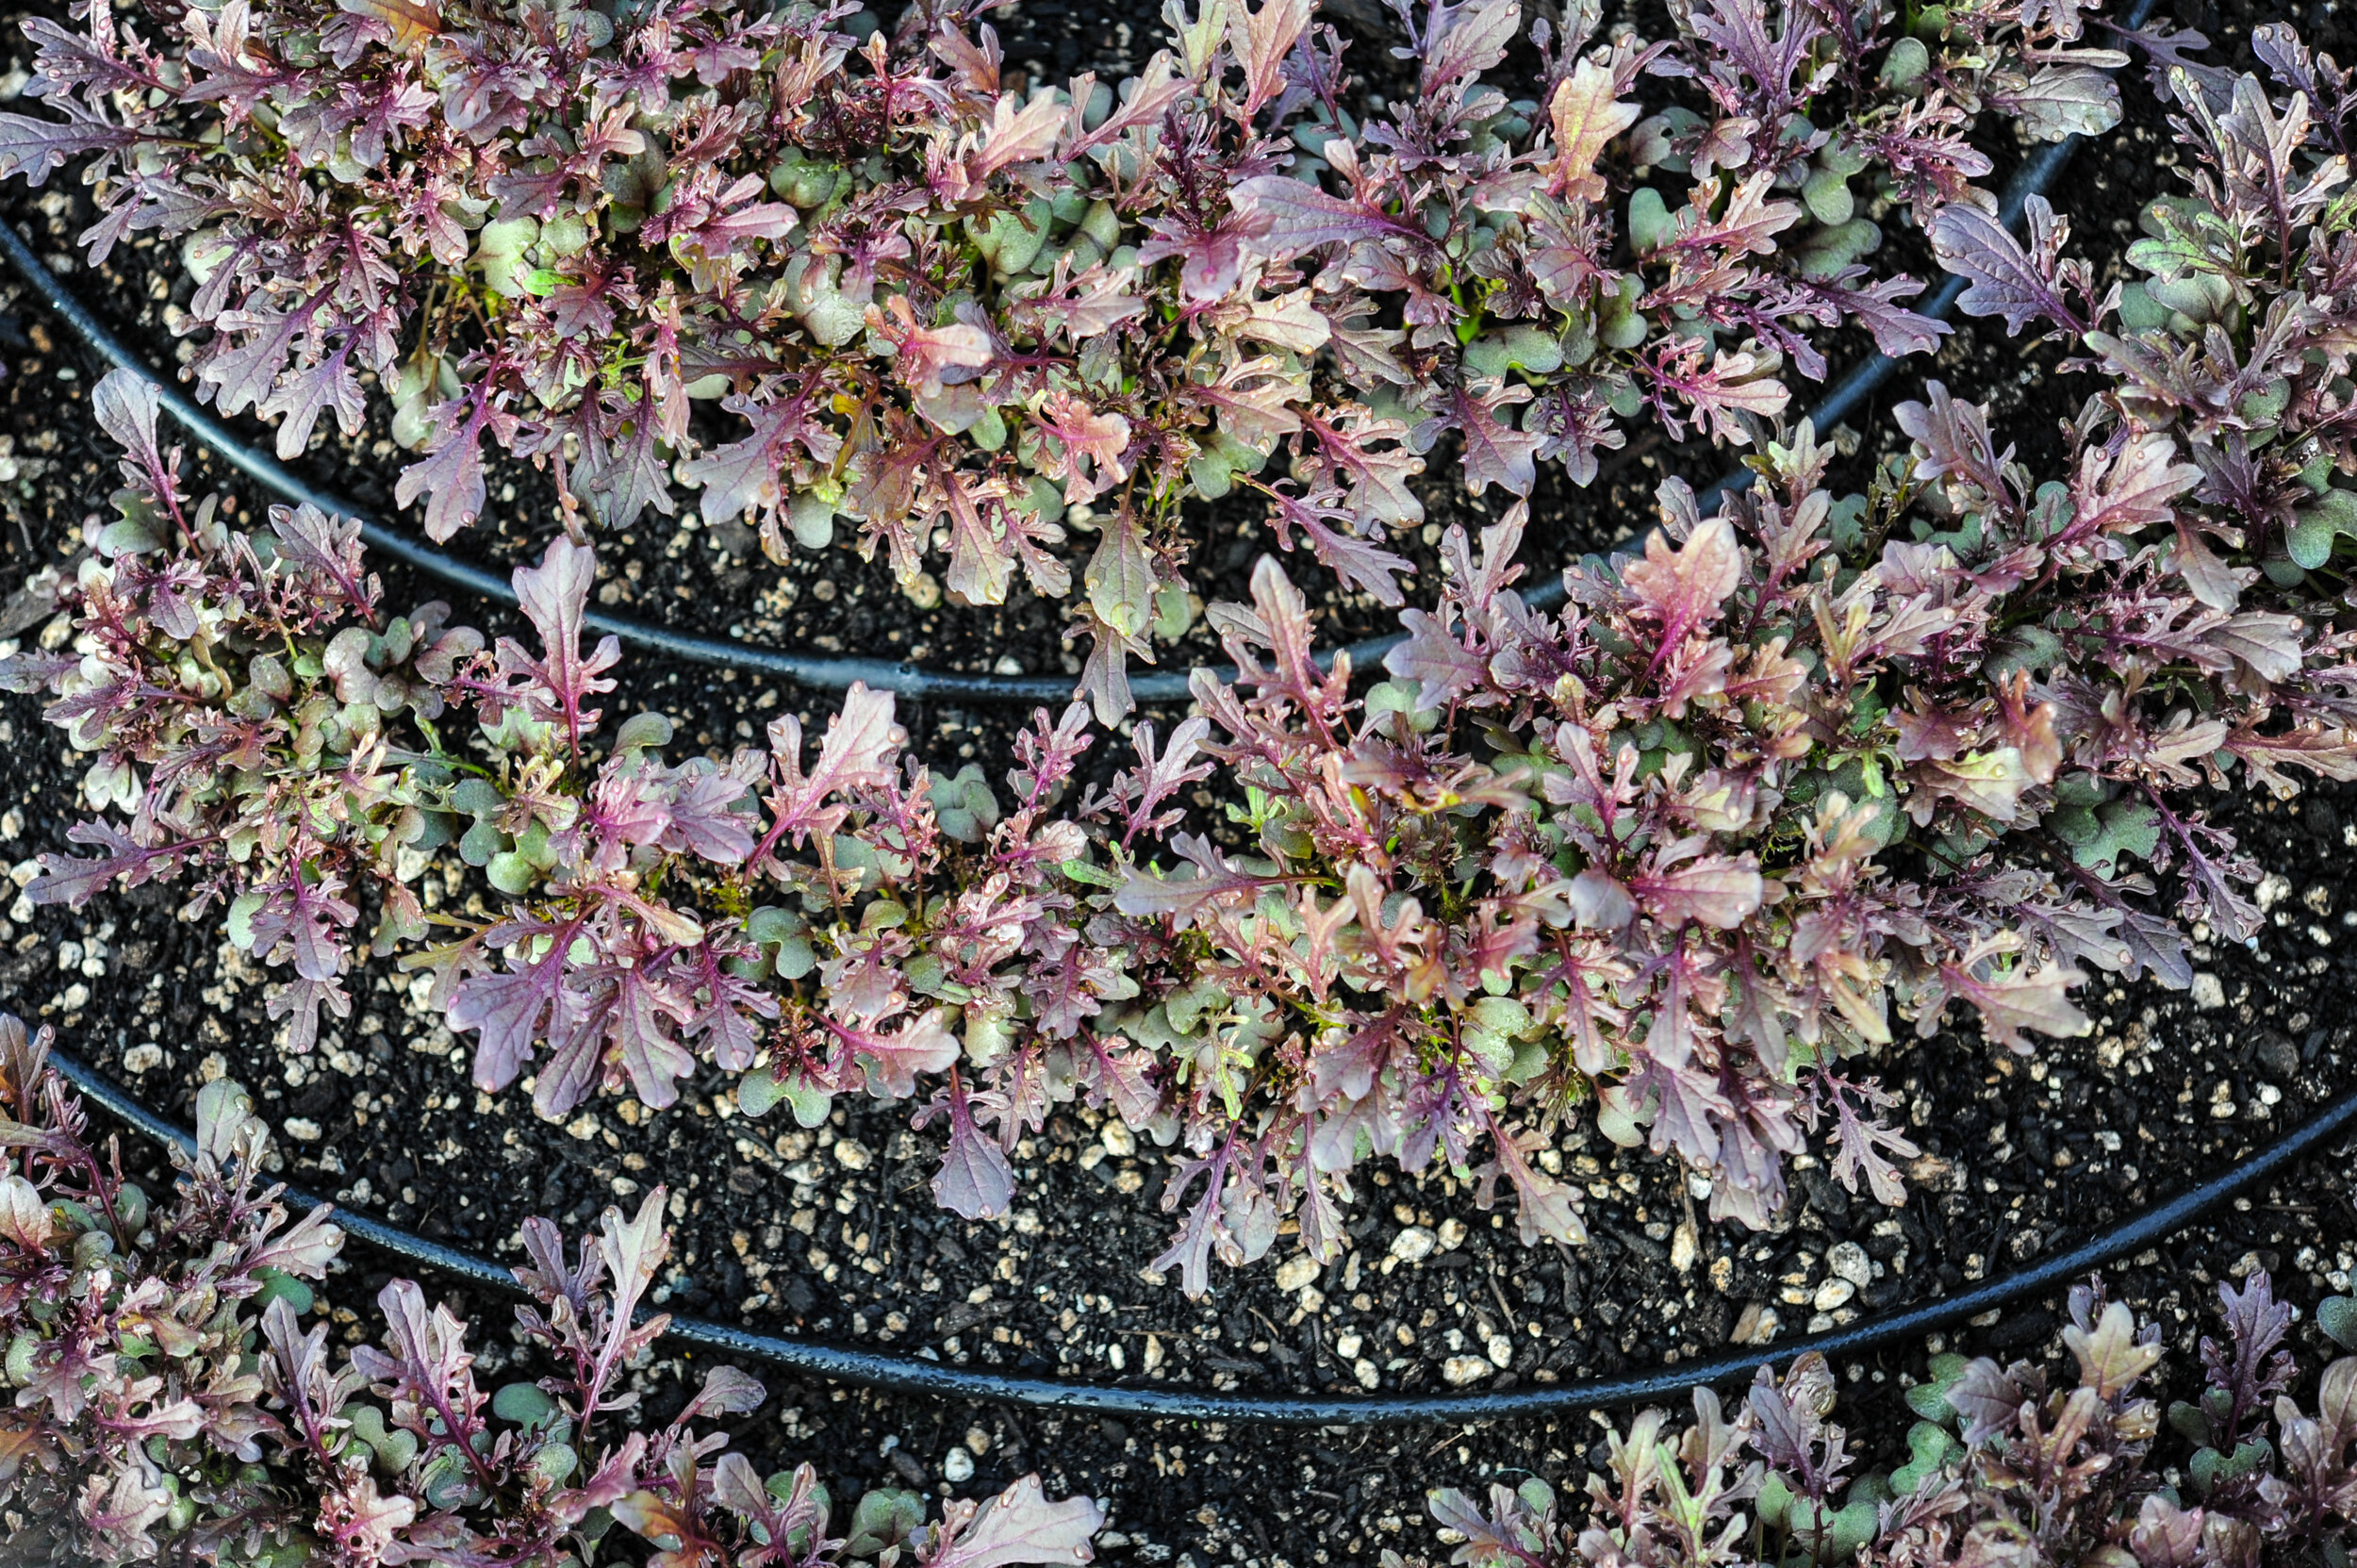
Lettuce mix
Half season - these crops can be planted more than once in a single season, but if you have these plants in your garden and they’re healthy and producing, I’d just leave them in until they finish producing. Most of these crops will provide multiple harvests per plant, so with proper care, they should produce for months:
Basil
Bush beans
Chard
Cucumber
Kale
Summer squash
Long season - these crops can only be planted one time per season, in most climates. All of these crops are fruiting crops, which means that you can start harvesting as soon as the first fruit ripen, and they should produce for an extended period:
Eggplant
Peppers
Tomatoes
Tomatillos
Flowers:
Alyssum
Marigolds
Nasturtiums
Trailing Lobelia
If you are looking for a more diversified container planting plan, here’s one example:
After all was said and done, I loved growing in my new container garden. It took just a few hours to set up and voila! It was an easy way to expand my growing capacity. I was really afraid that the plastic pots would look sloppy, but once the plants filled out, the pots were hardly noticeable and the whole installation ended up improving an otherwise empty space. Best of all, it was easy to keep tidy and weed free and each plant was incredibly productive!
If you’re looking to set up a container garden without leaving your house, the following are products that can be delivered right to your door:
If you’re in the Seattle area, please consider supporting these local business that are offering delivery and curb-side pickup:
Bainbridge Hay and Feed
Dirt Exchange
Another DIY Idea: Food Grade 5-gallon pots.
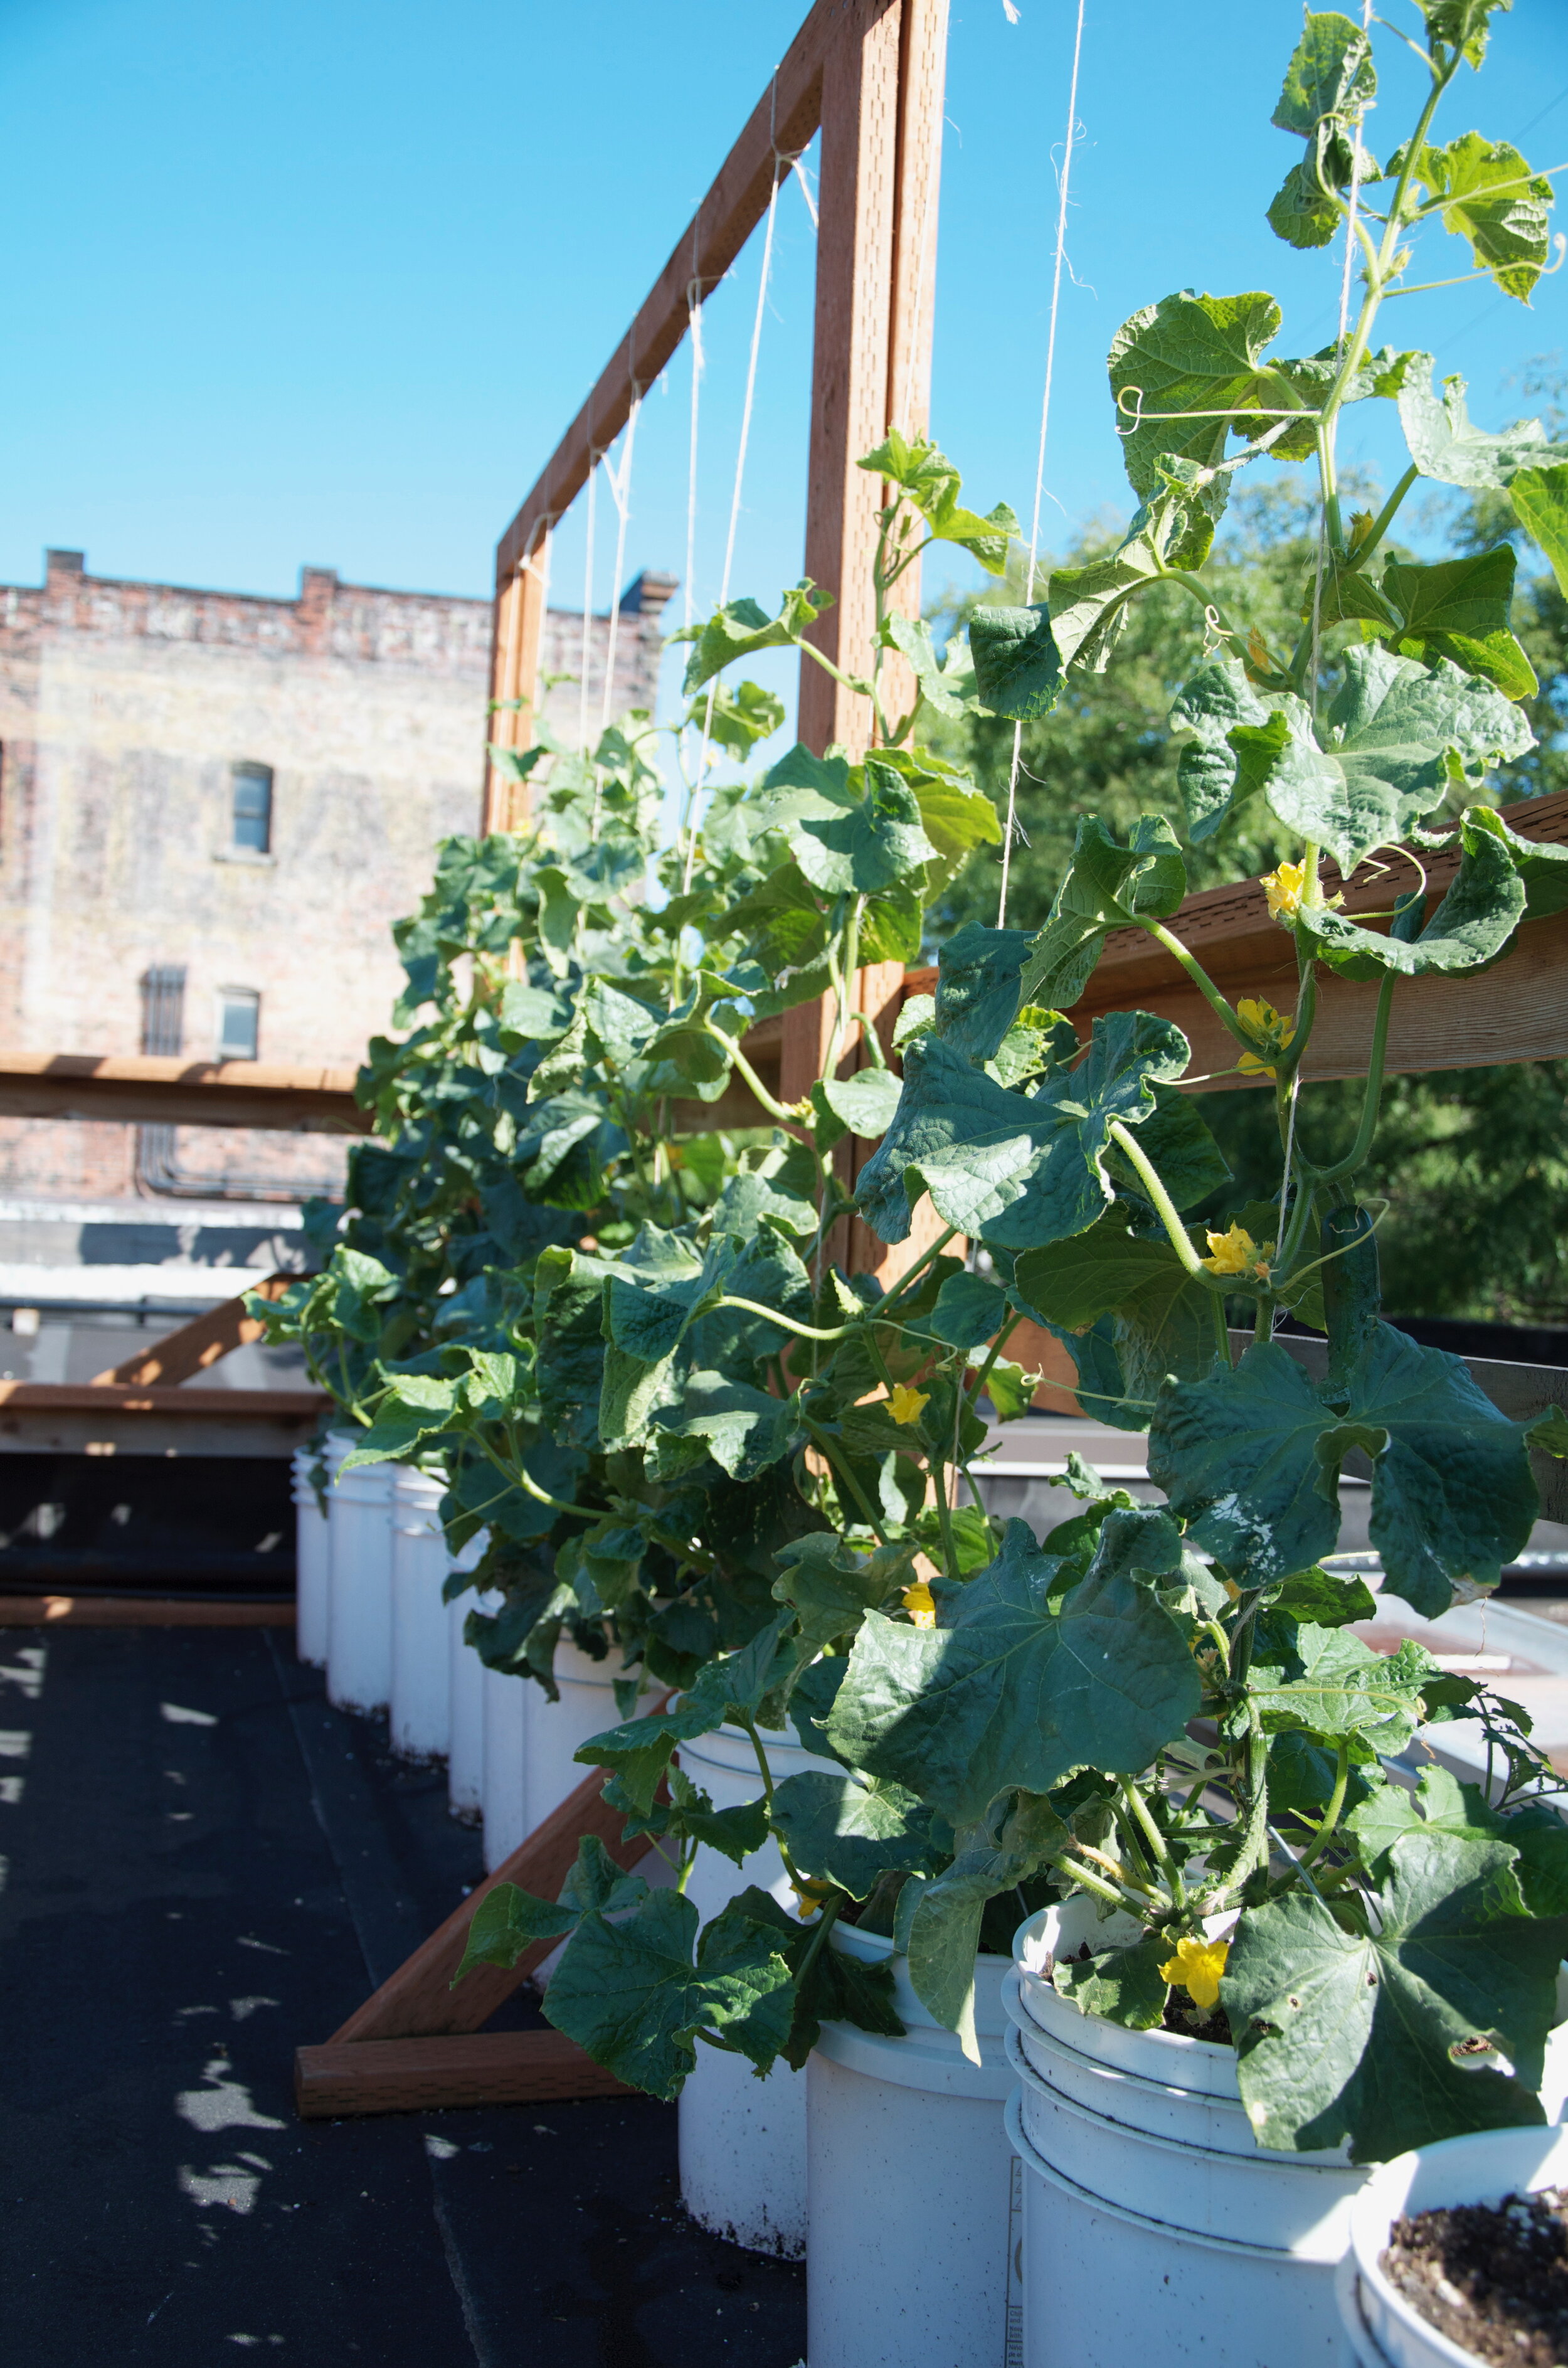
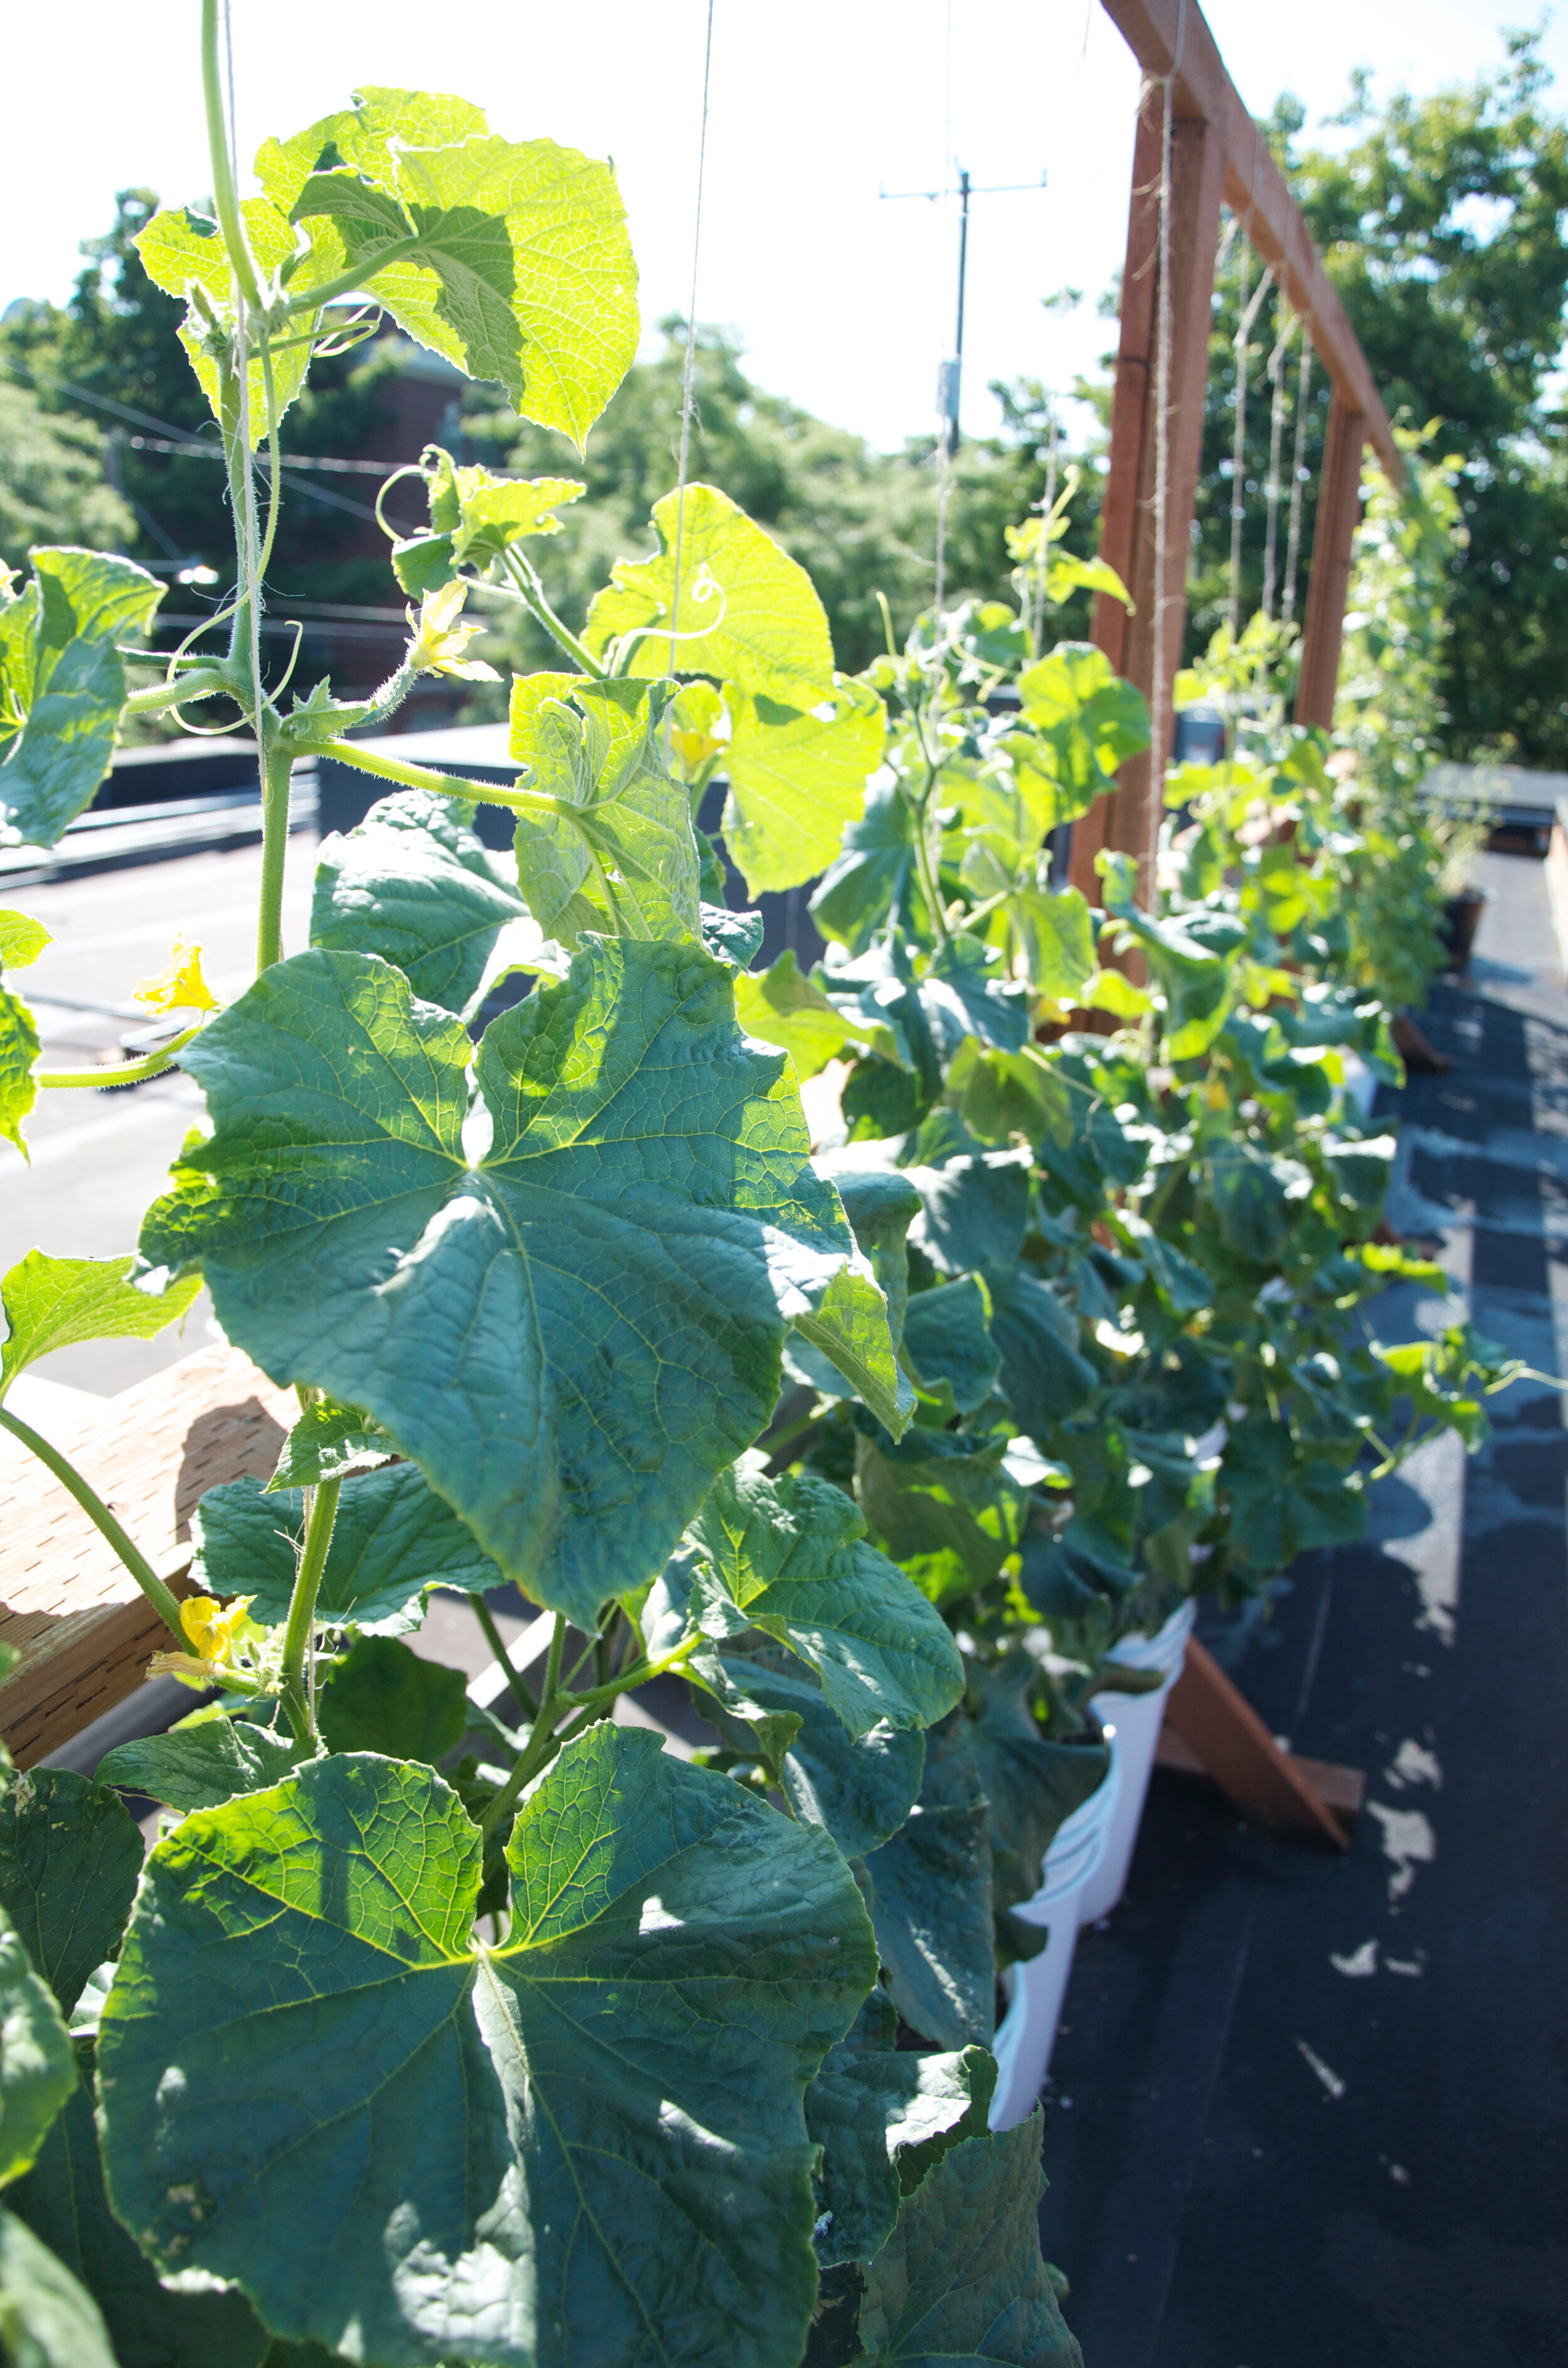
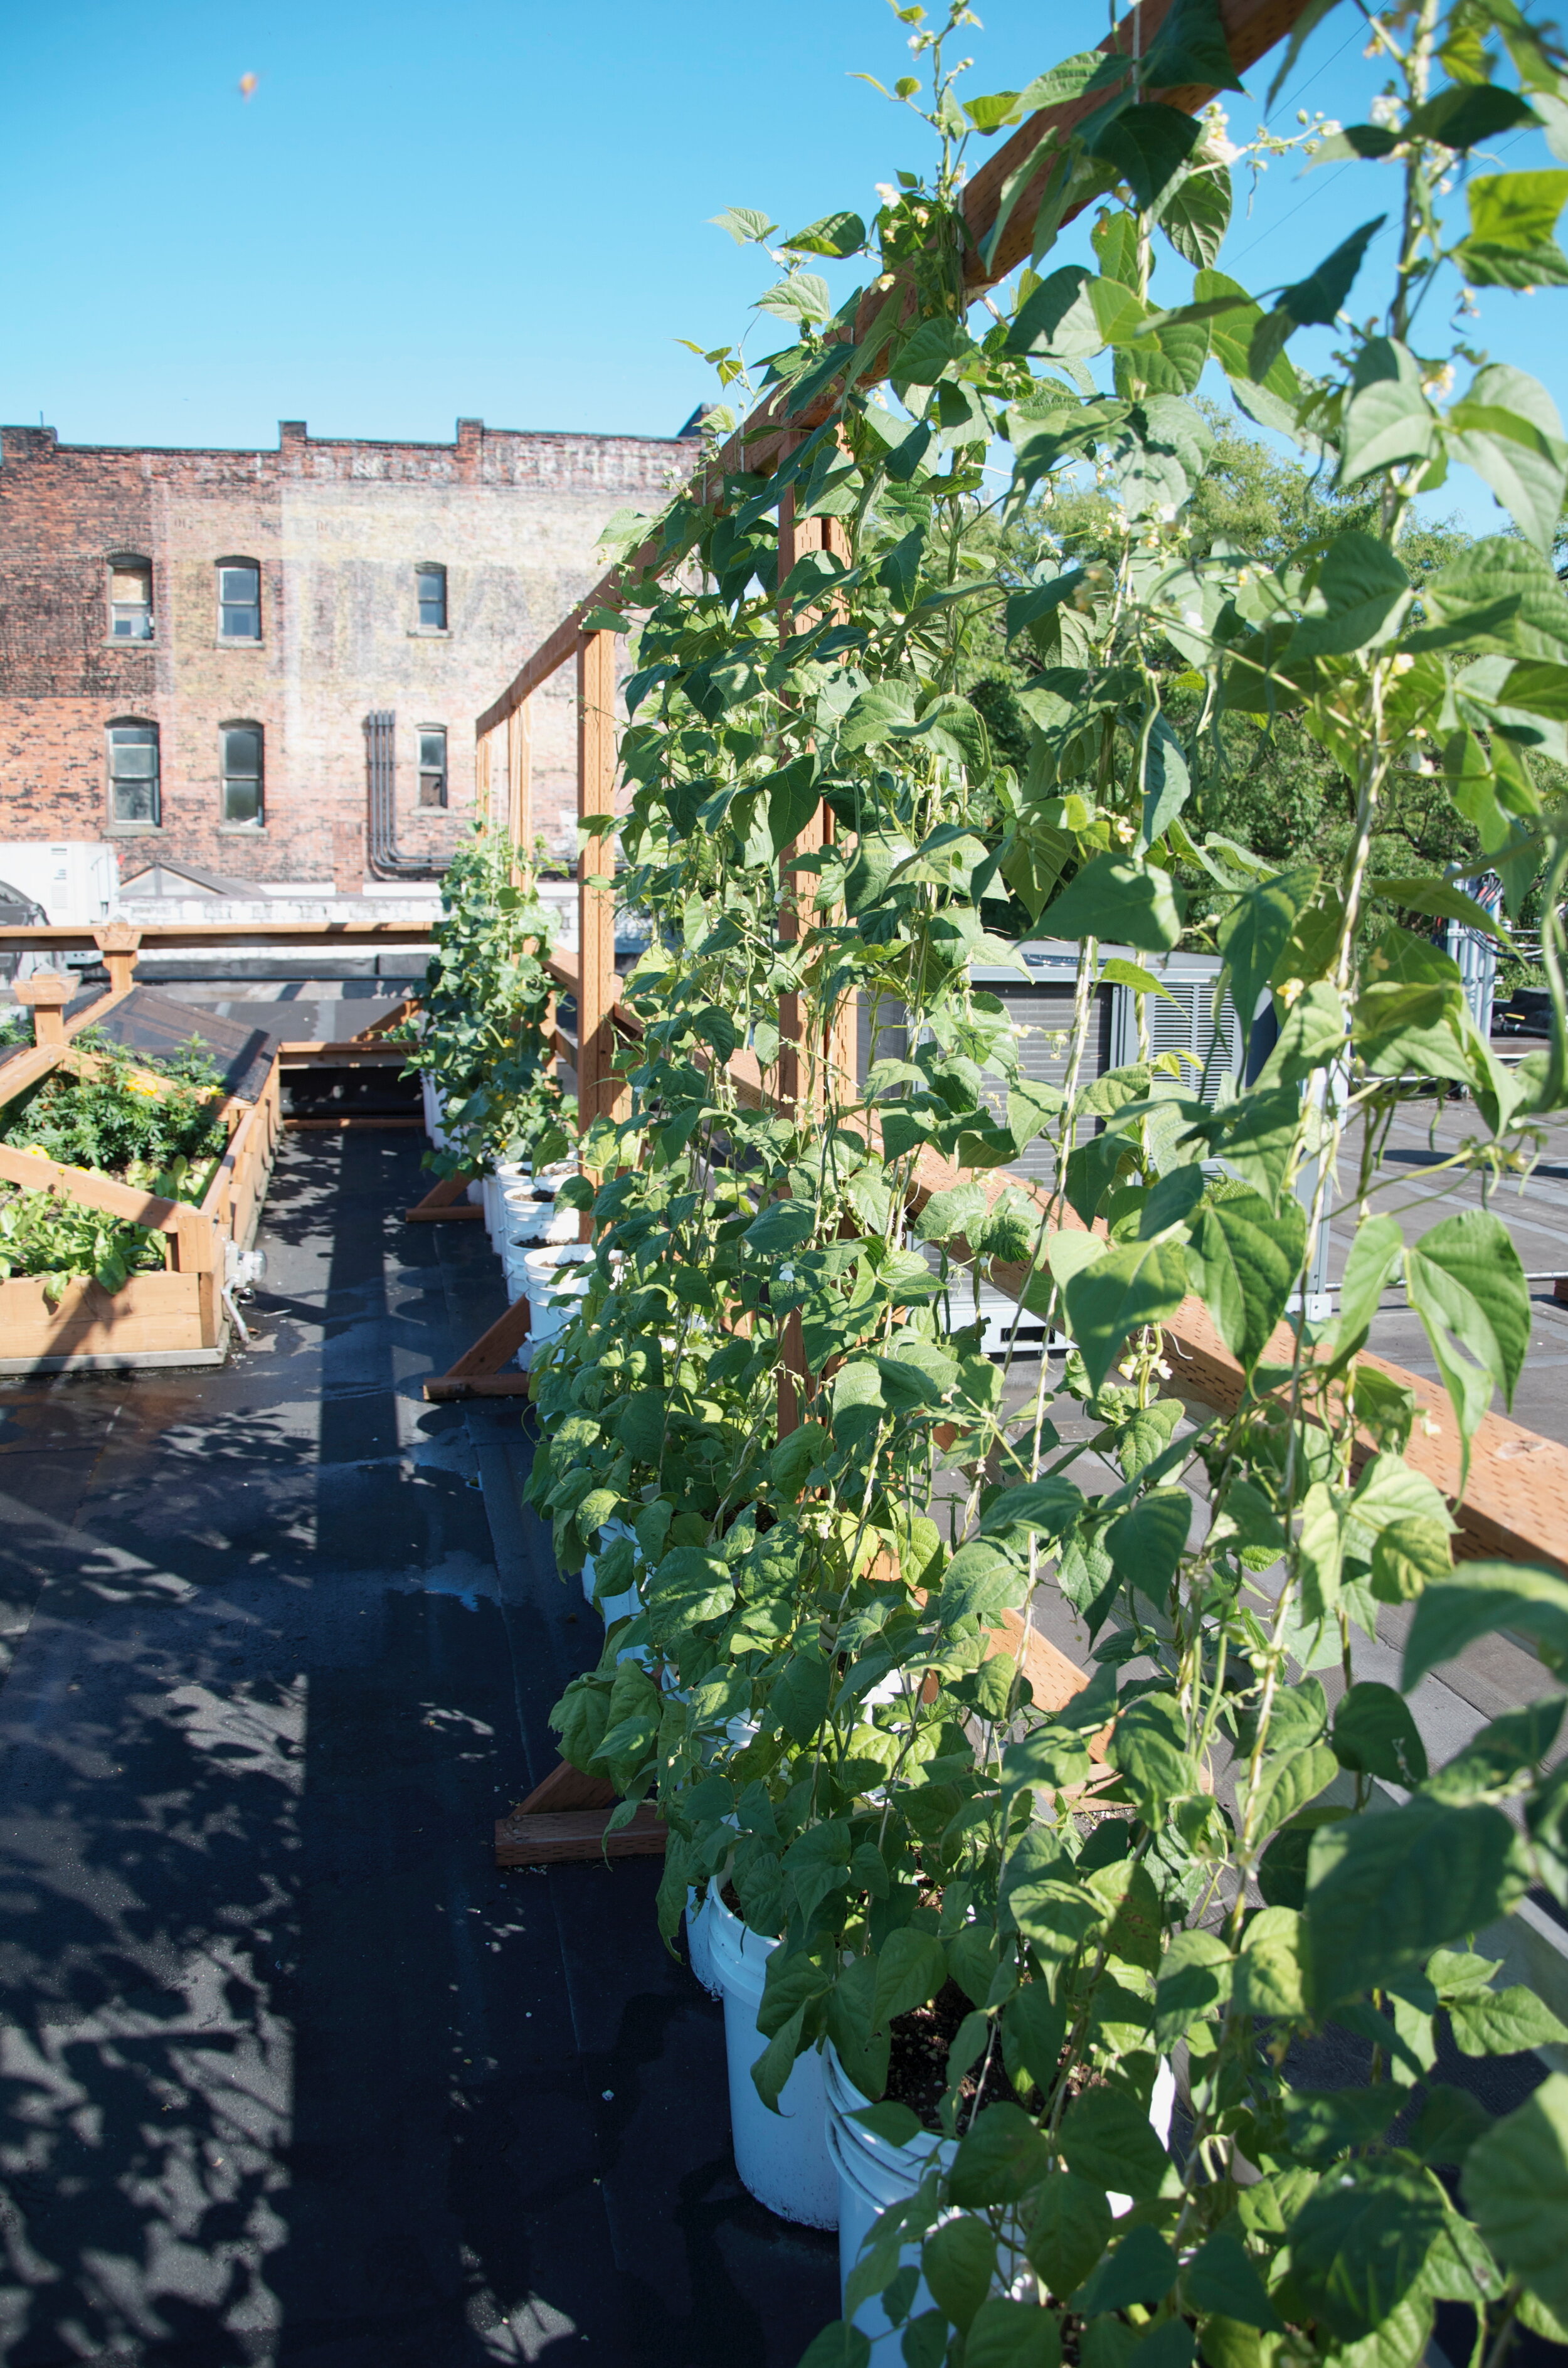
We used these food-grade 5-gallon buckets to grow trailing crops and basil in at Bastille Cafe and Bar in Seattle for years! Cucumbers and pole beans thrived in them AND both of those crops are easy to direct sow right into your pots (aka. no sourcing transplants and a great project for kids)! These plants do however, need some sort of trellis support, and it needs to be about 6 feet tall for the pole beans.
The basil also thrived, but you’d want to start those plants indoors and transplant into your pots as seedlings.
These containers would also work for the planting plan I proposed in the blog post, but they’re taller and narrower than the containers I was using there, so you’d have to plant fewer crops in some containers to maintain proper spacing.
When setting up your bucket container garden, keep the following in mind:
Use food-grade buckets
Unlike pots made for growing in, the bottom of buckets are solid and will need a way to drain. Drilling 4 to 5 1/2 inch drainage holes in the bottom of each bucket should do the trick!
